Well finally, after many months I built the final door to close in the barn. Our barn is a great little barn, it has multiple stalls which allows us plenty of room for animals, storage and we even have a feed-room. There are 3 door openings that exit out the side of the barn from separate stalls.
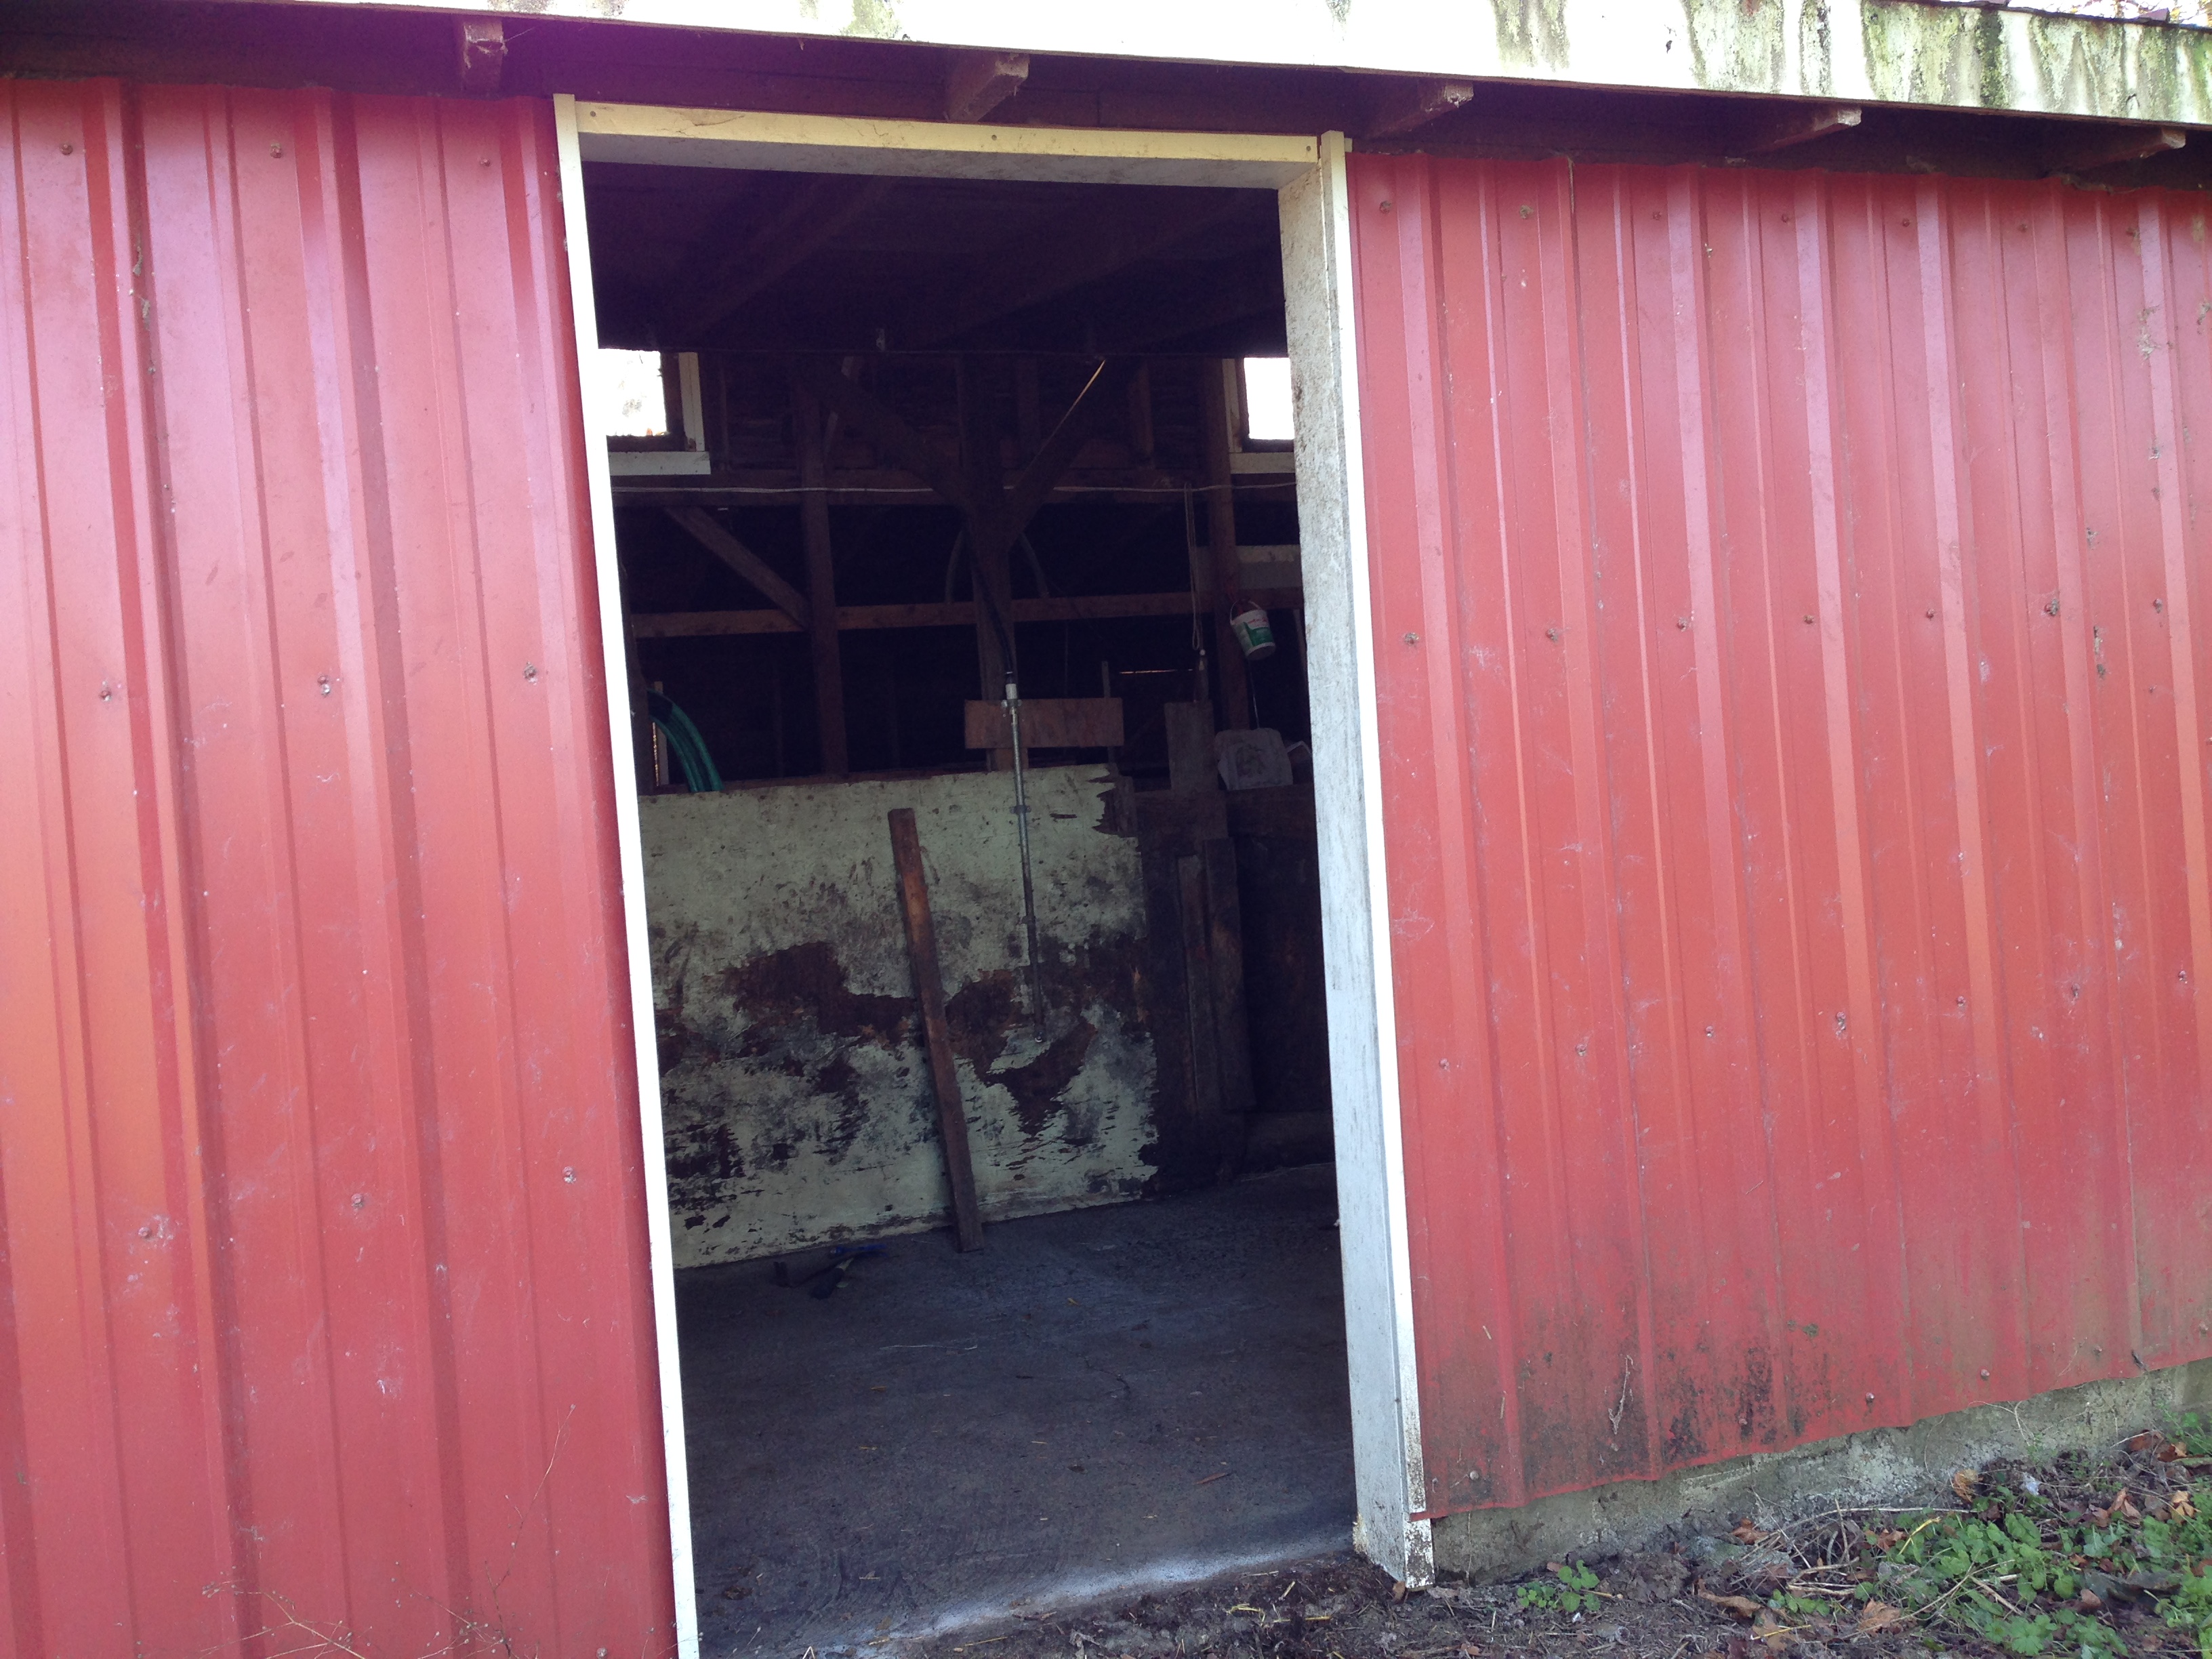
Unfortunately when we moved this summer, the barn didnt have doors for any of them. Earlier I built batten doors for the two stalls that we put animals in, but the last doorway was left open. In the warm months this was fine, but now that the cold weather and windy days have arrived, I needed to close off the last one. The cold breeze would just blow right through the barn and I don’t think the goats felt very cozy!
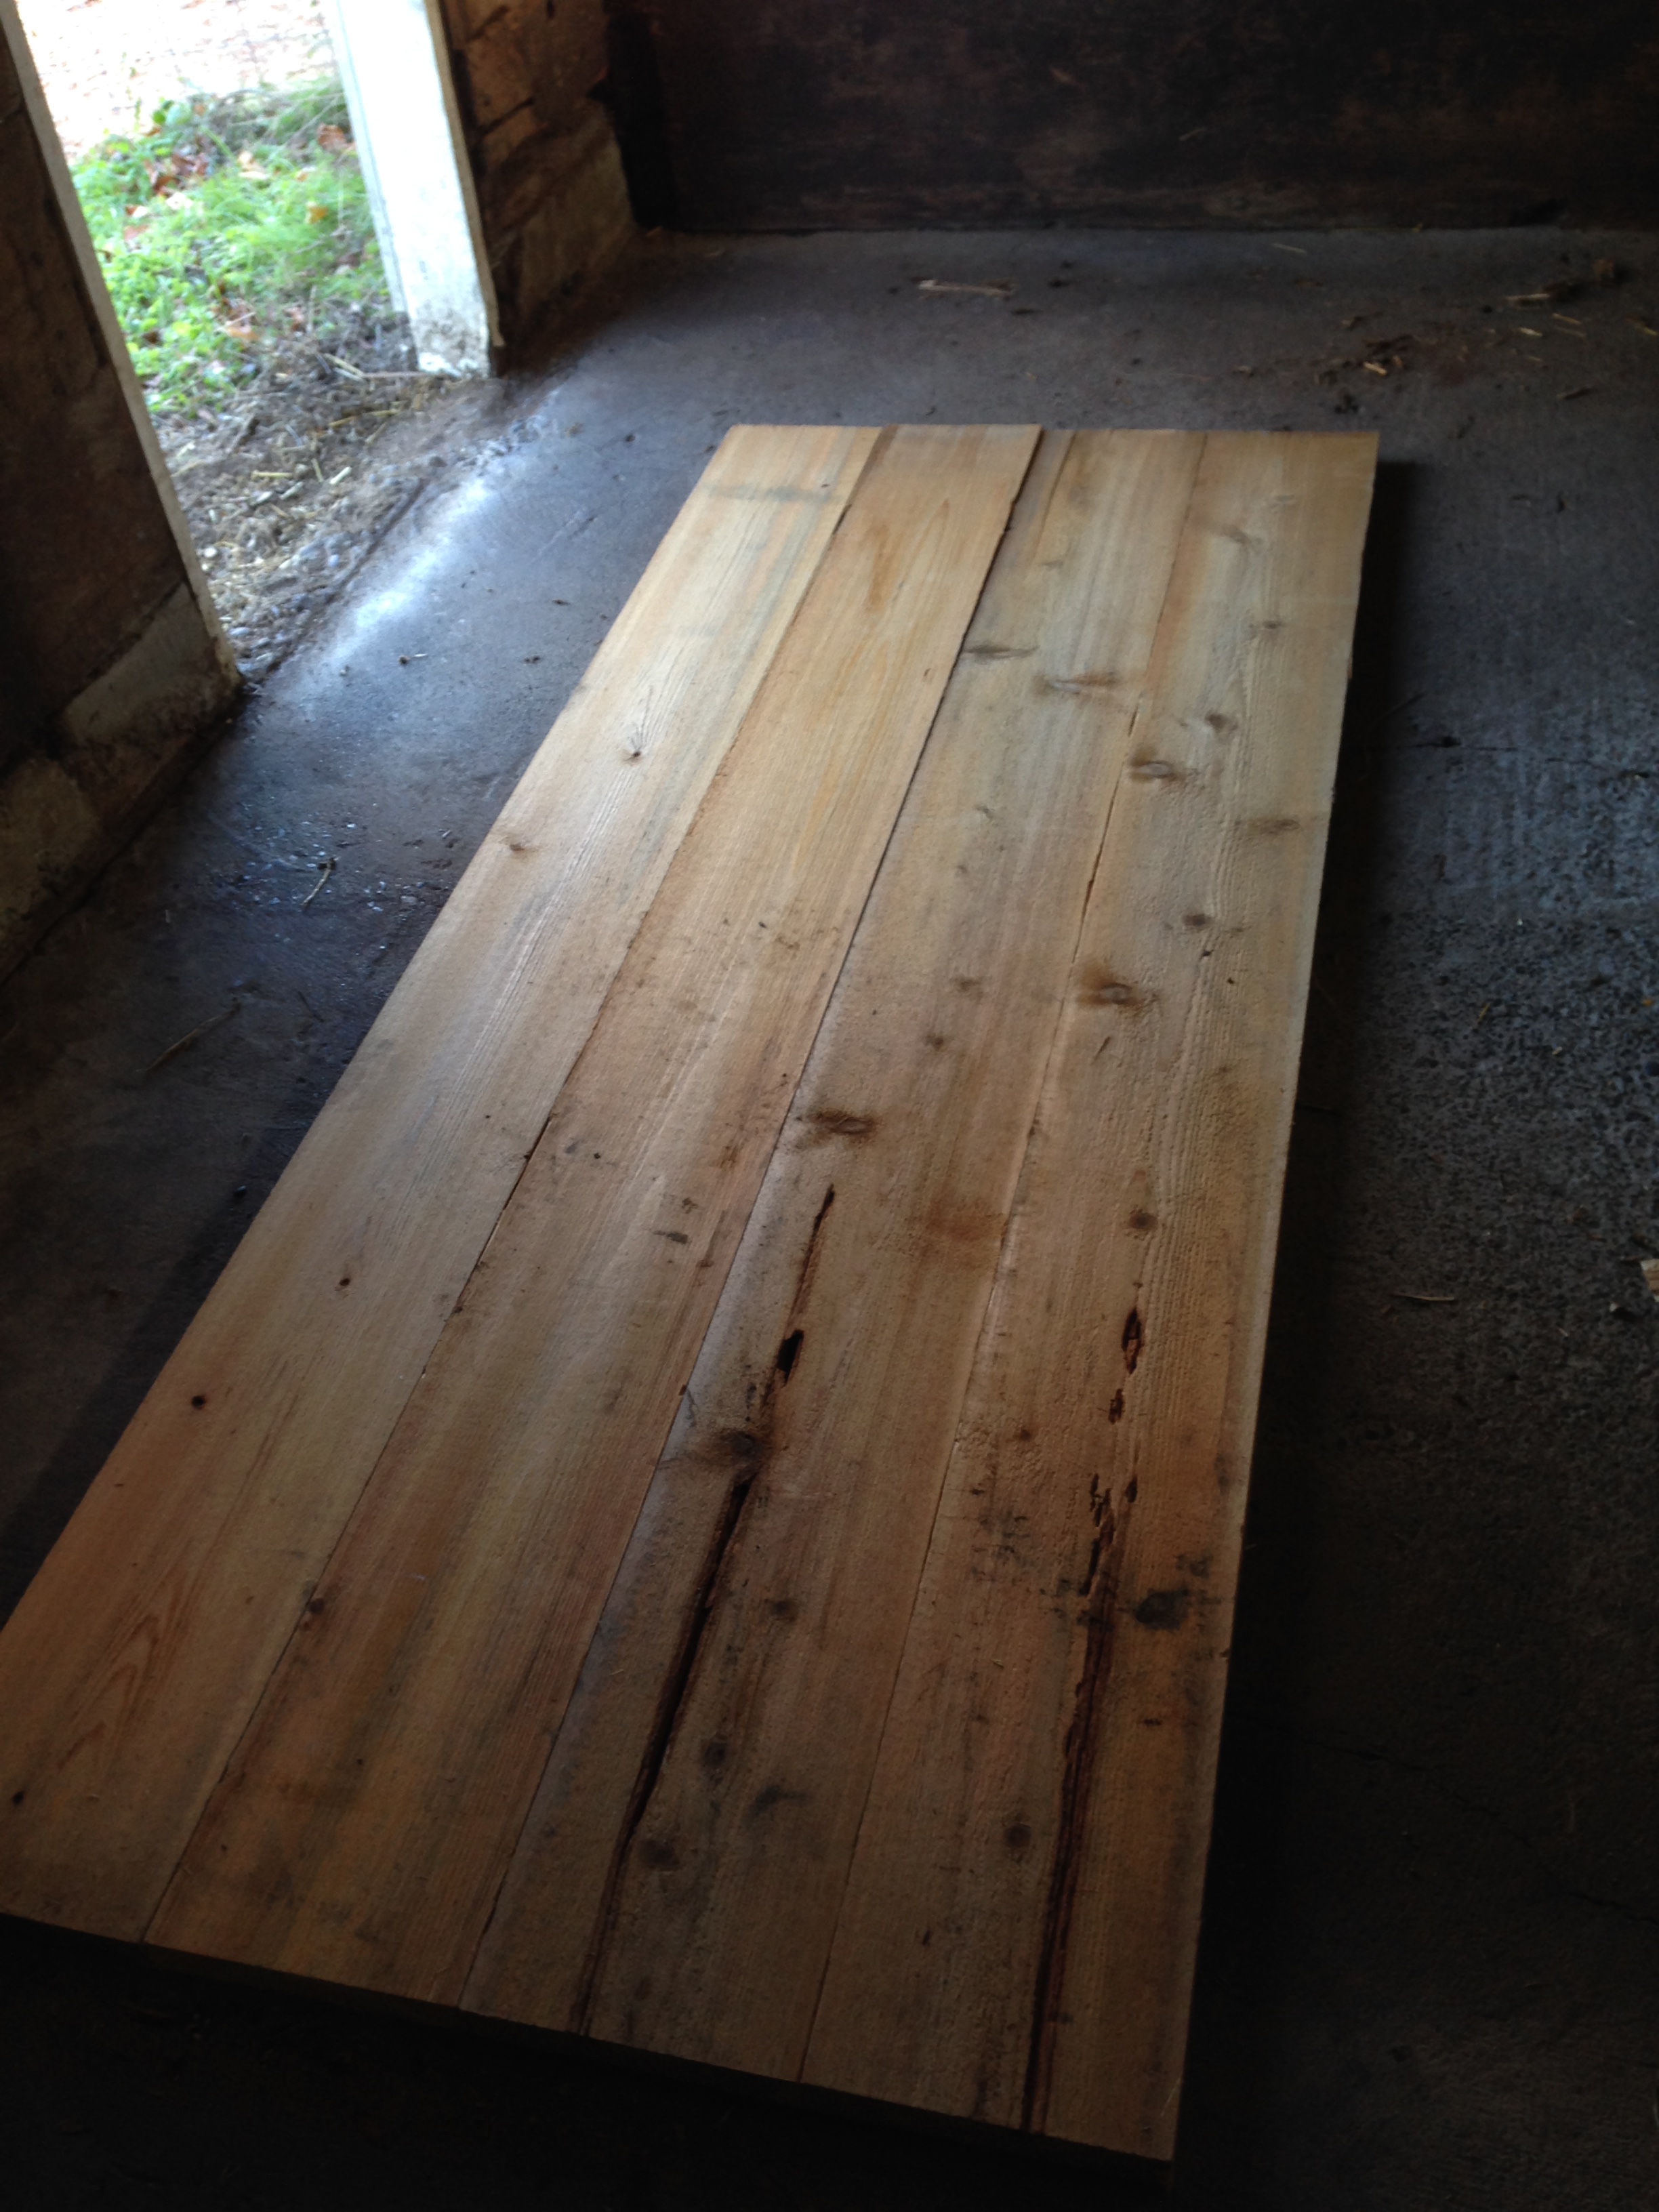
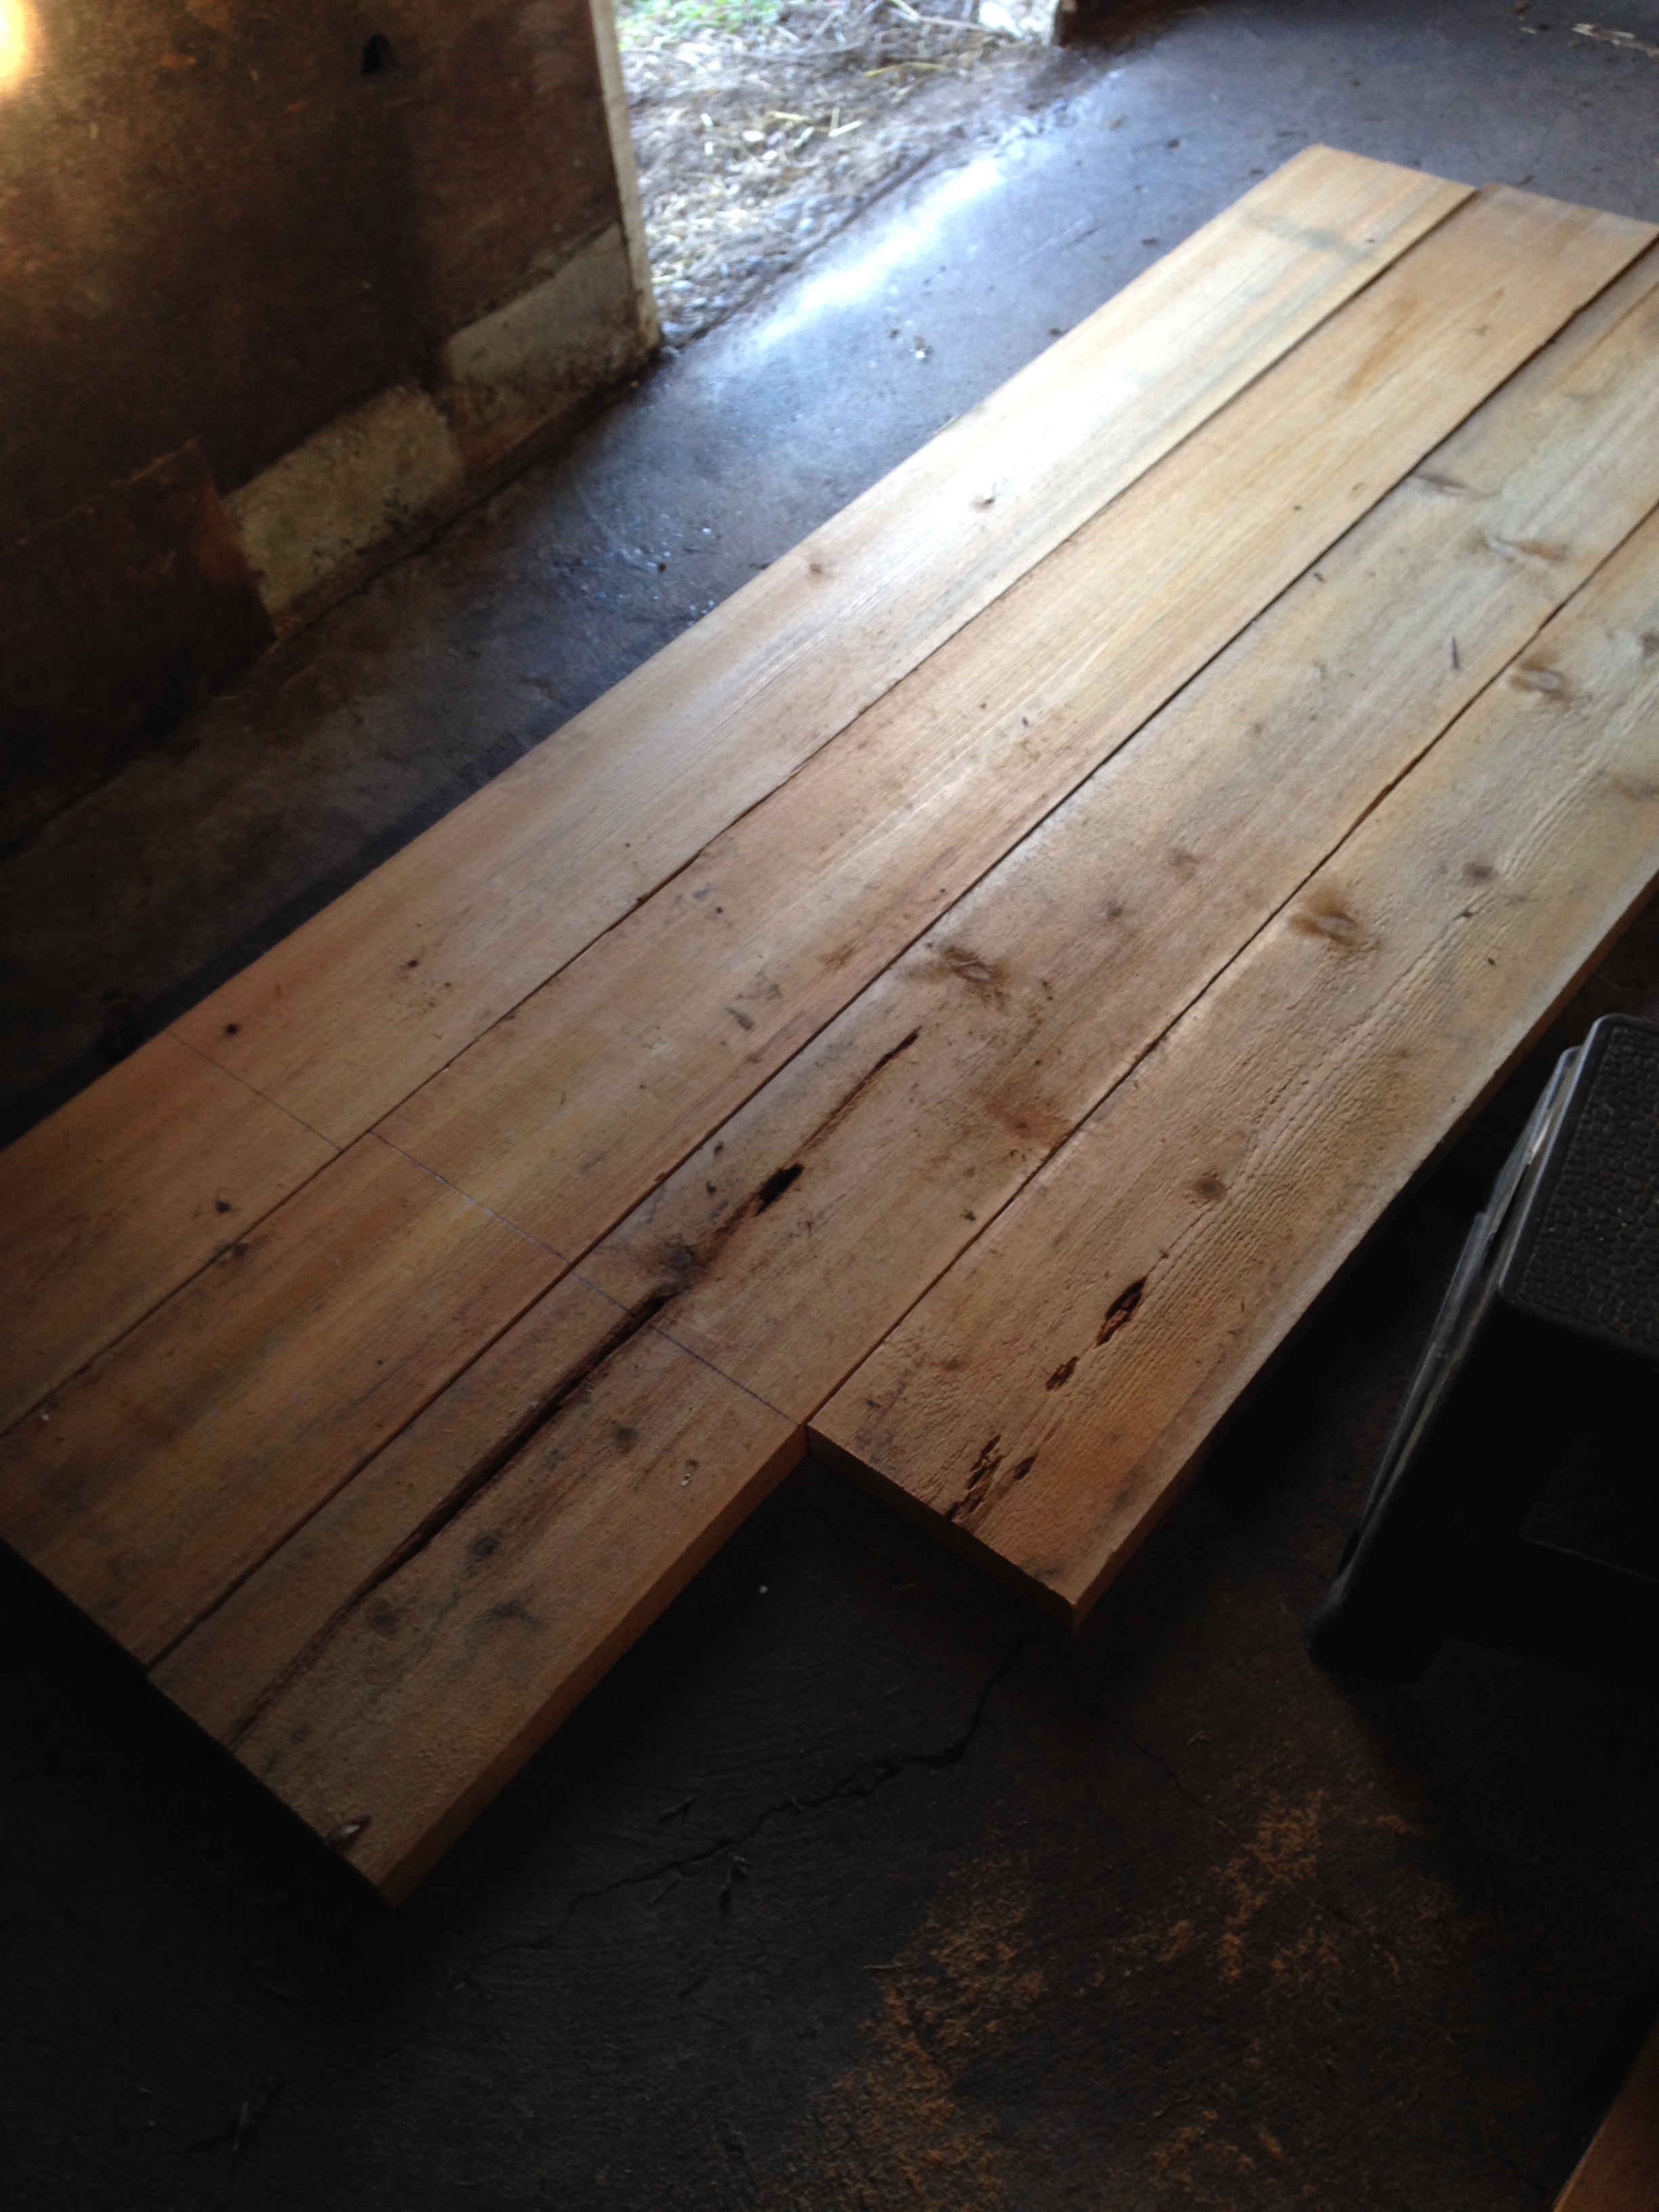
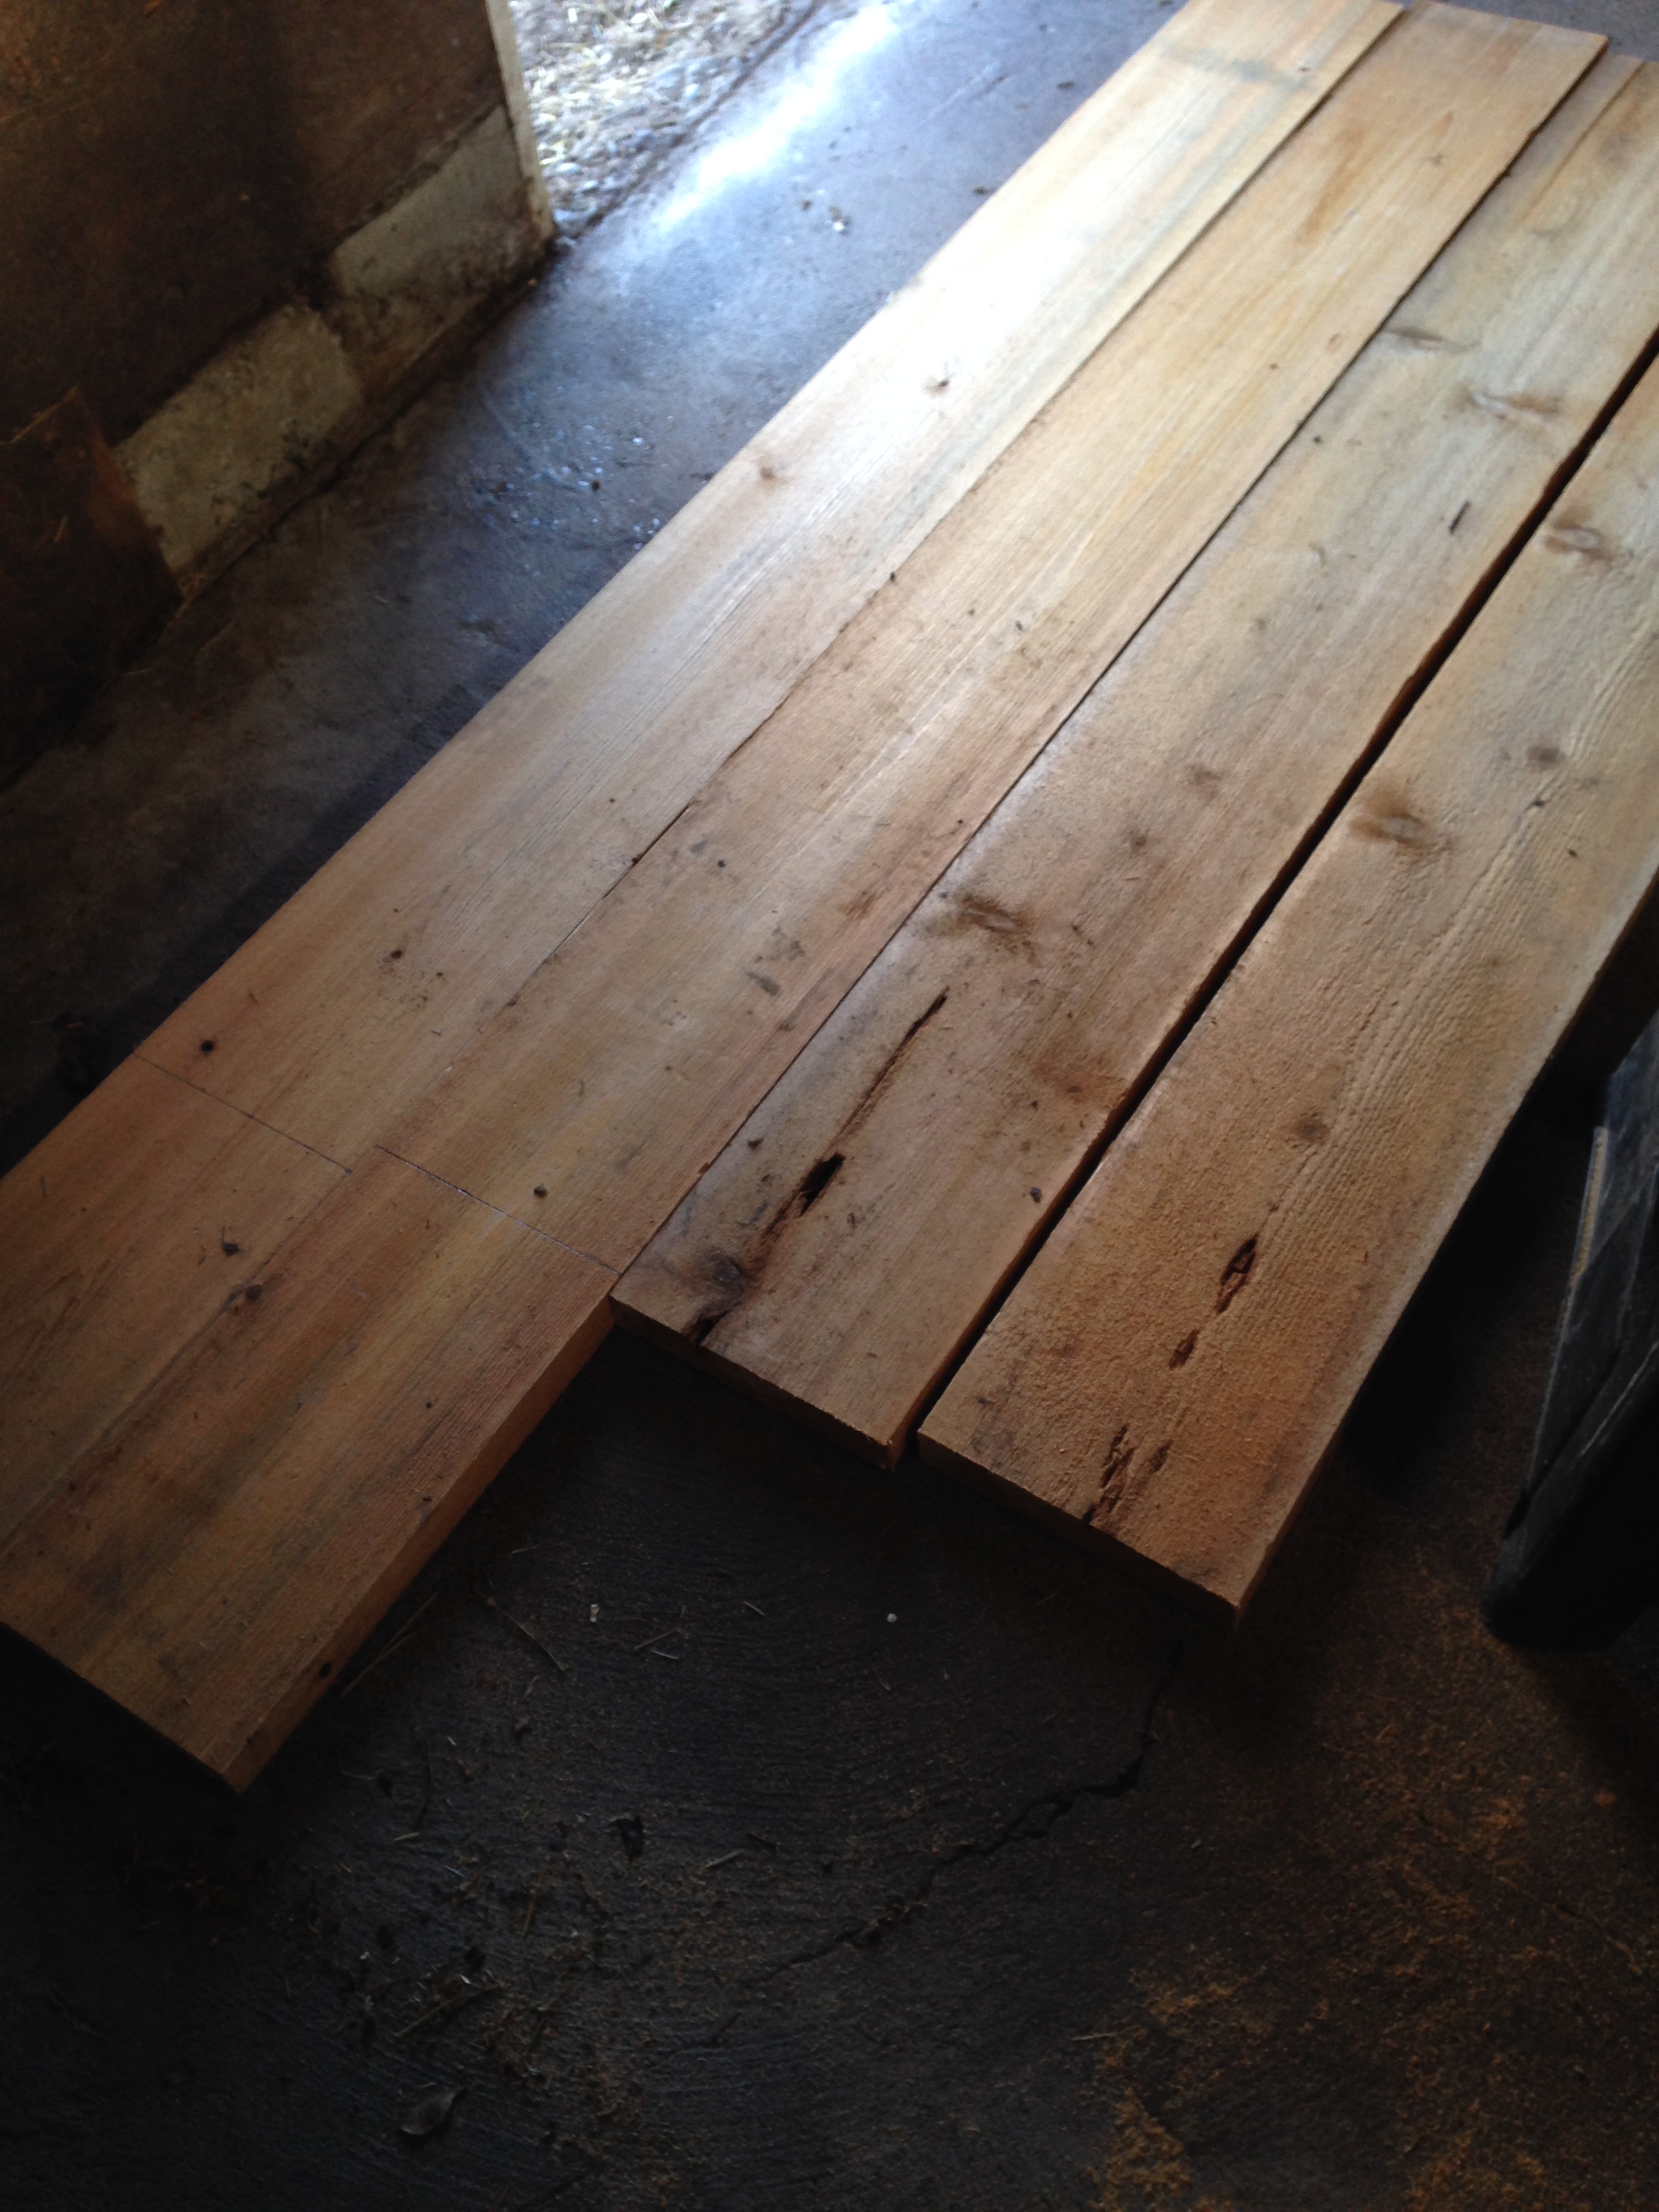
First off I purchased some cedar from the local lumber company. They call it “utility grade” cedar, and it is great. At a little over $1/foot, for 2″x10″, I purchased some and brought it home. The first door I made was from 1″x10″ cedar and the door is lighter for sure, but doesn’t have the same “feel” as the heavier 2″ thick cedar.
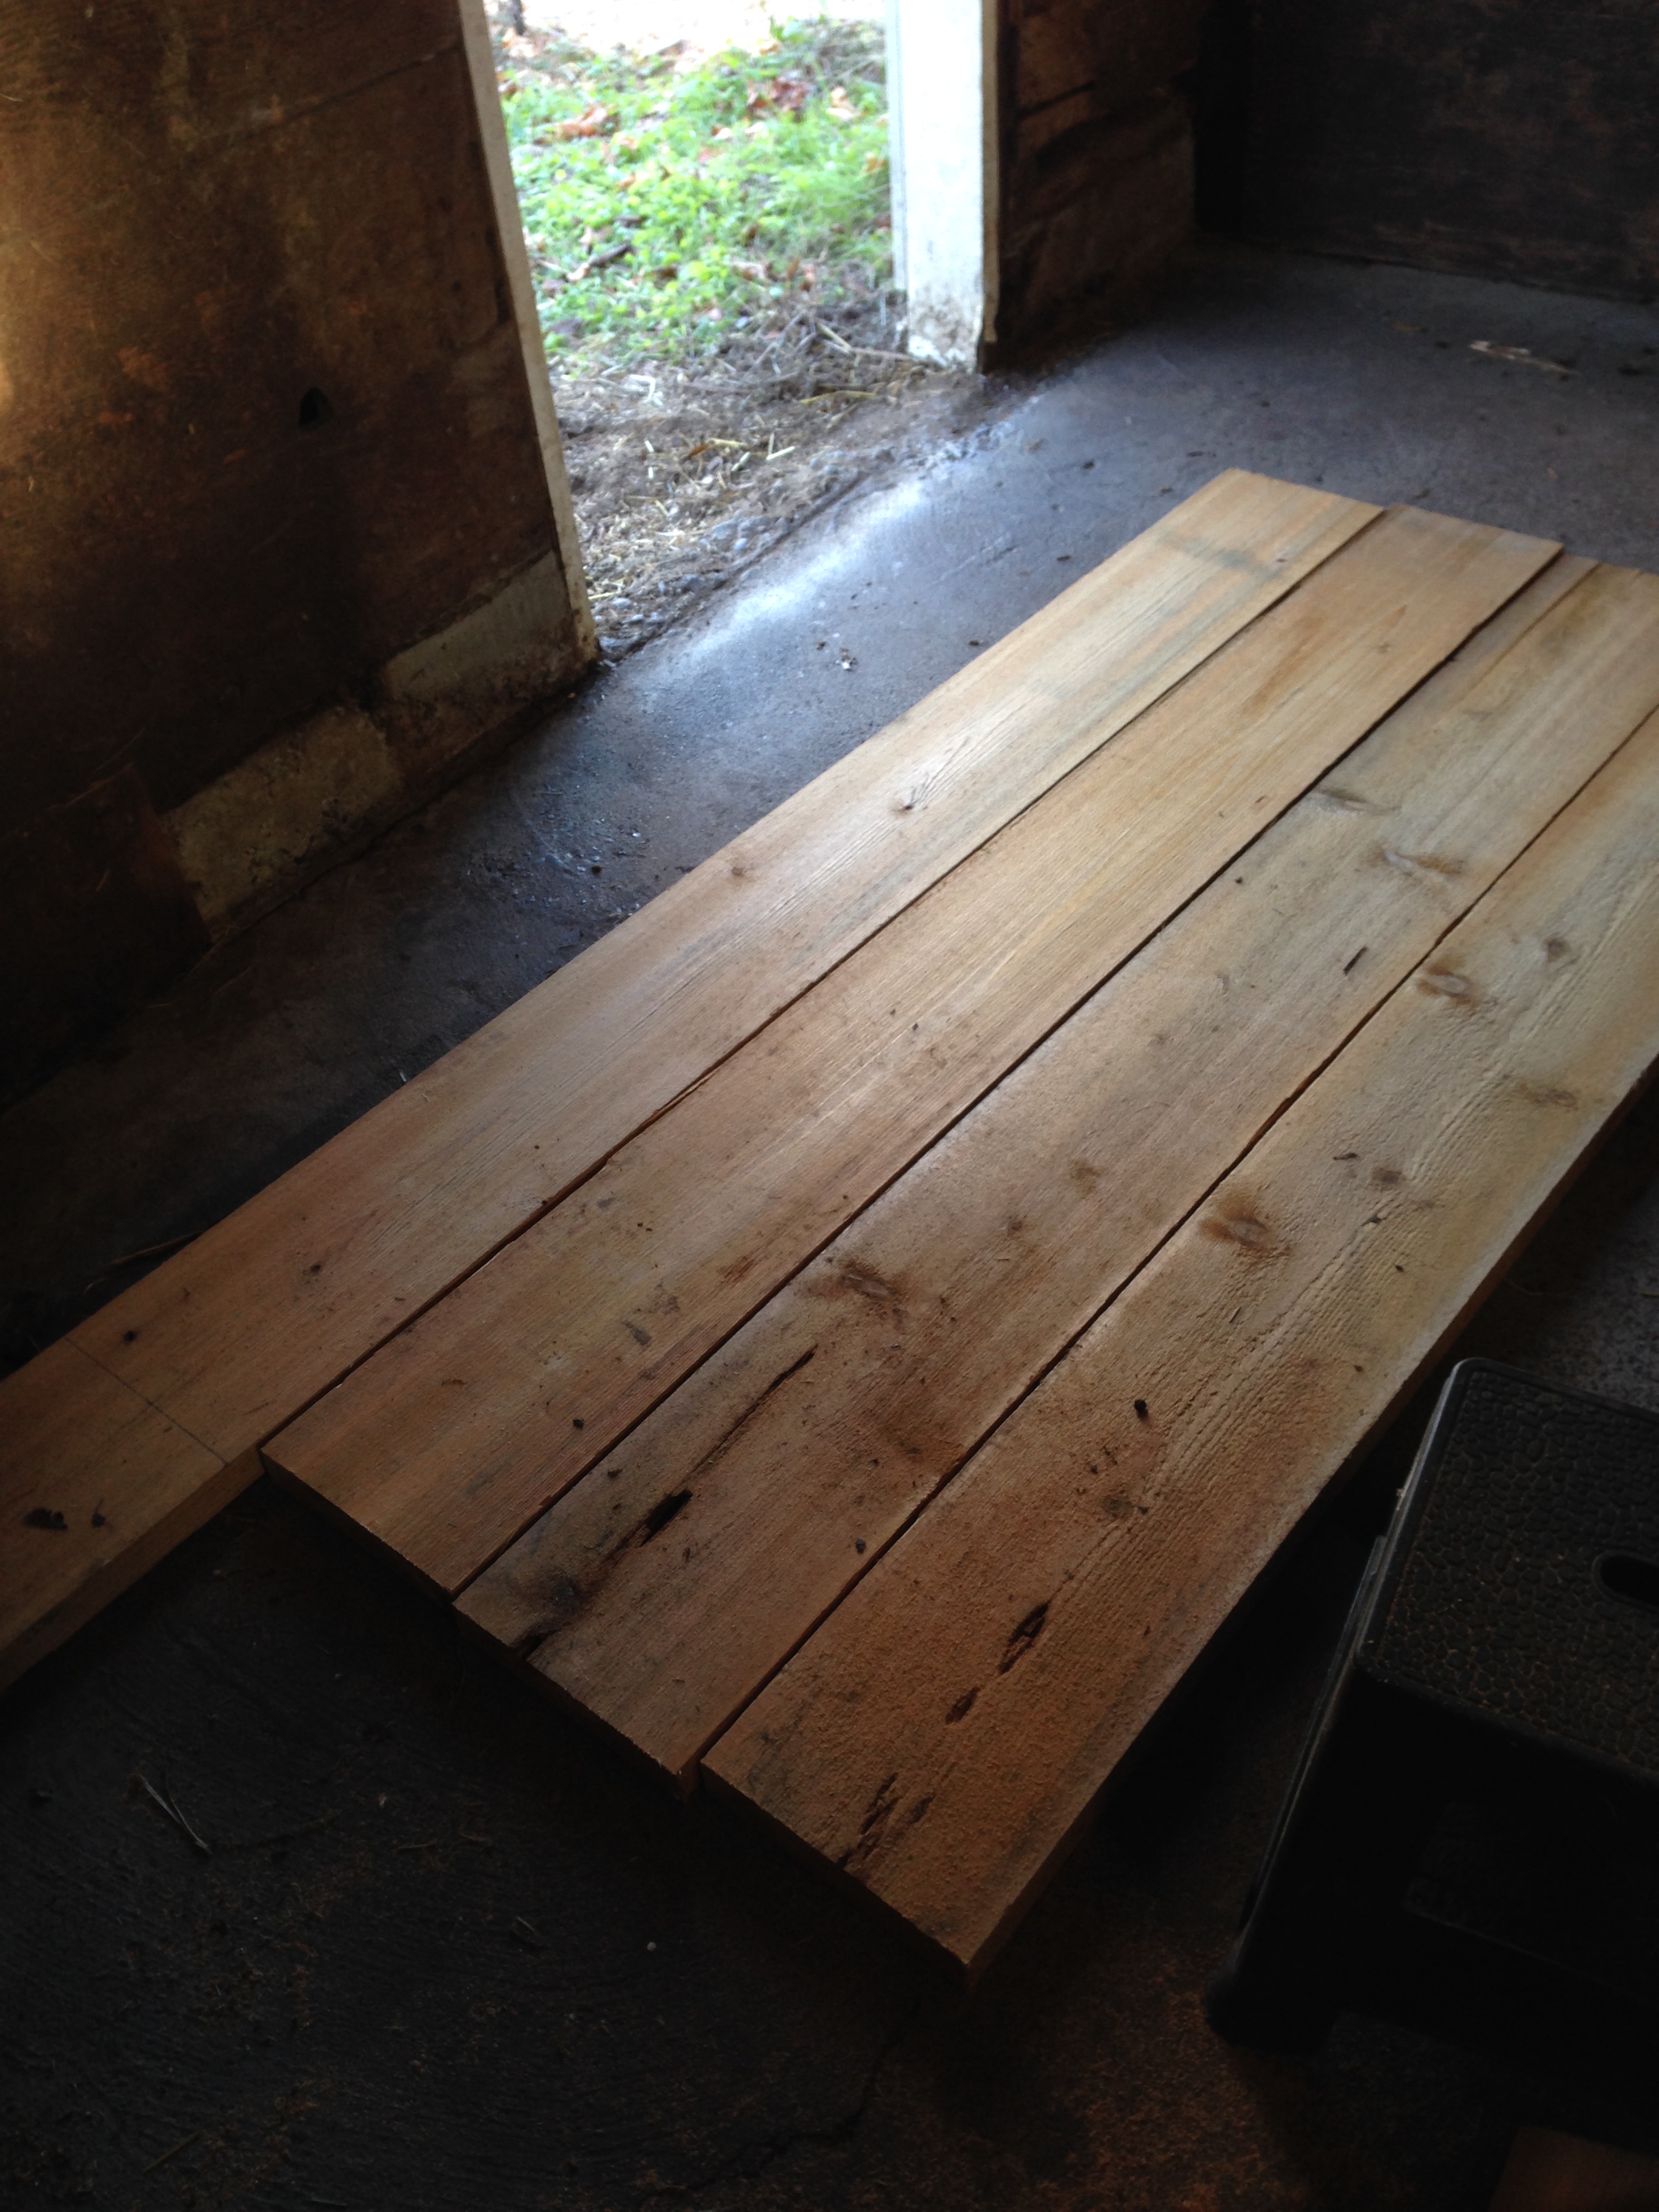
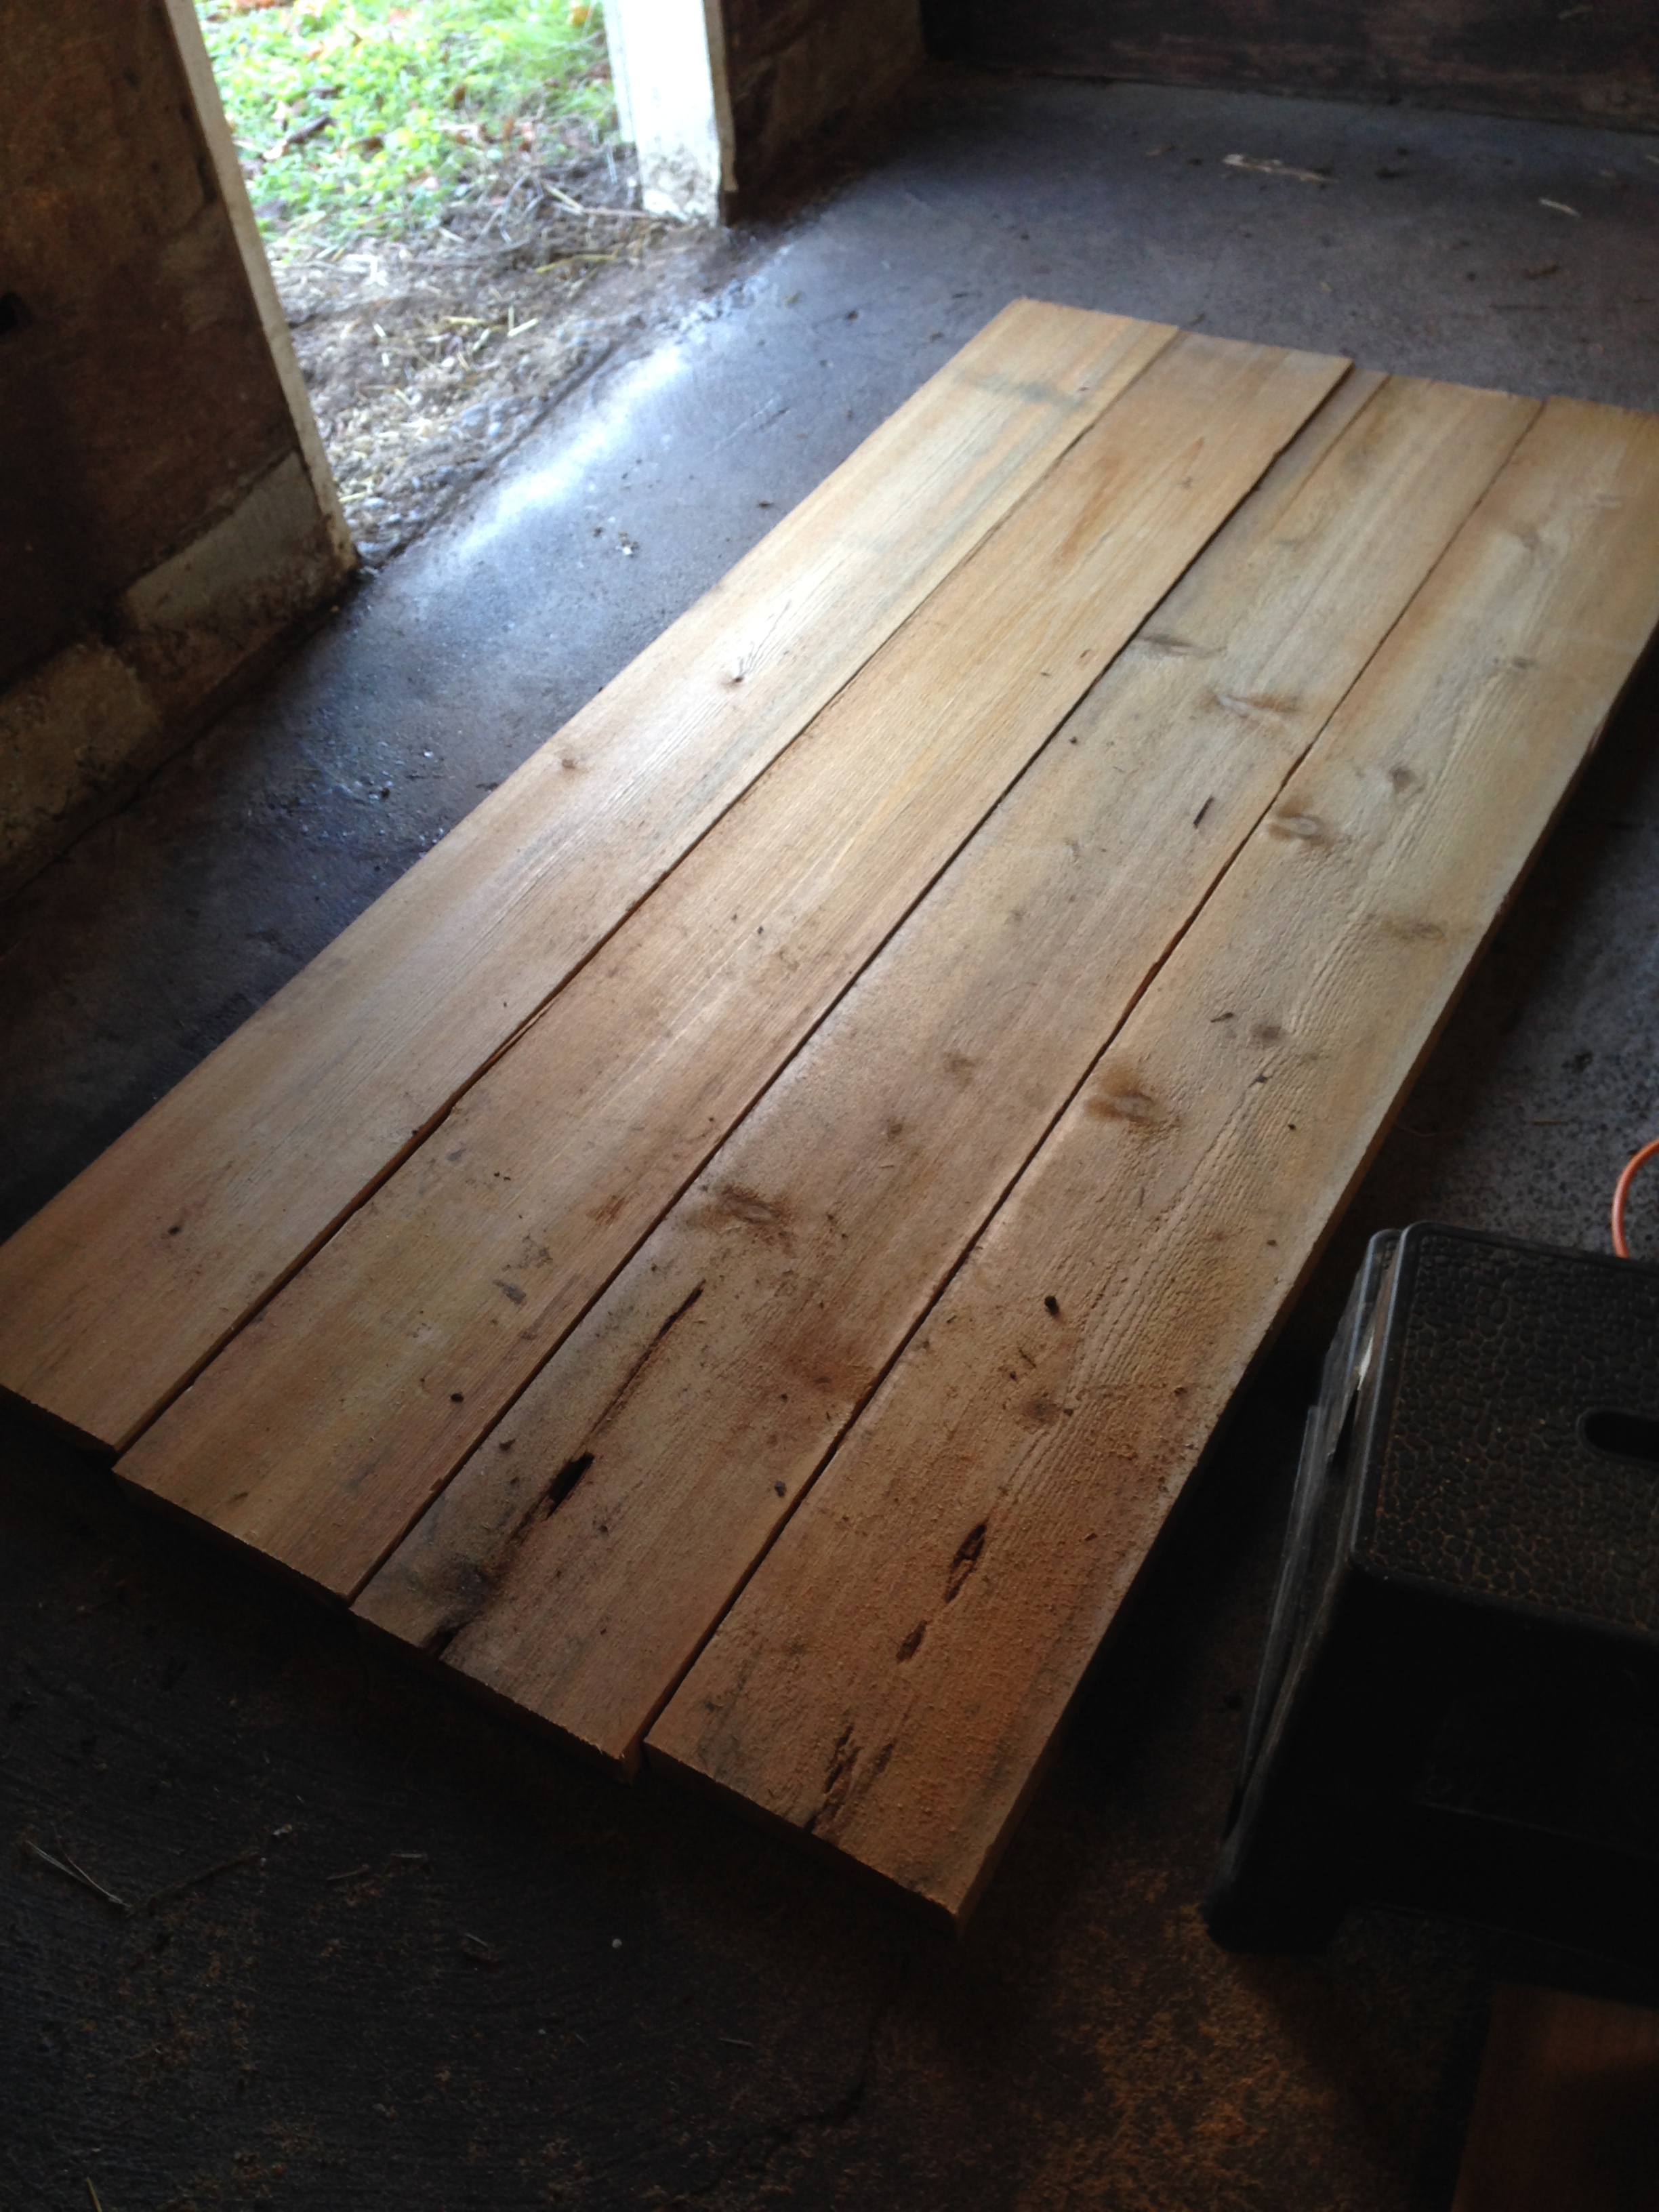
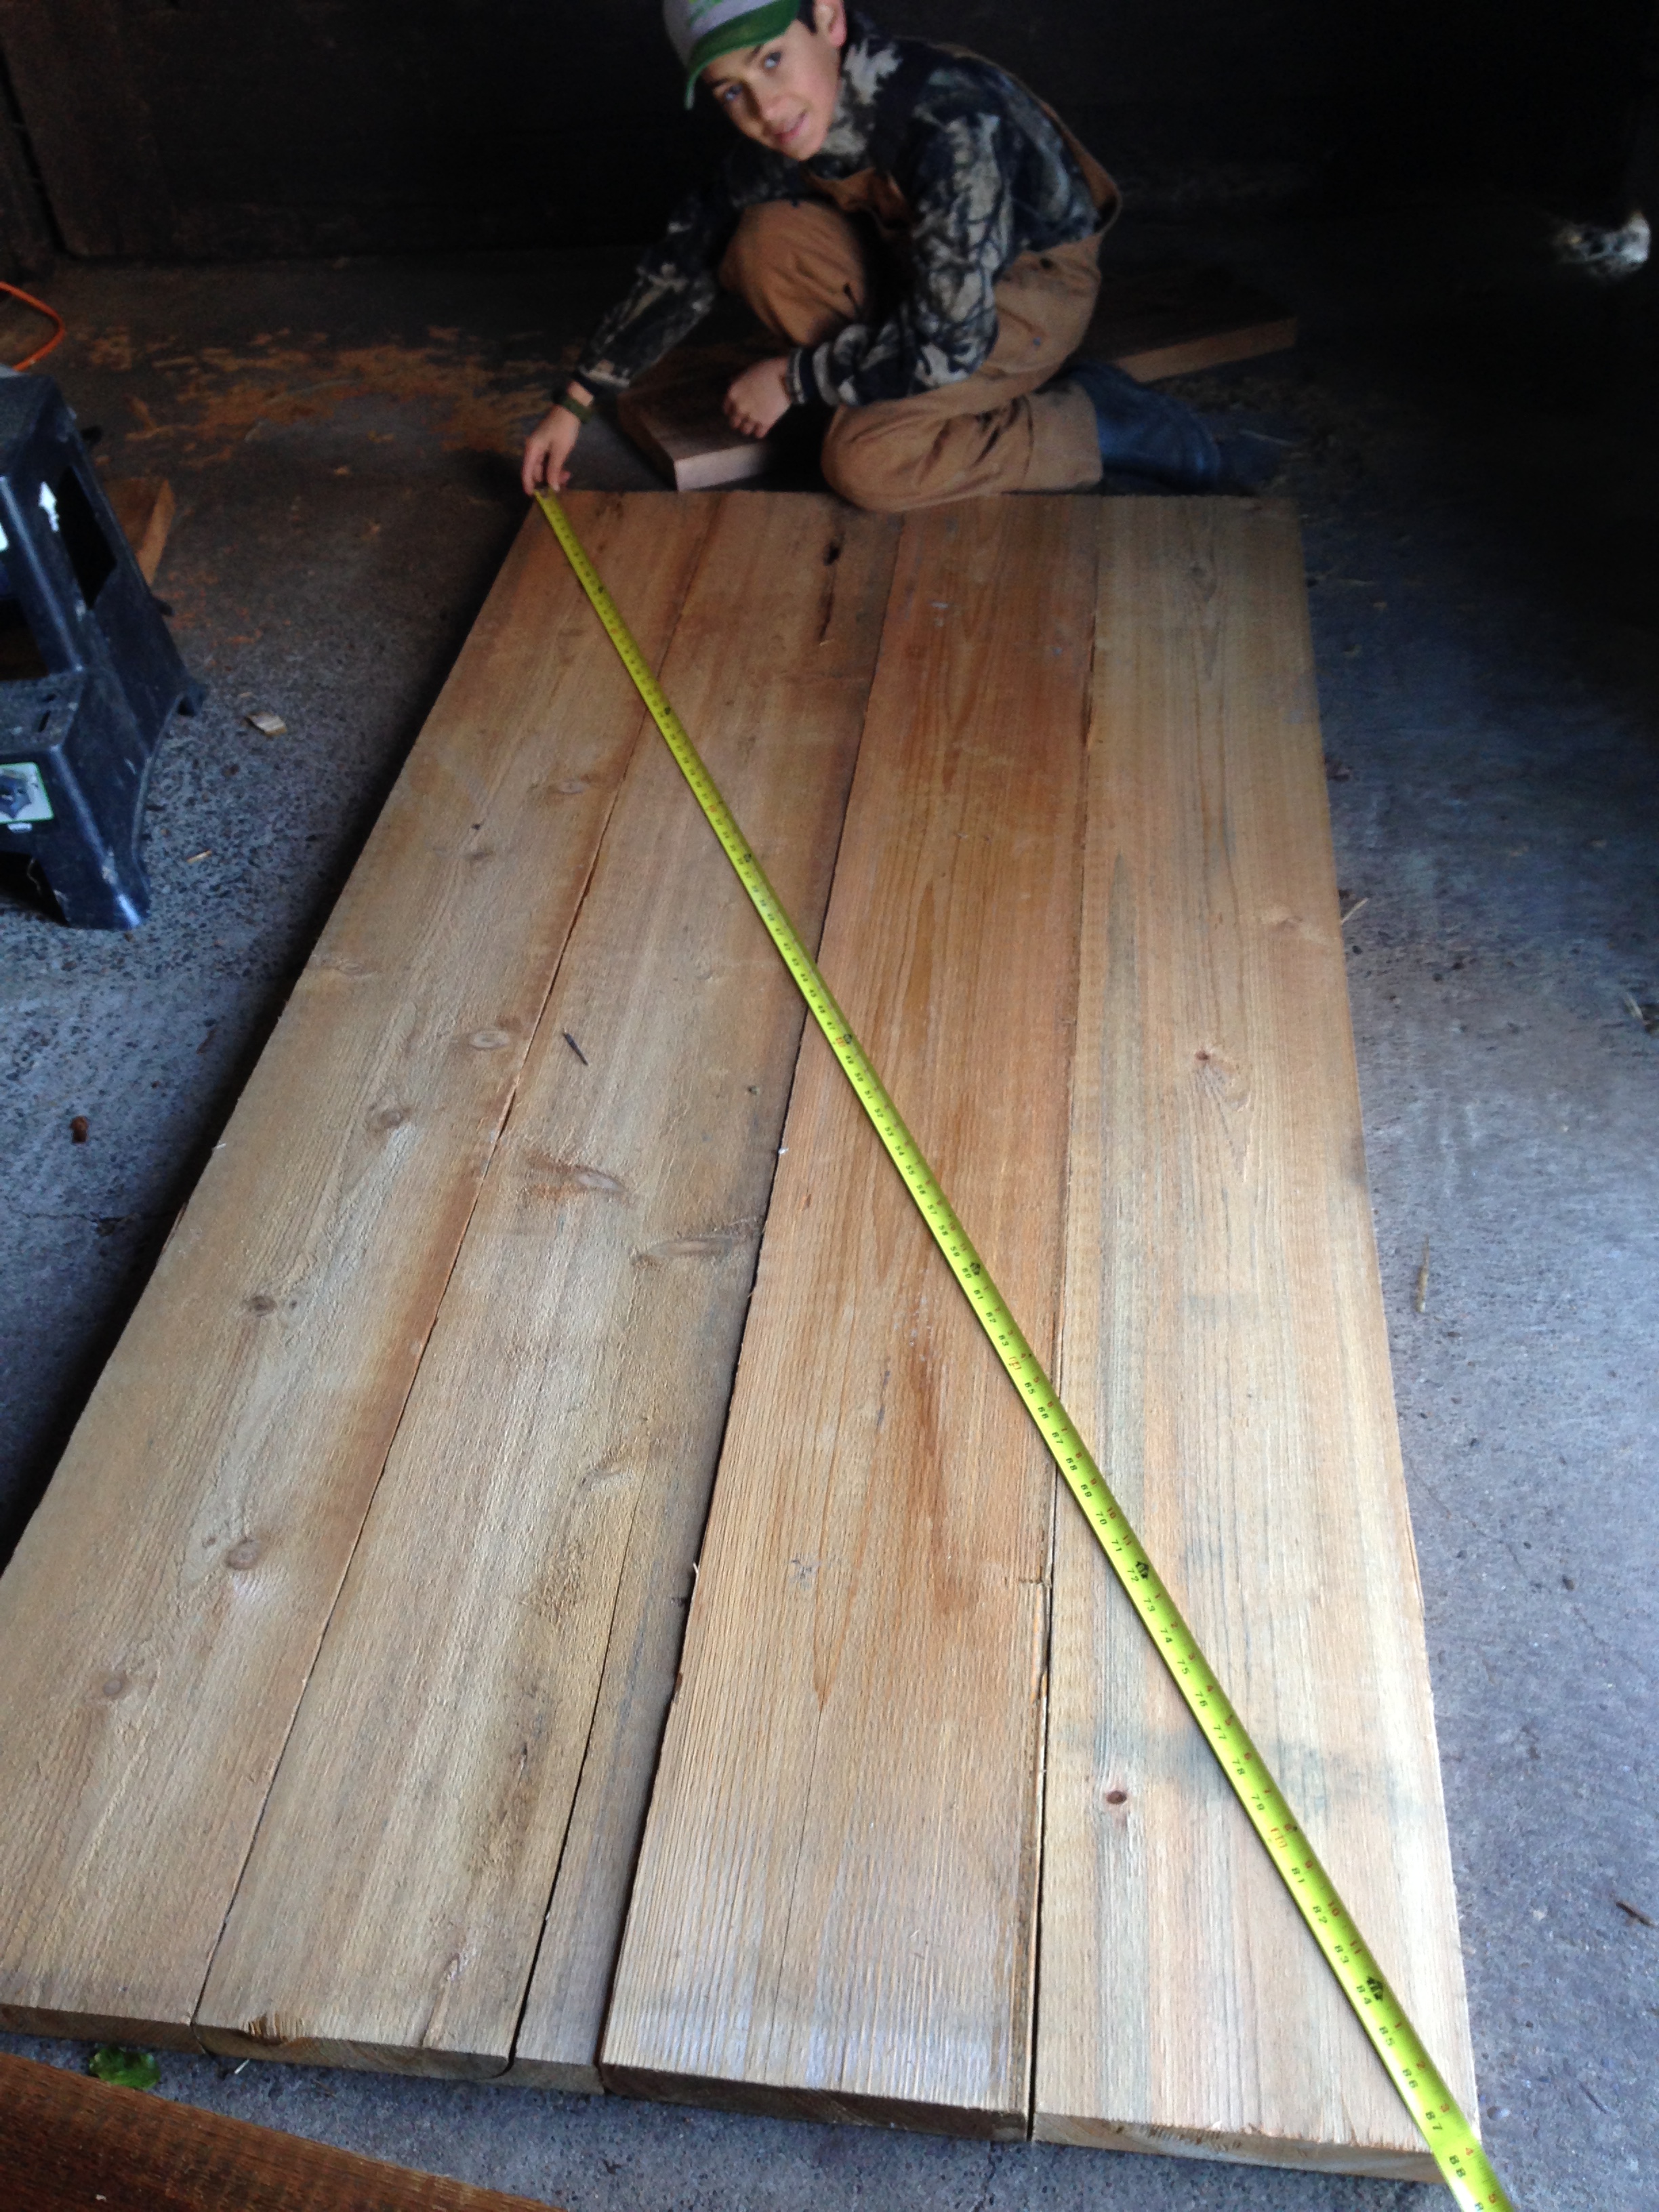
Here are the boards all laid out before being cut.
The next step is to measure the door opening.
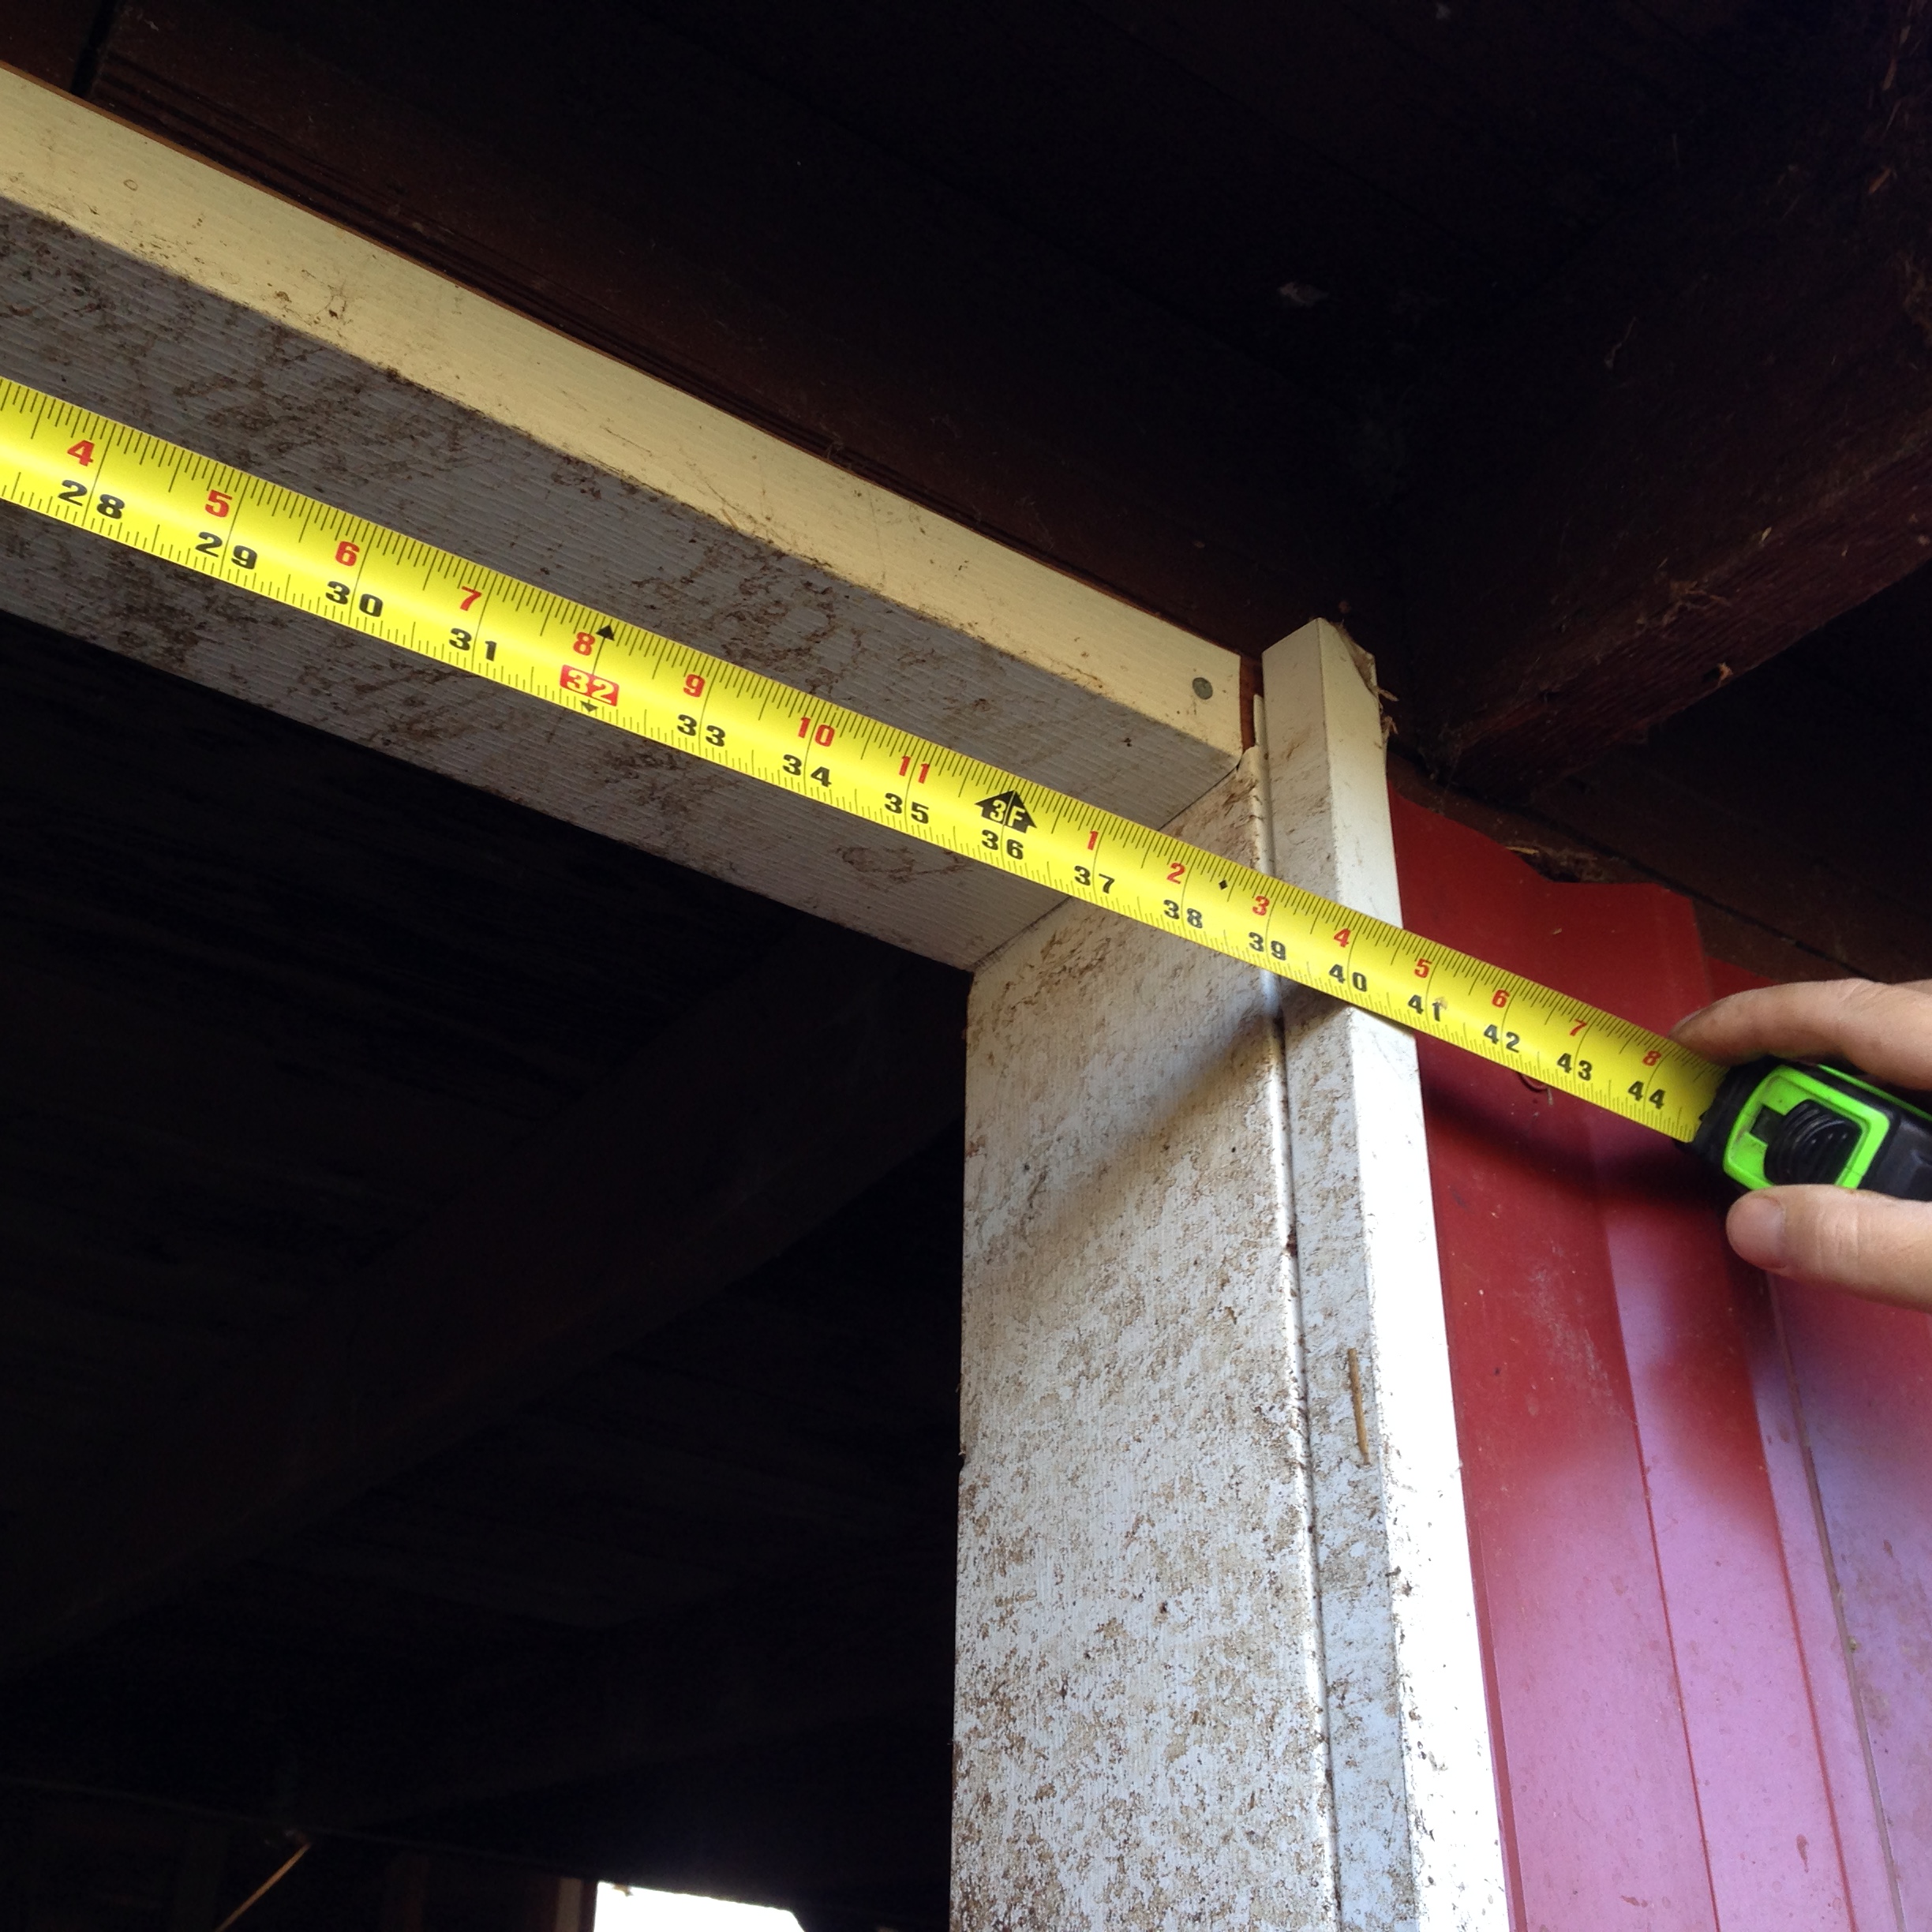
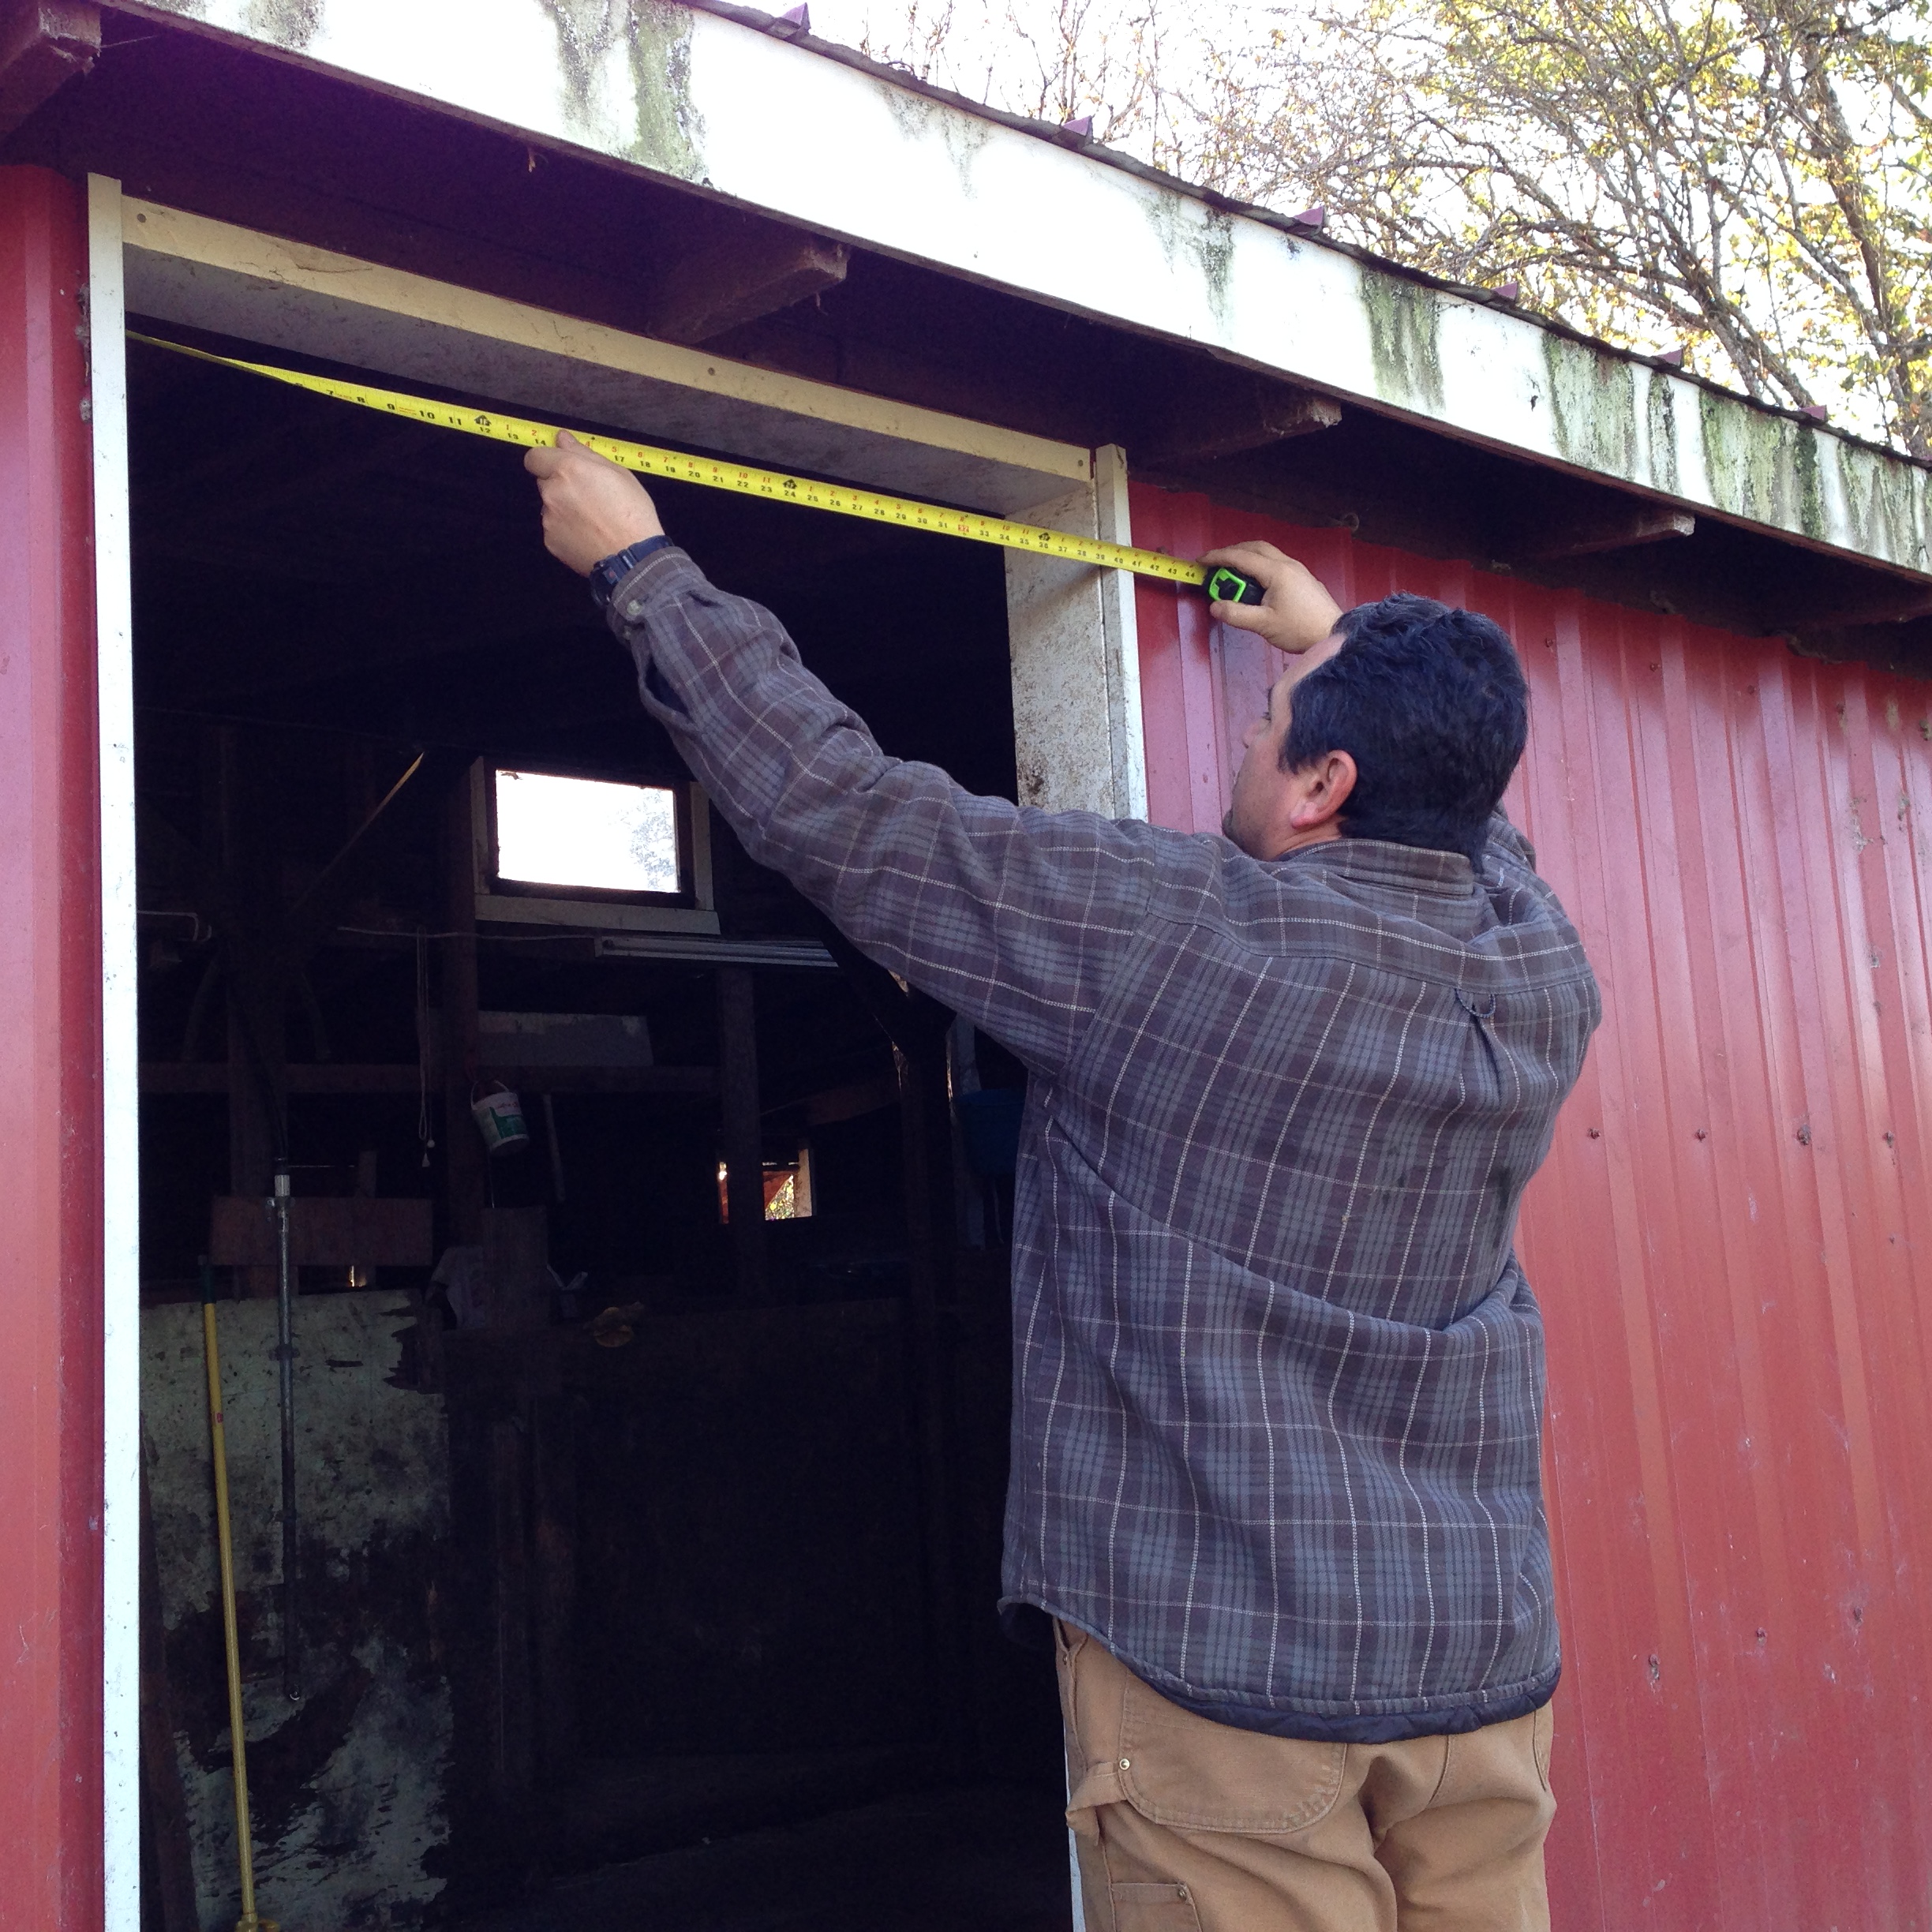

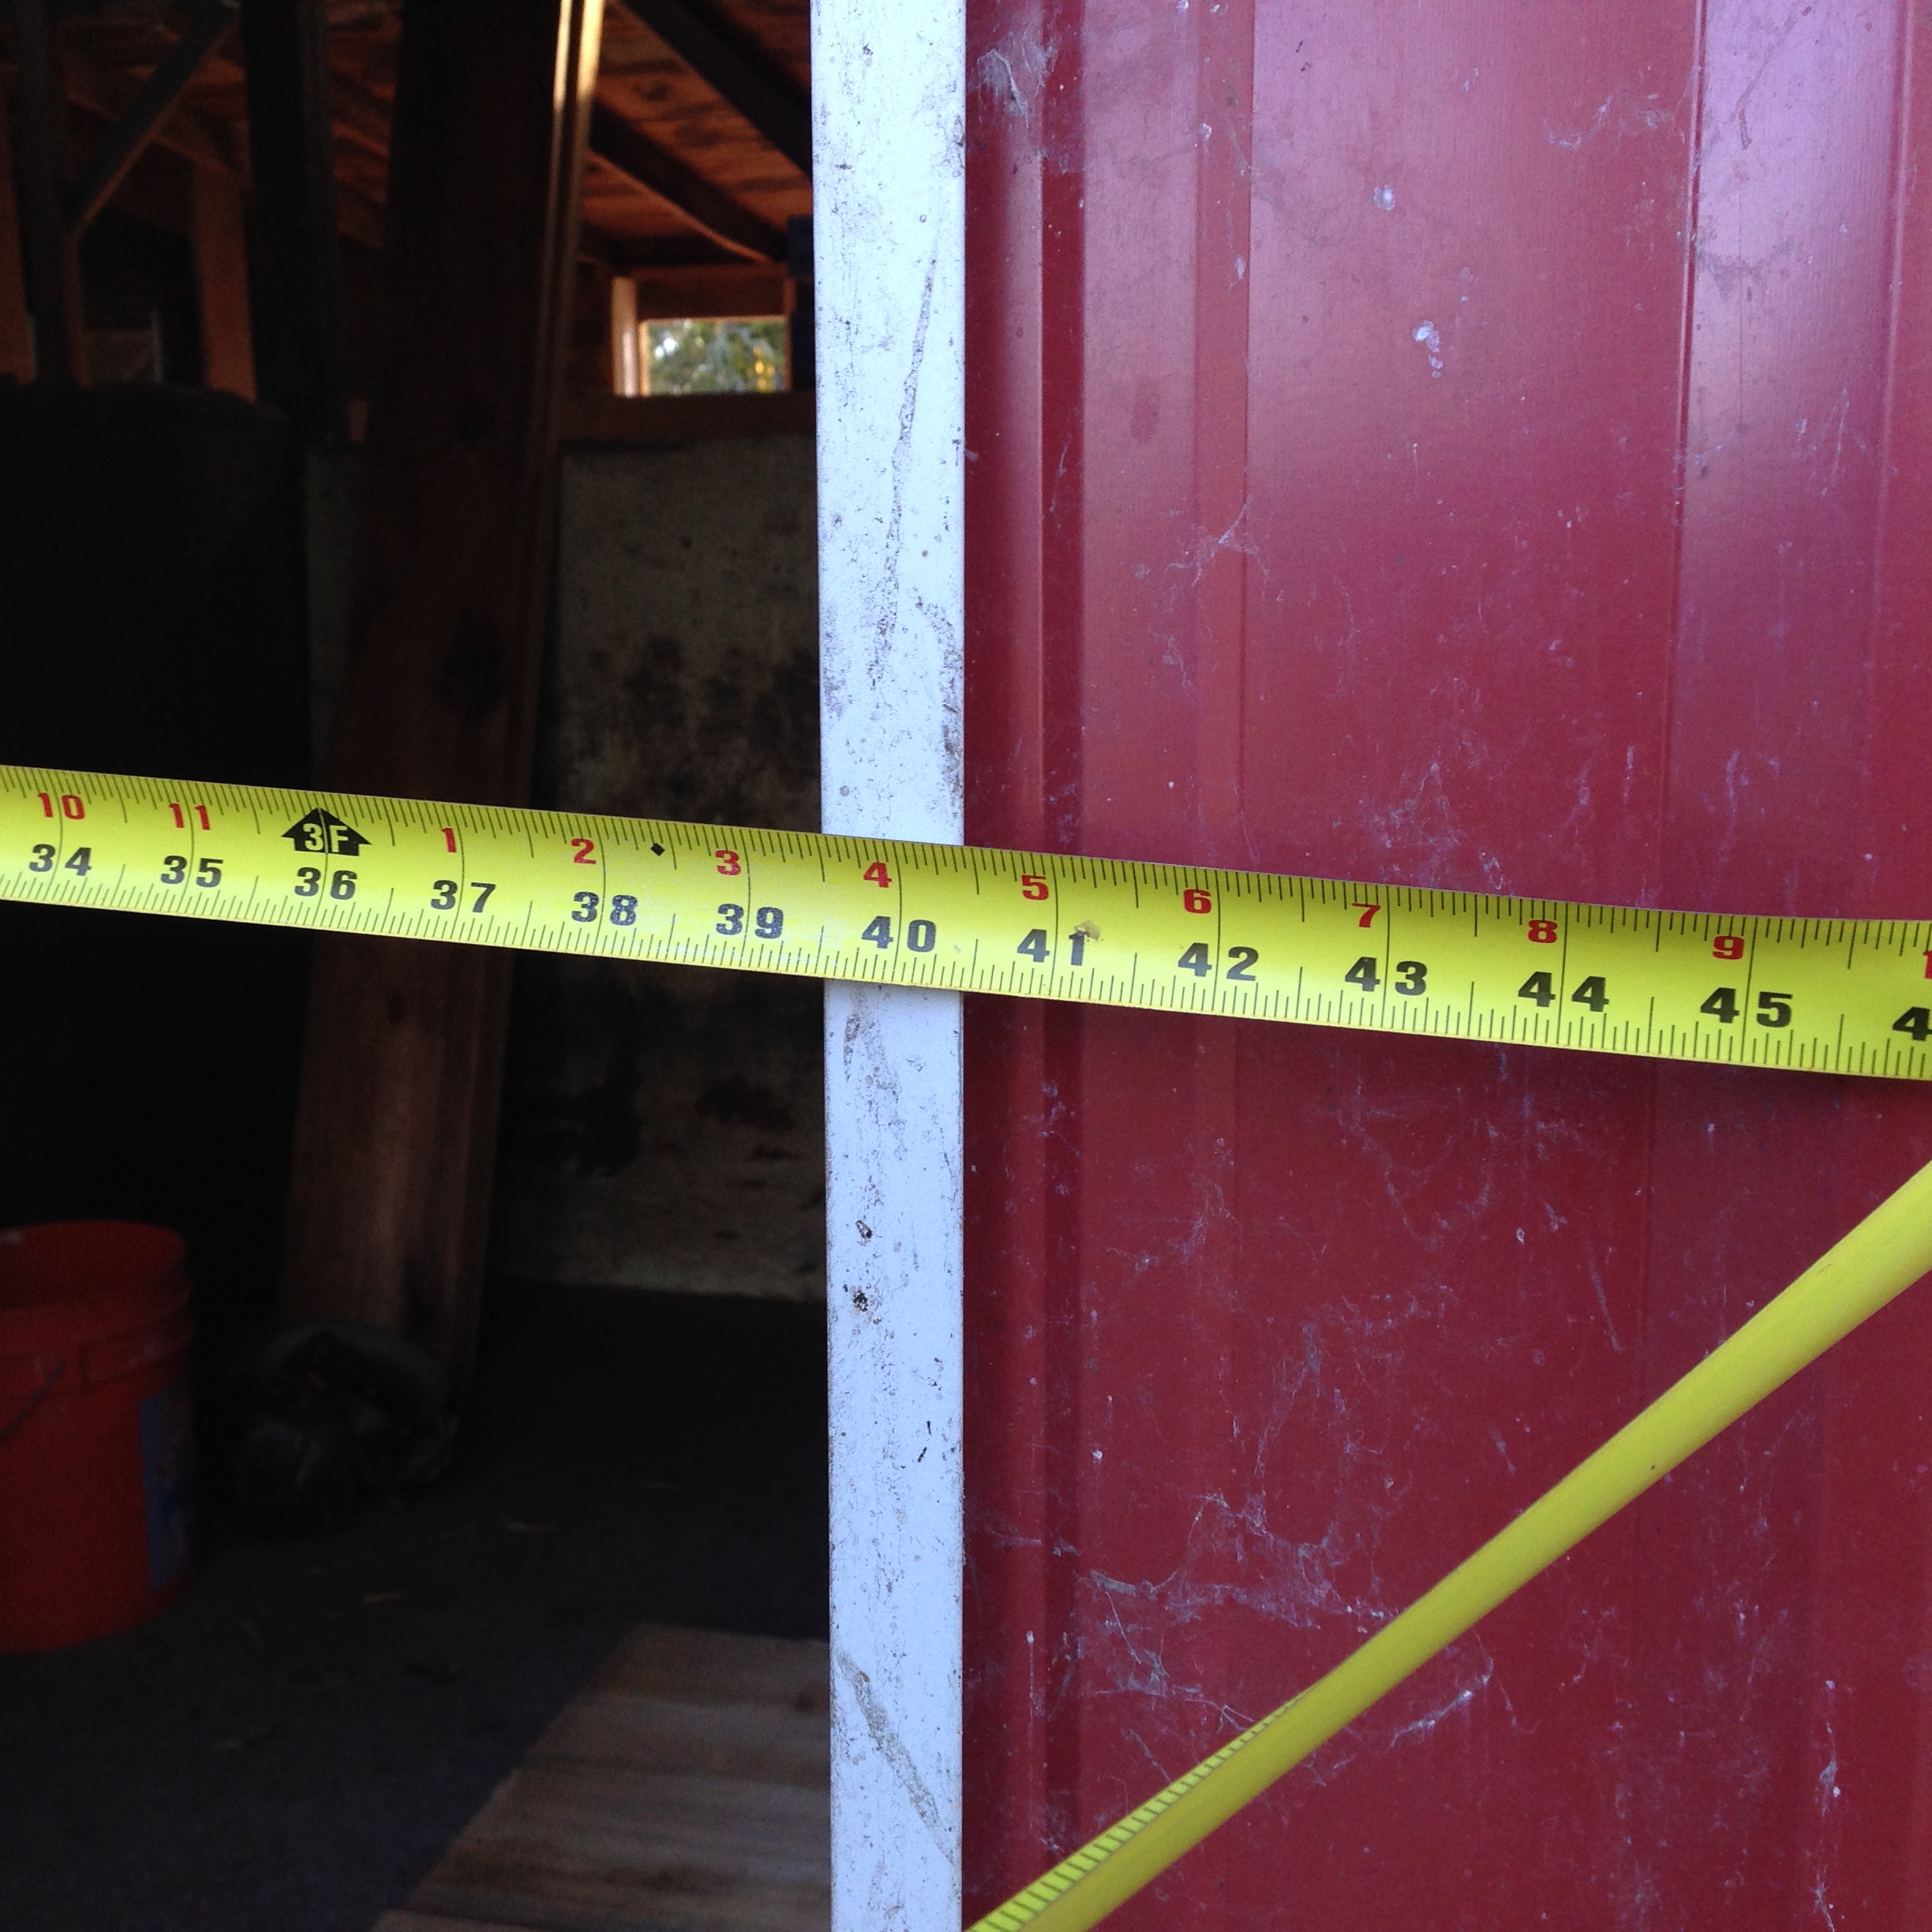
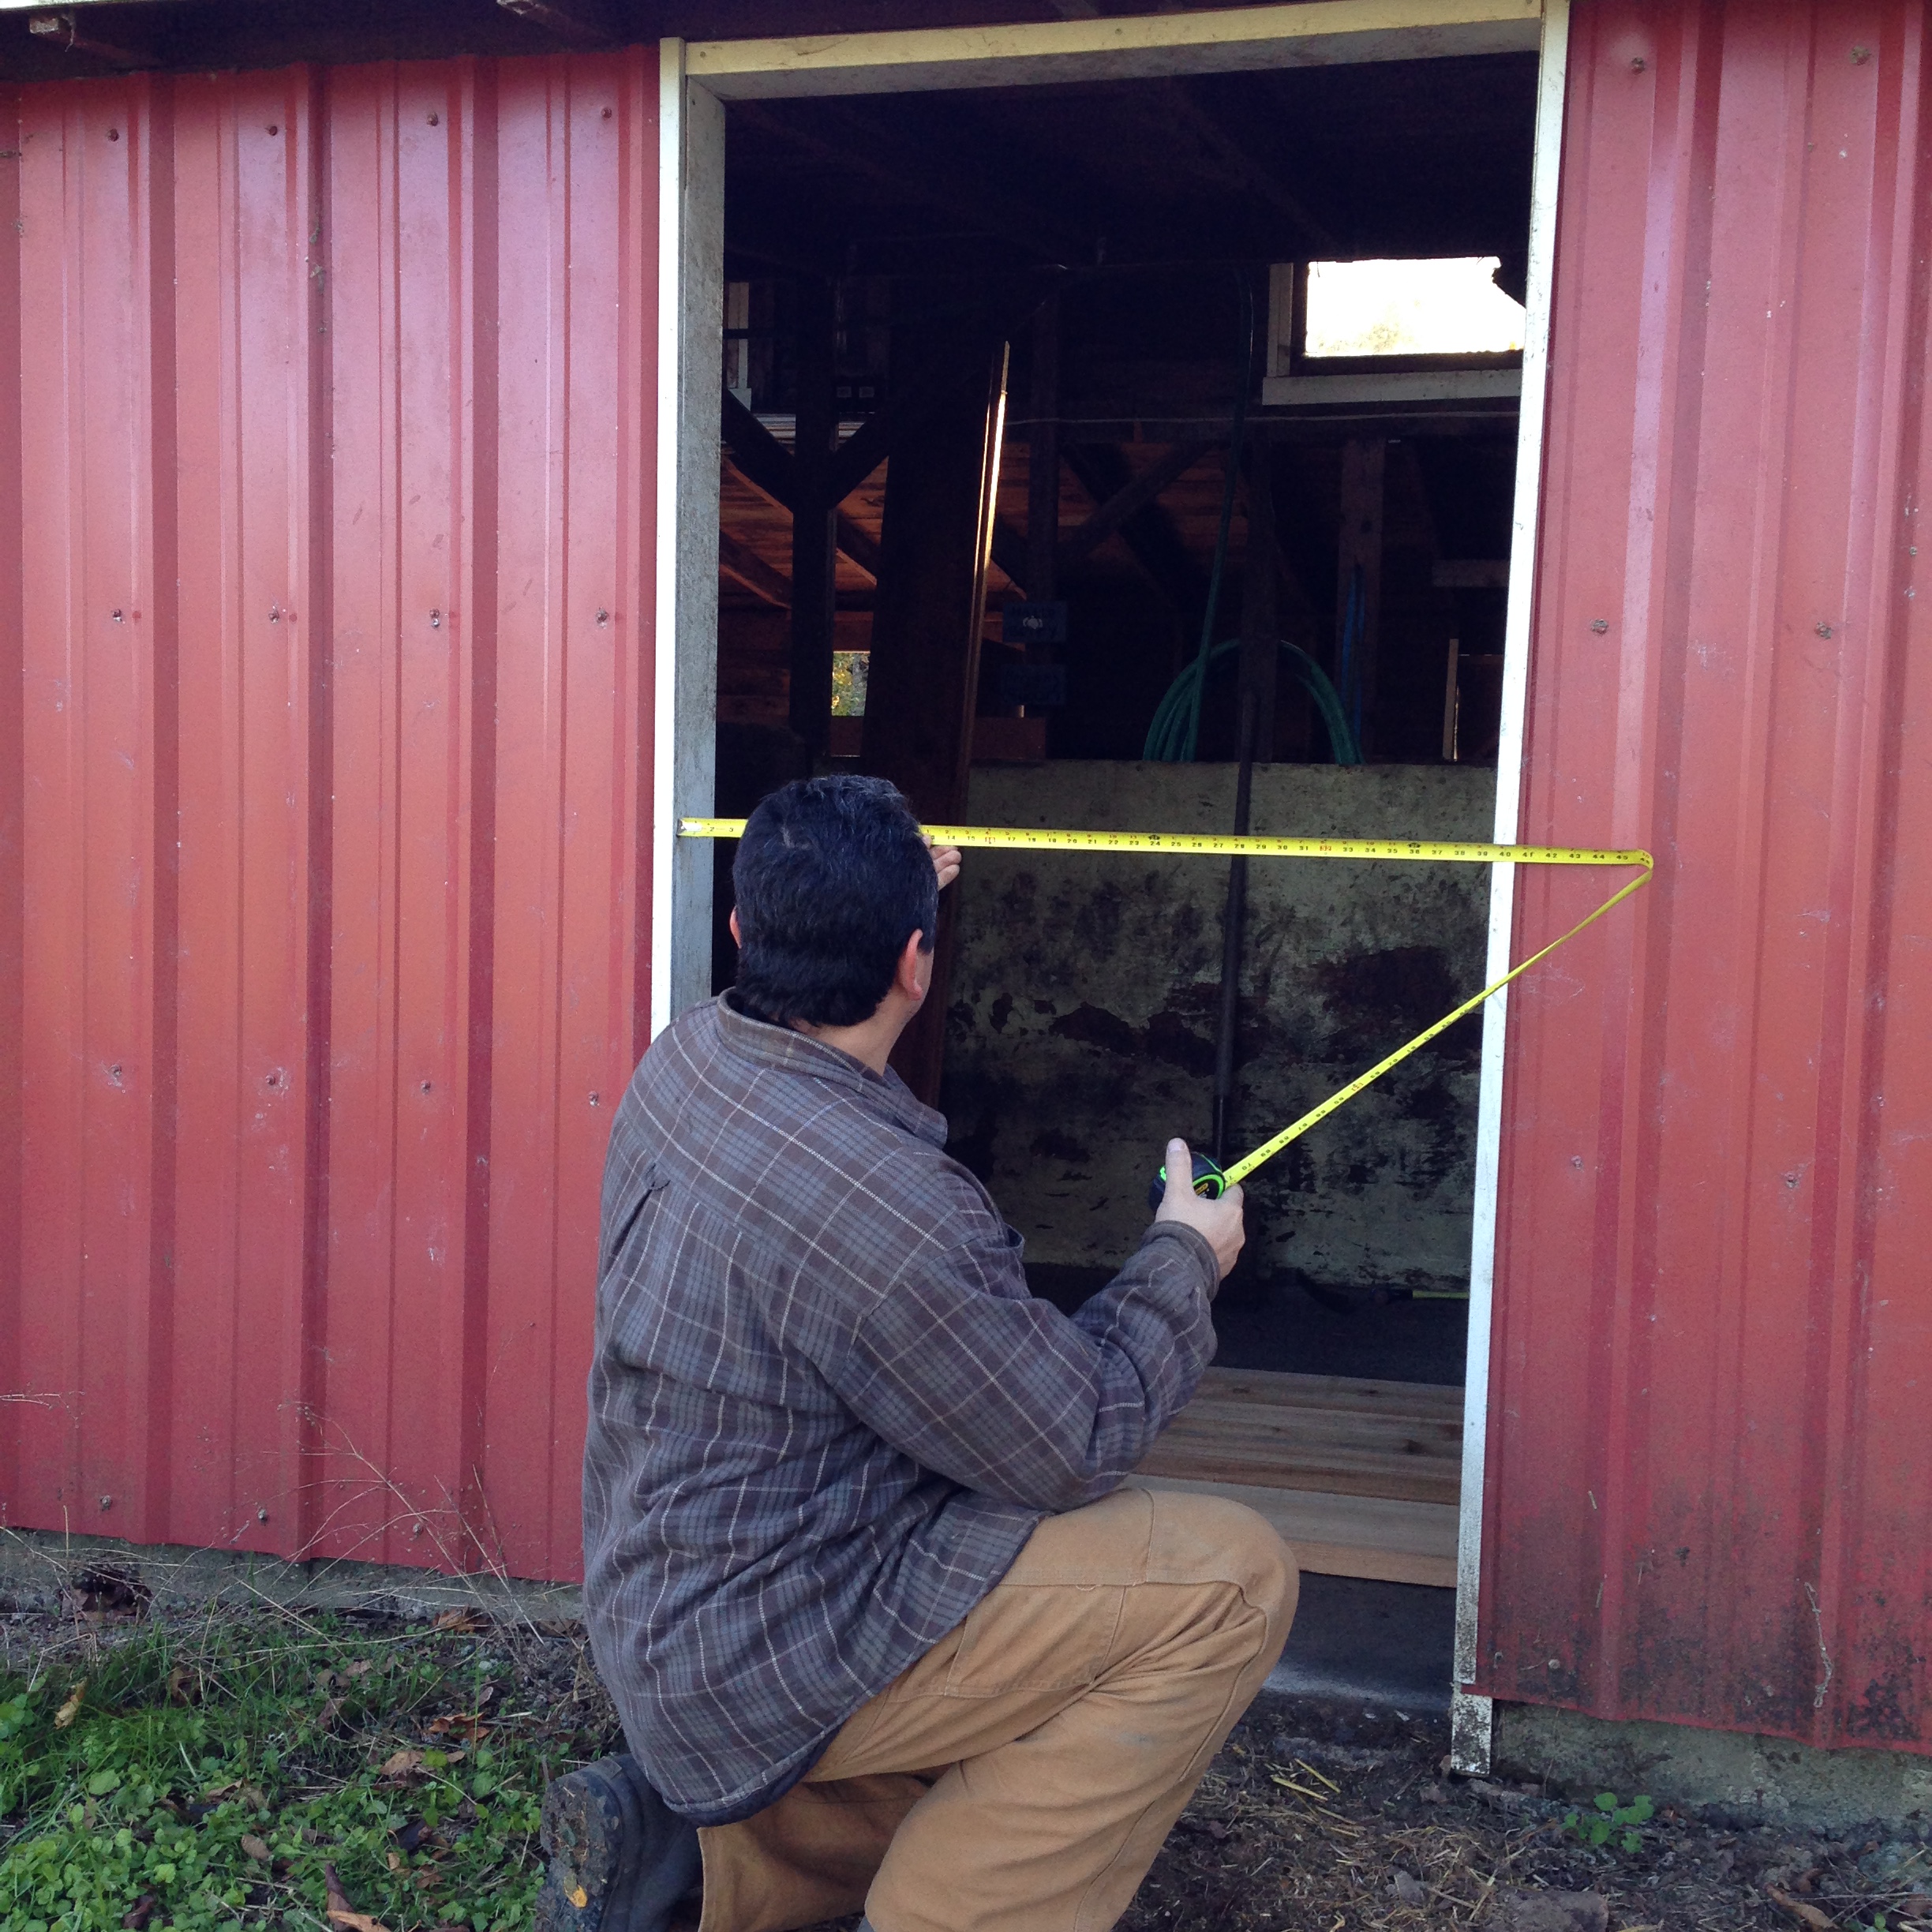
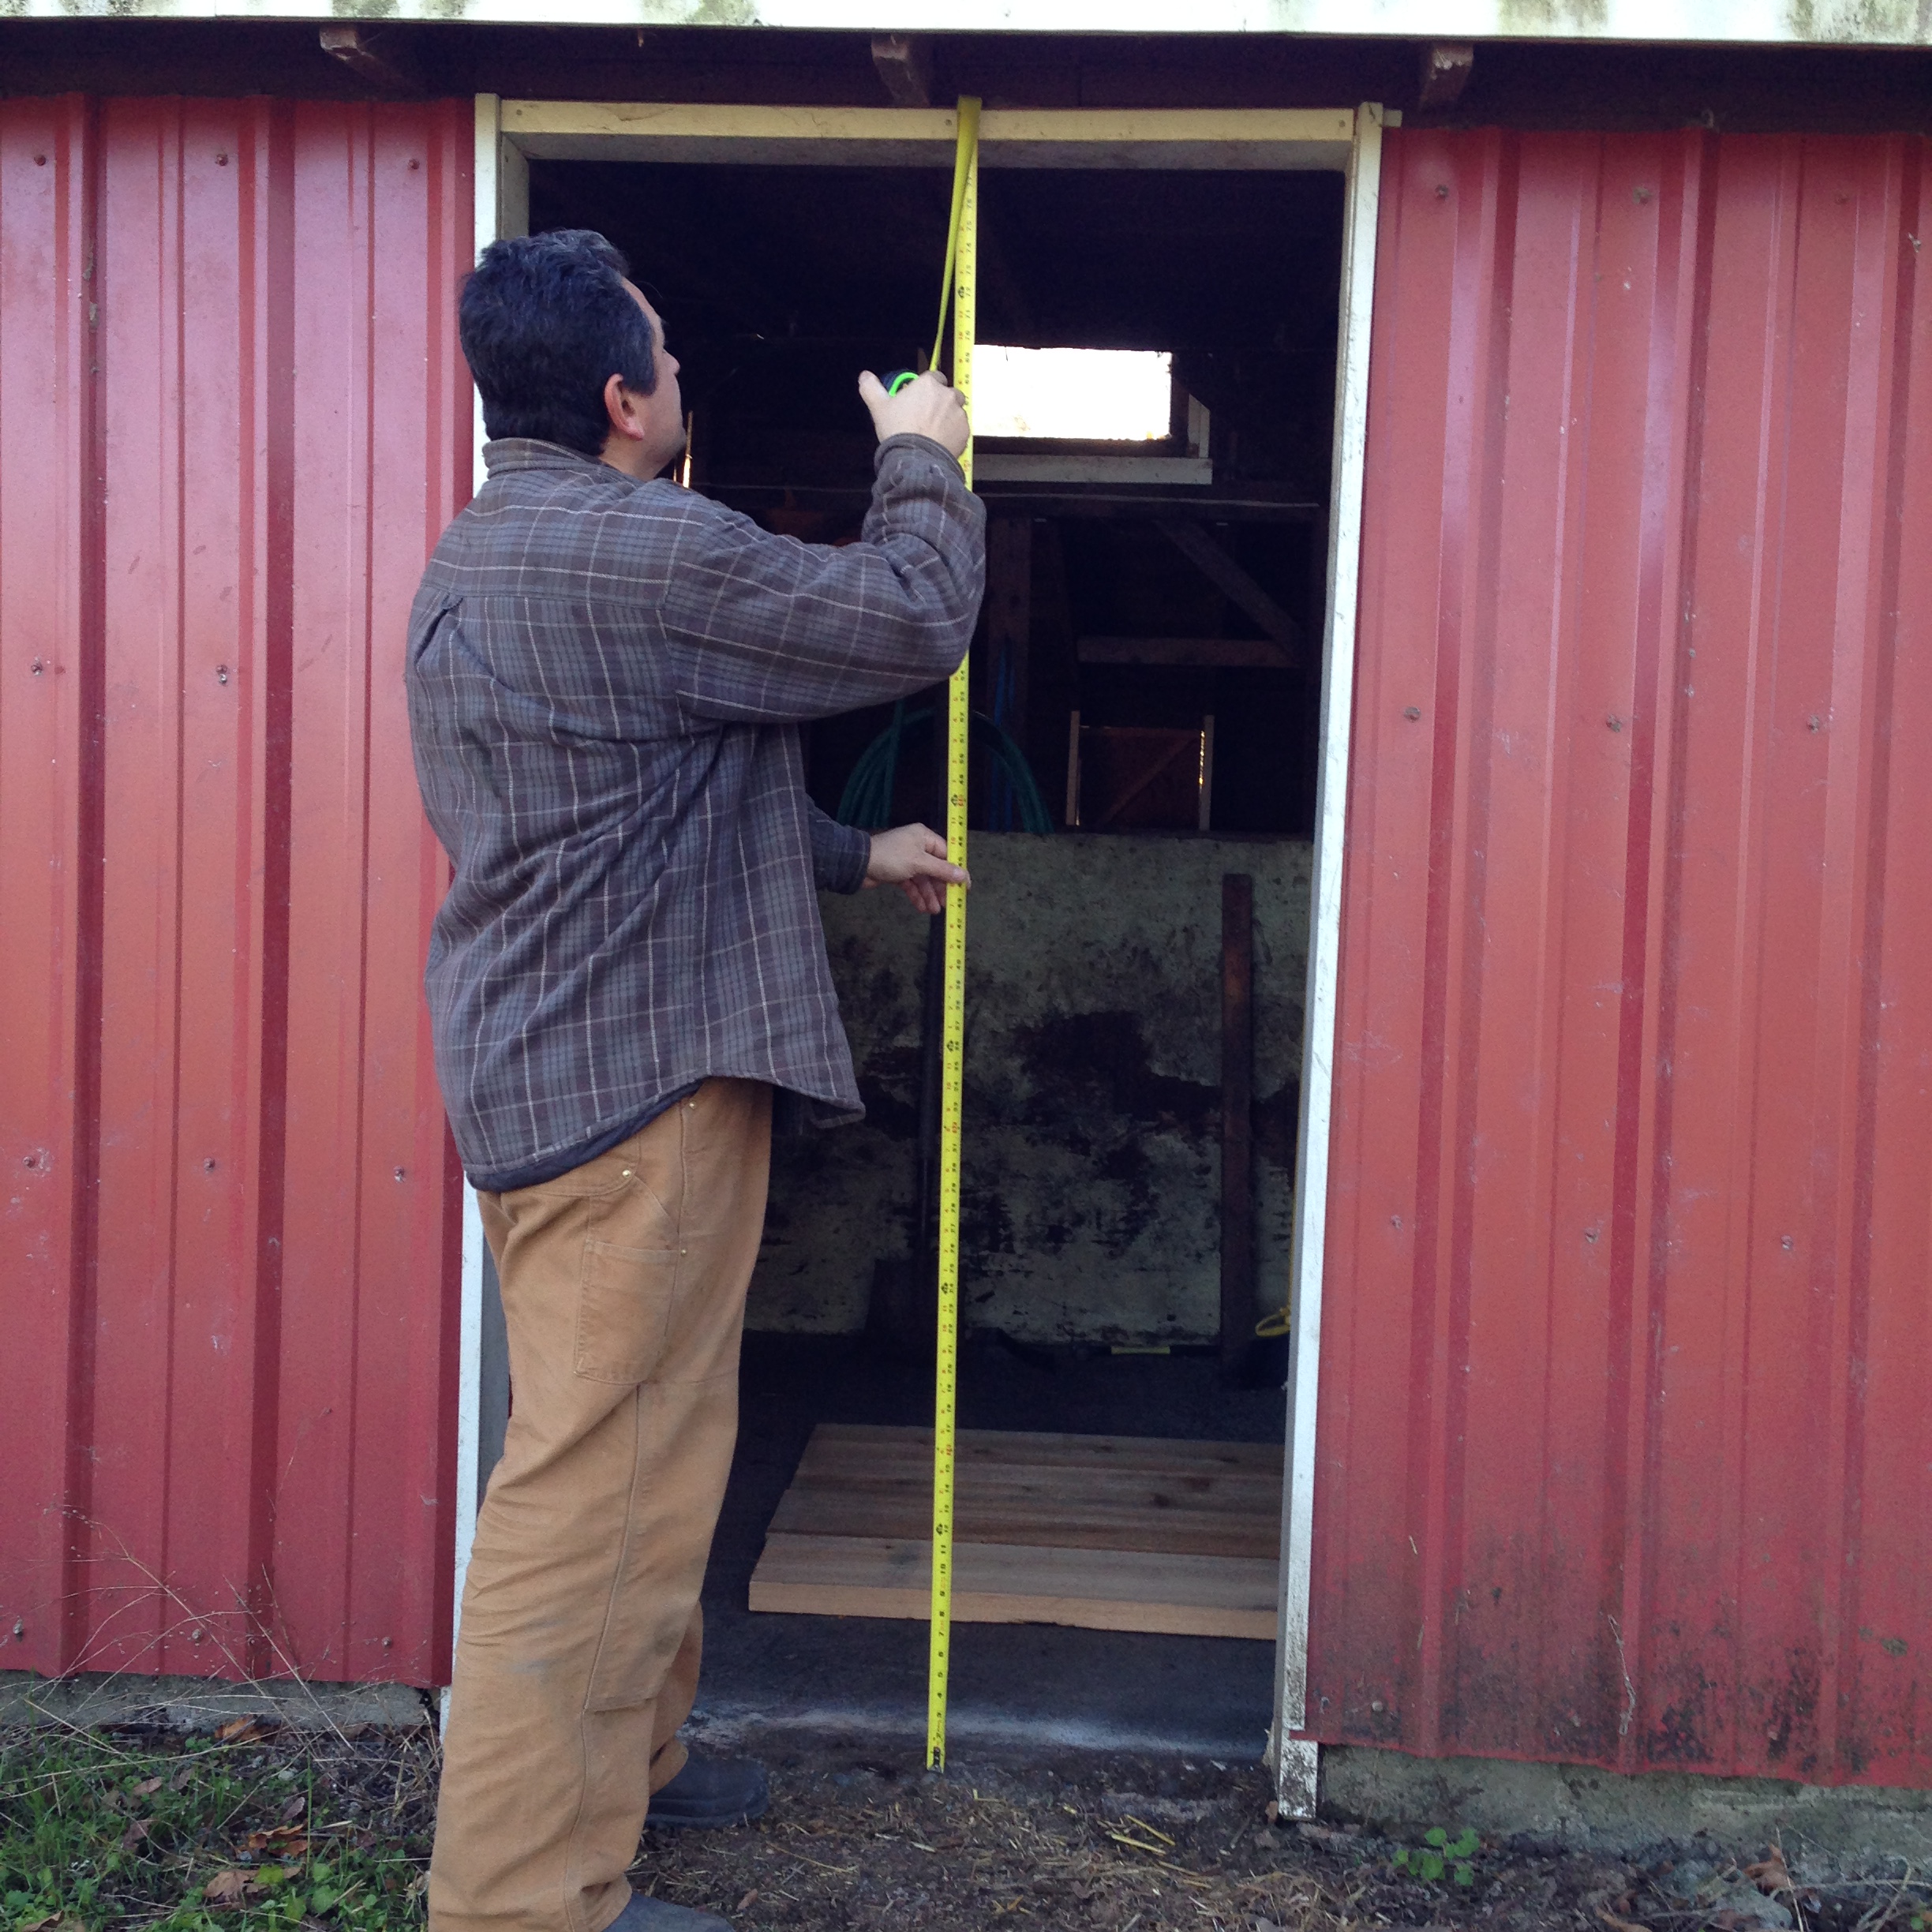
I took measurements at the top (40″), middle (39.5″) and bottom (39″) of the doorway, and since these measurements were not the same, I used the widest section (the top) as the guide at 40″ and will then have to shave off some of the door at the bottom to match the irregular doorway.
I then transferred these measurements to the planks and cut each one.
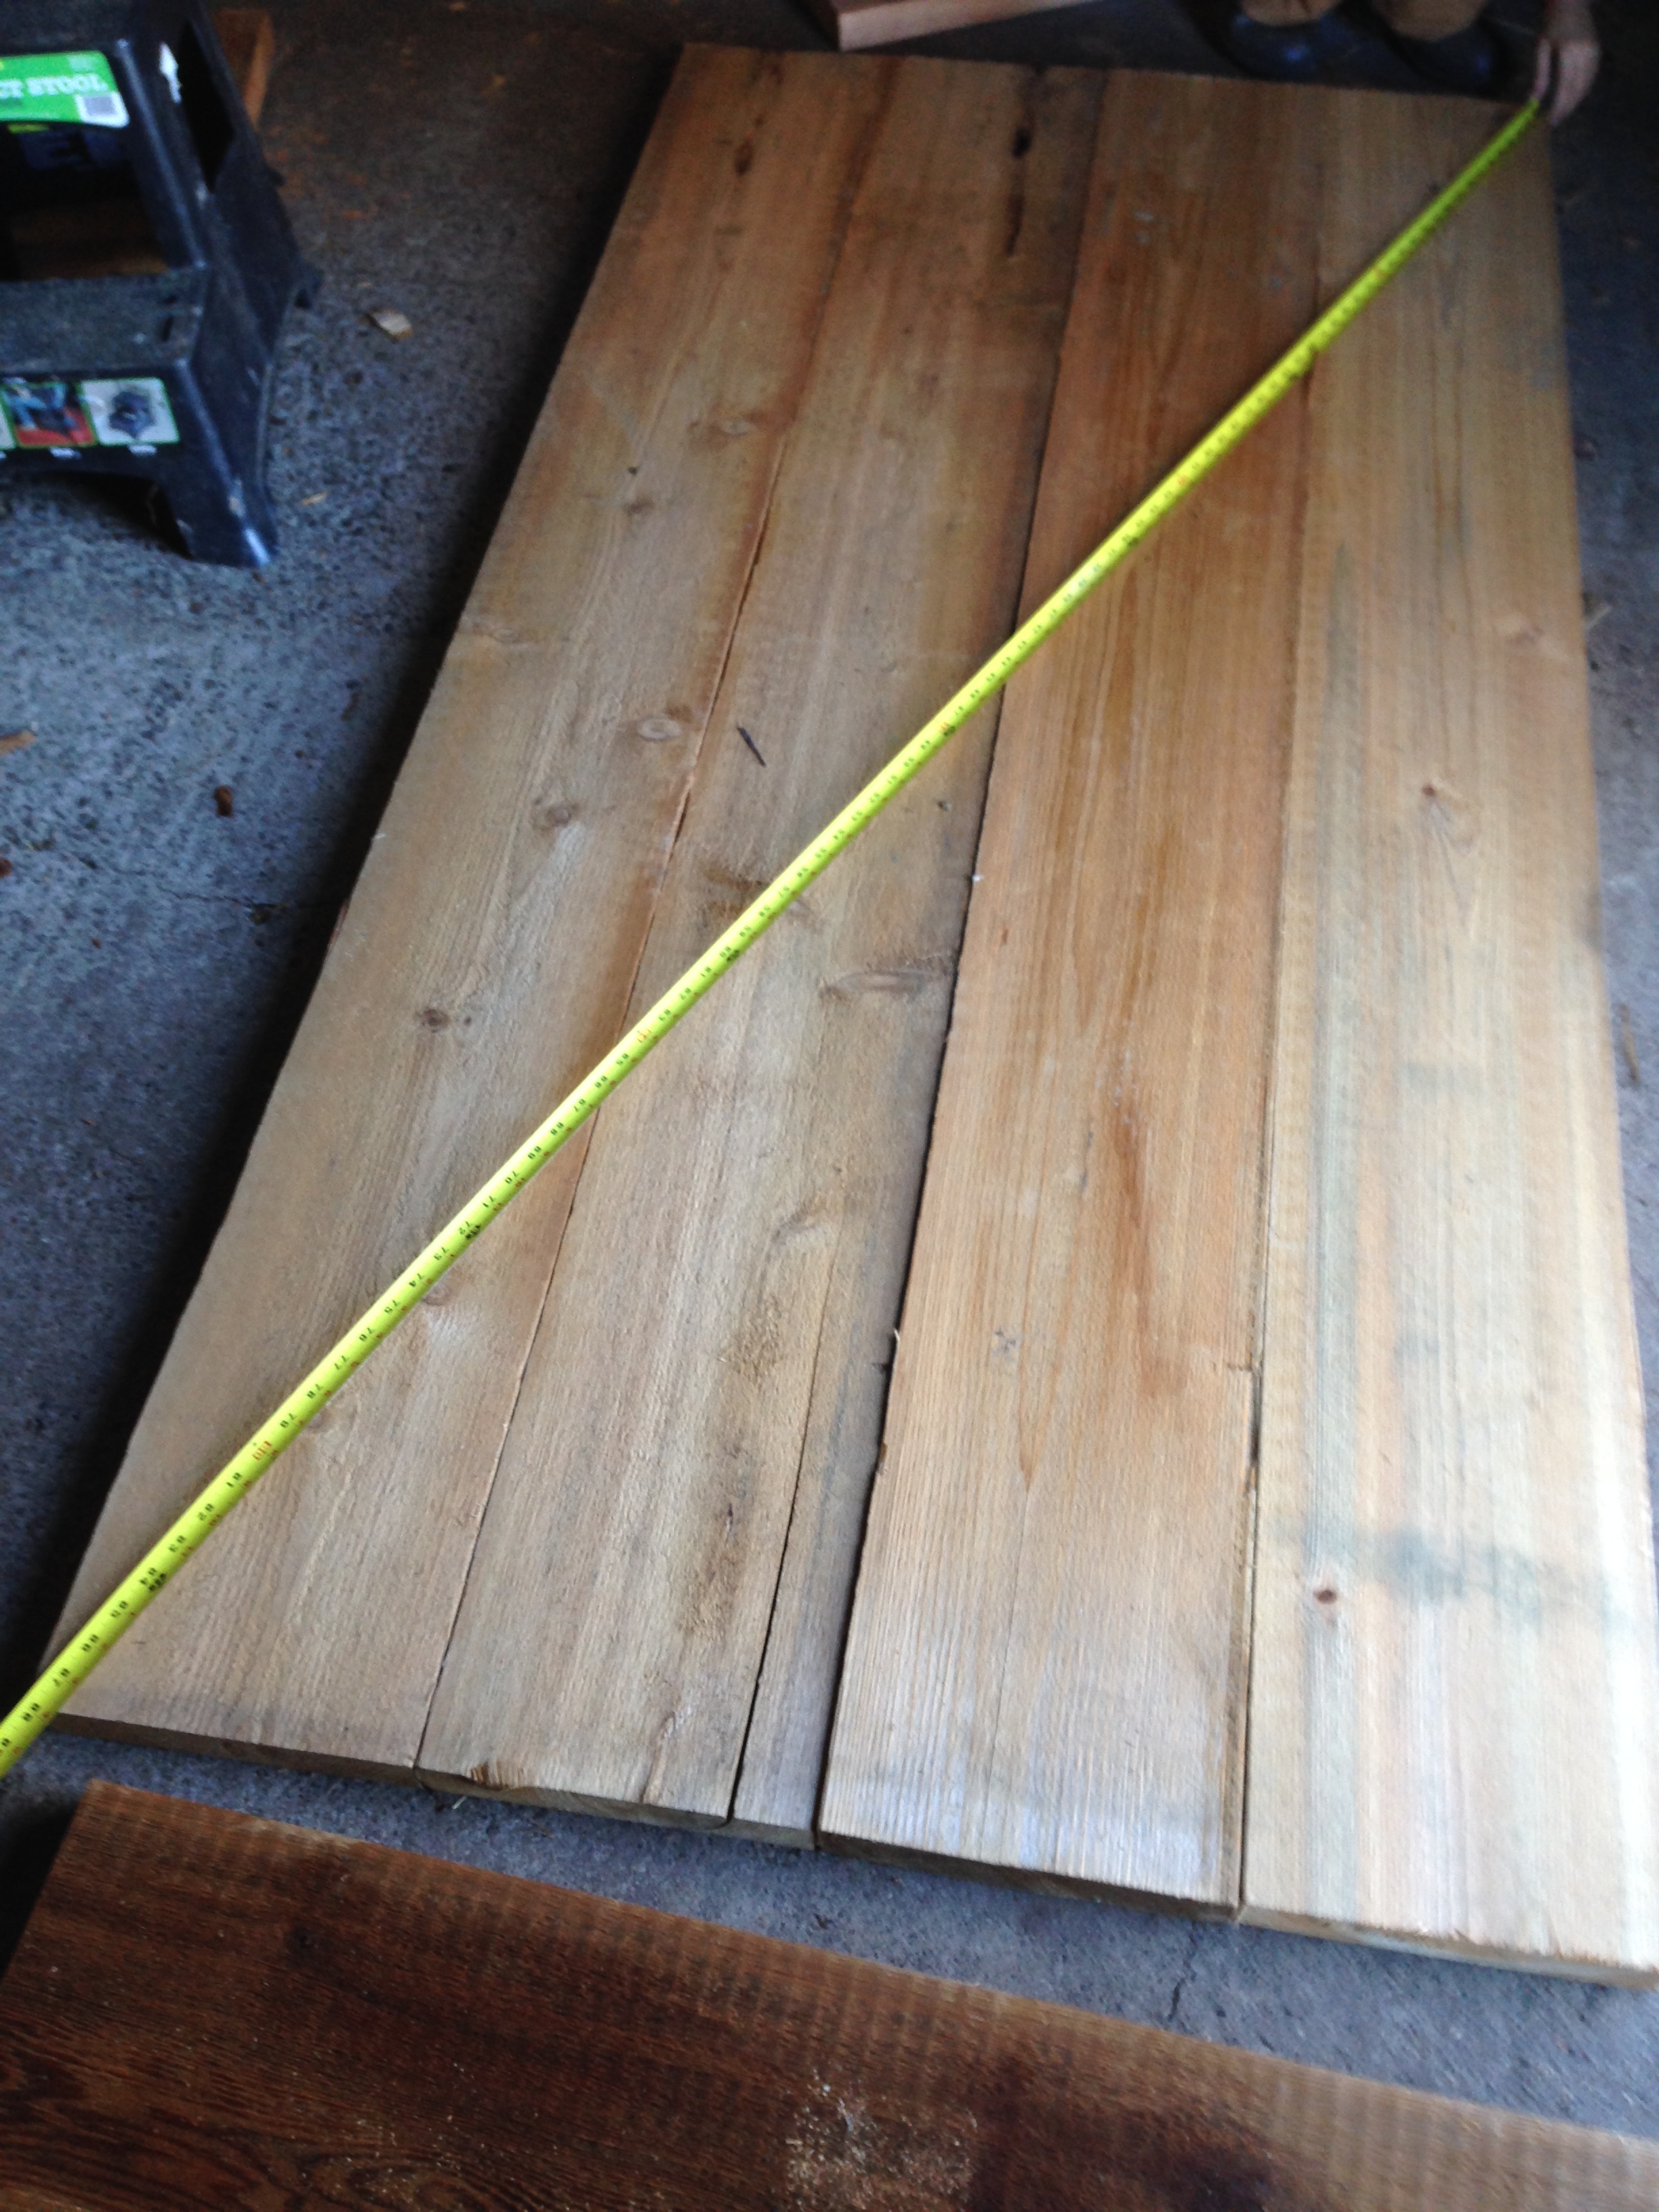
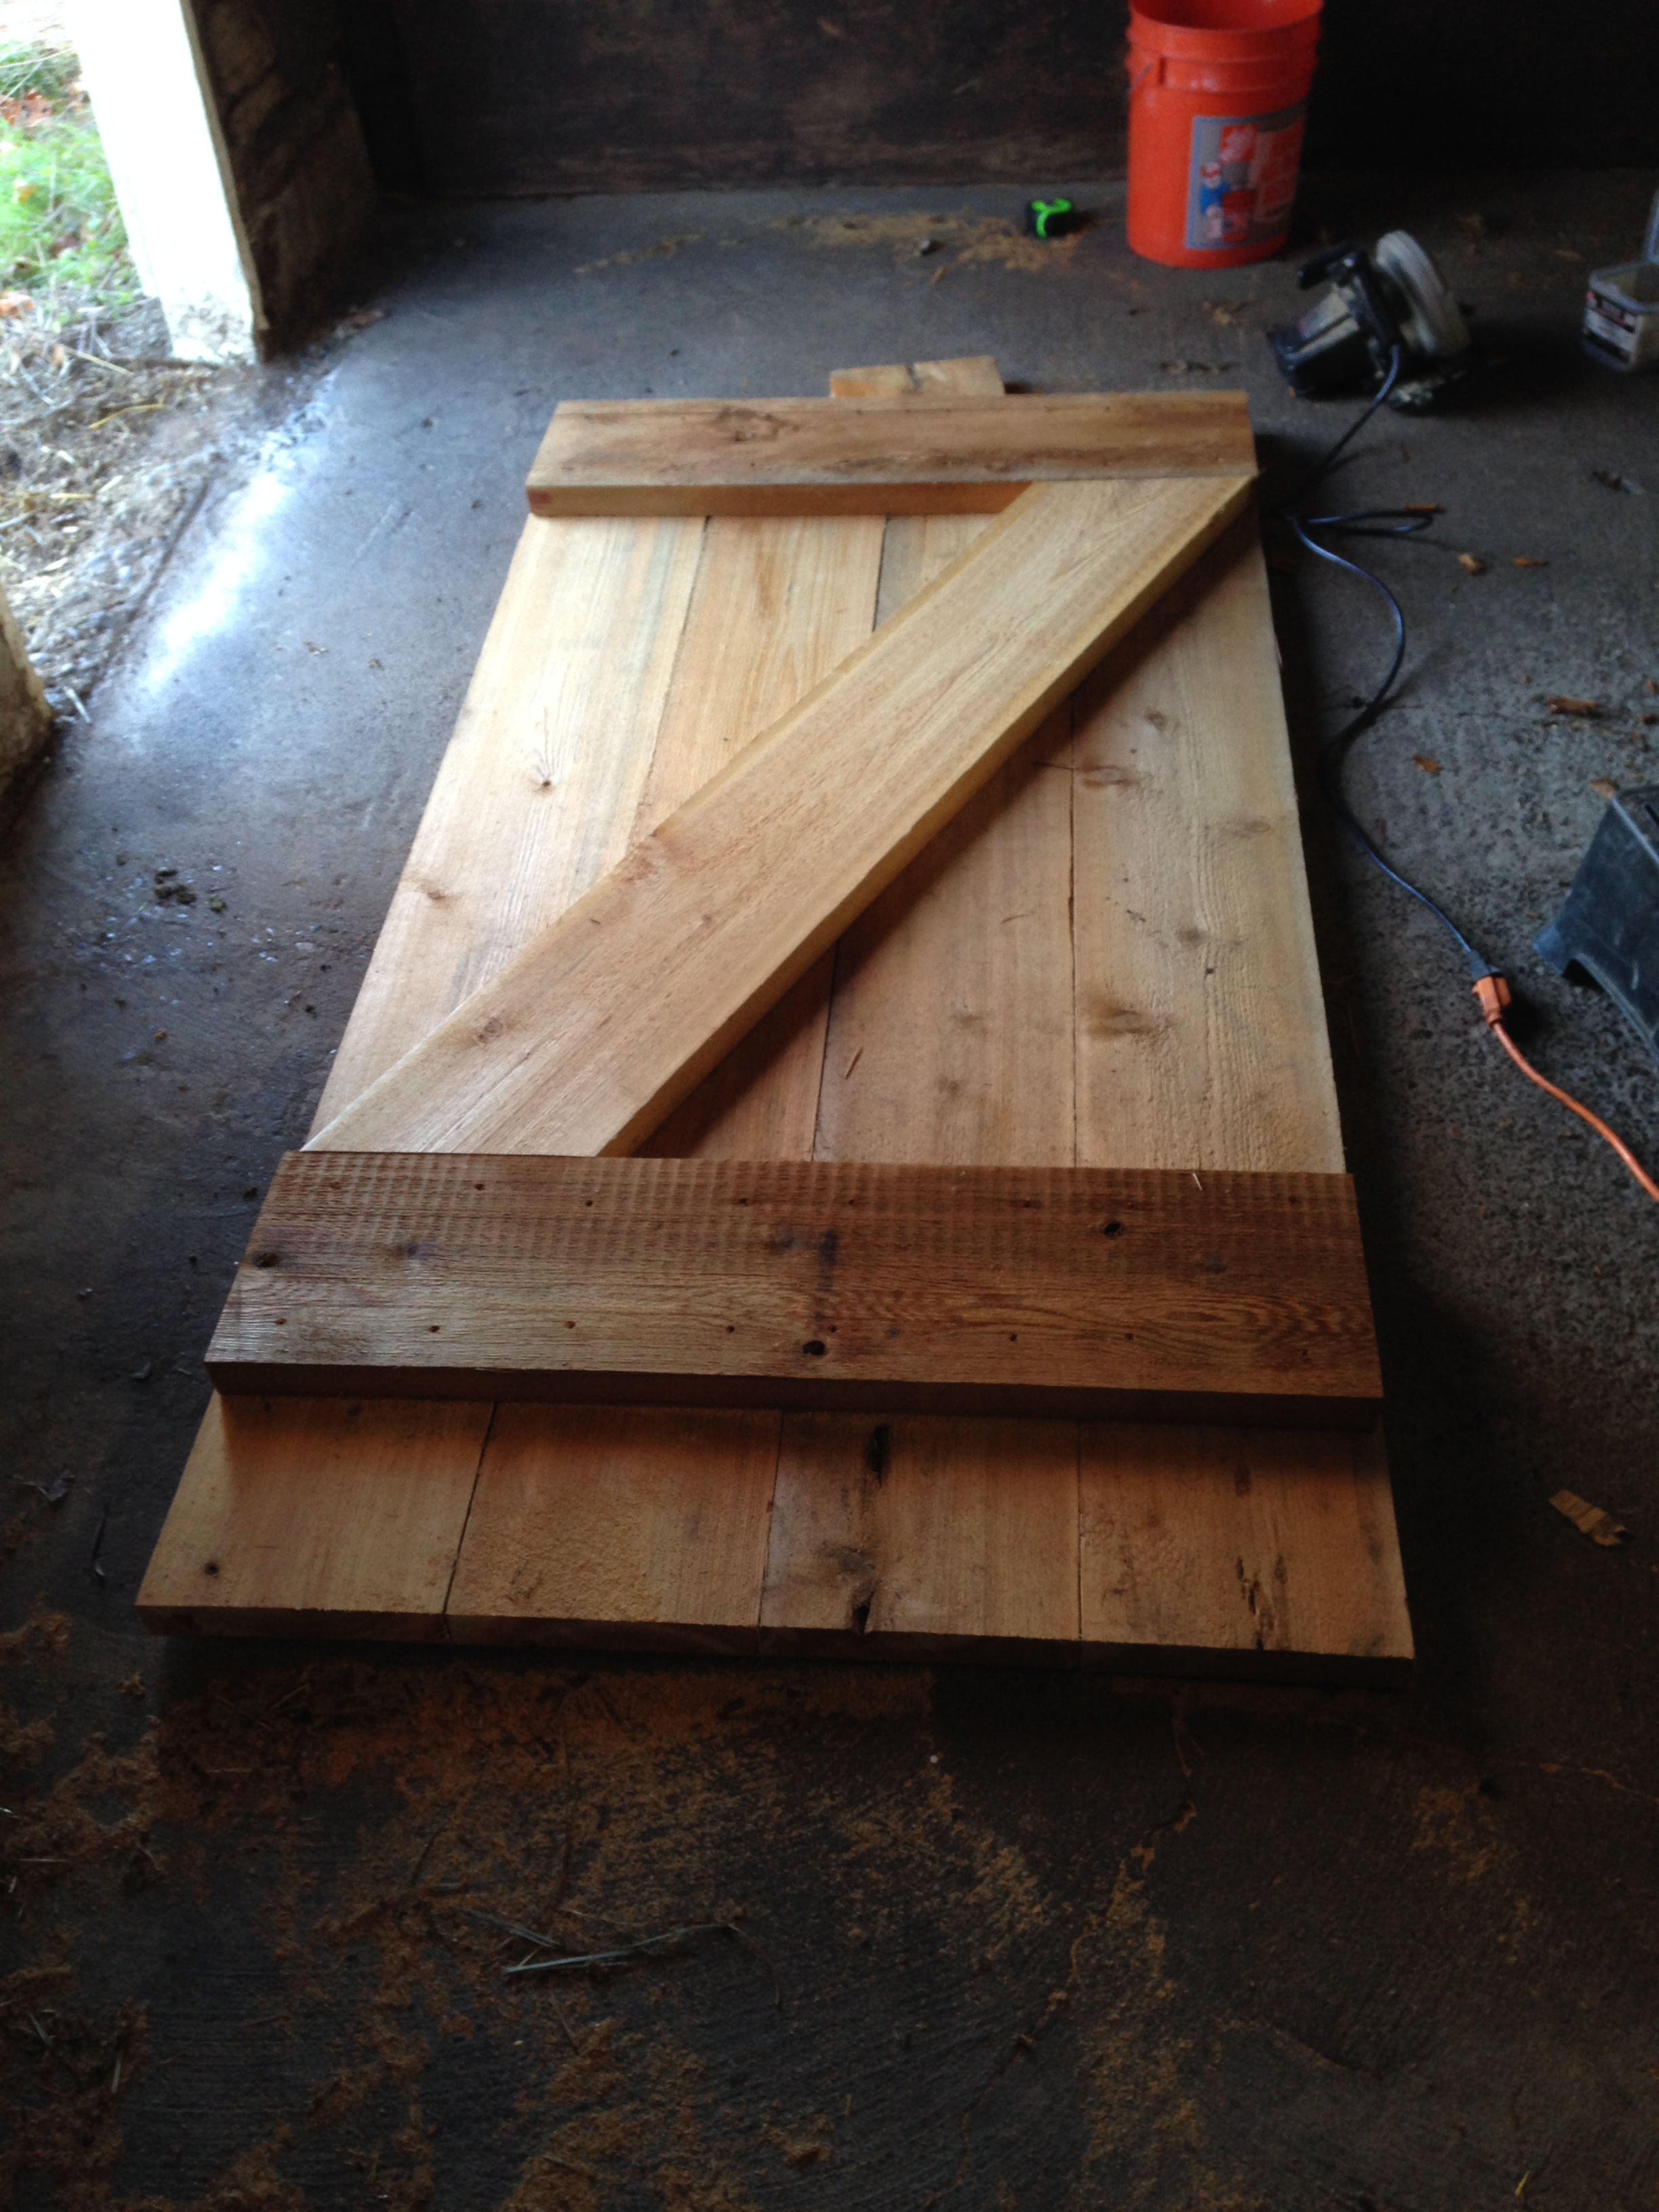
I then laid the door out and measured diagonally both directions to ensure it was square. This is made much easier with some good help. Both measured 88″. Perfect.
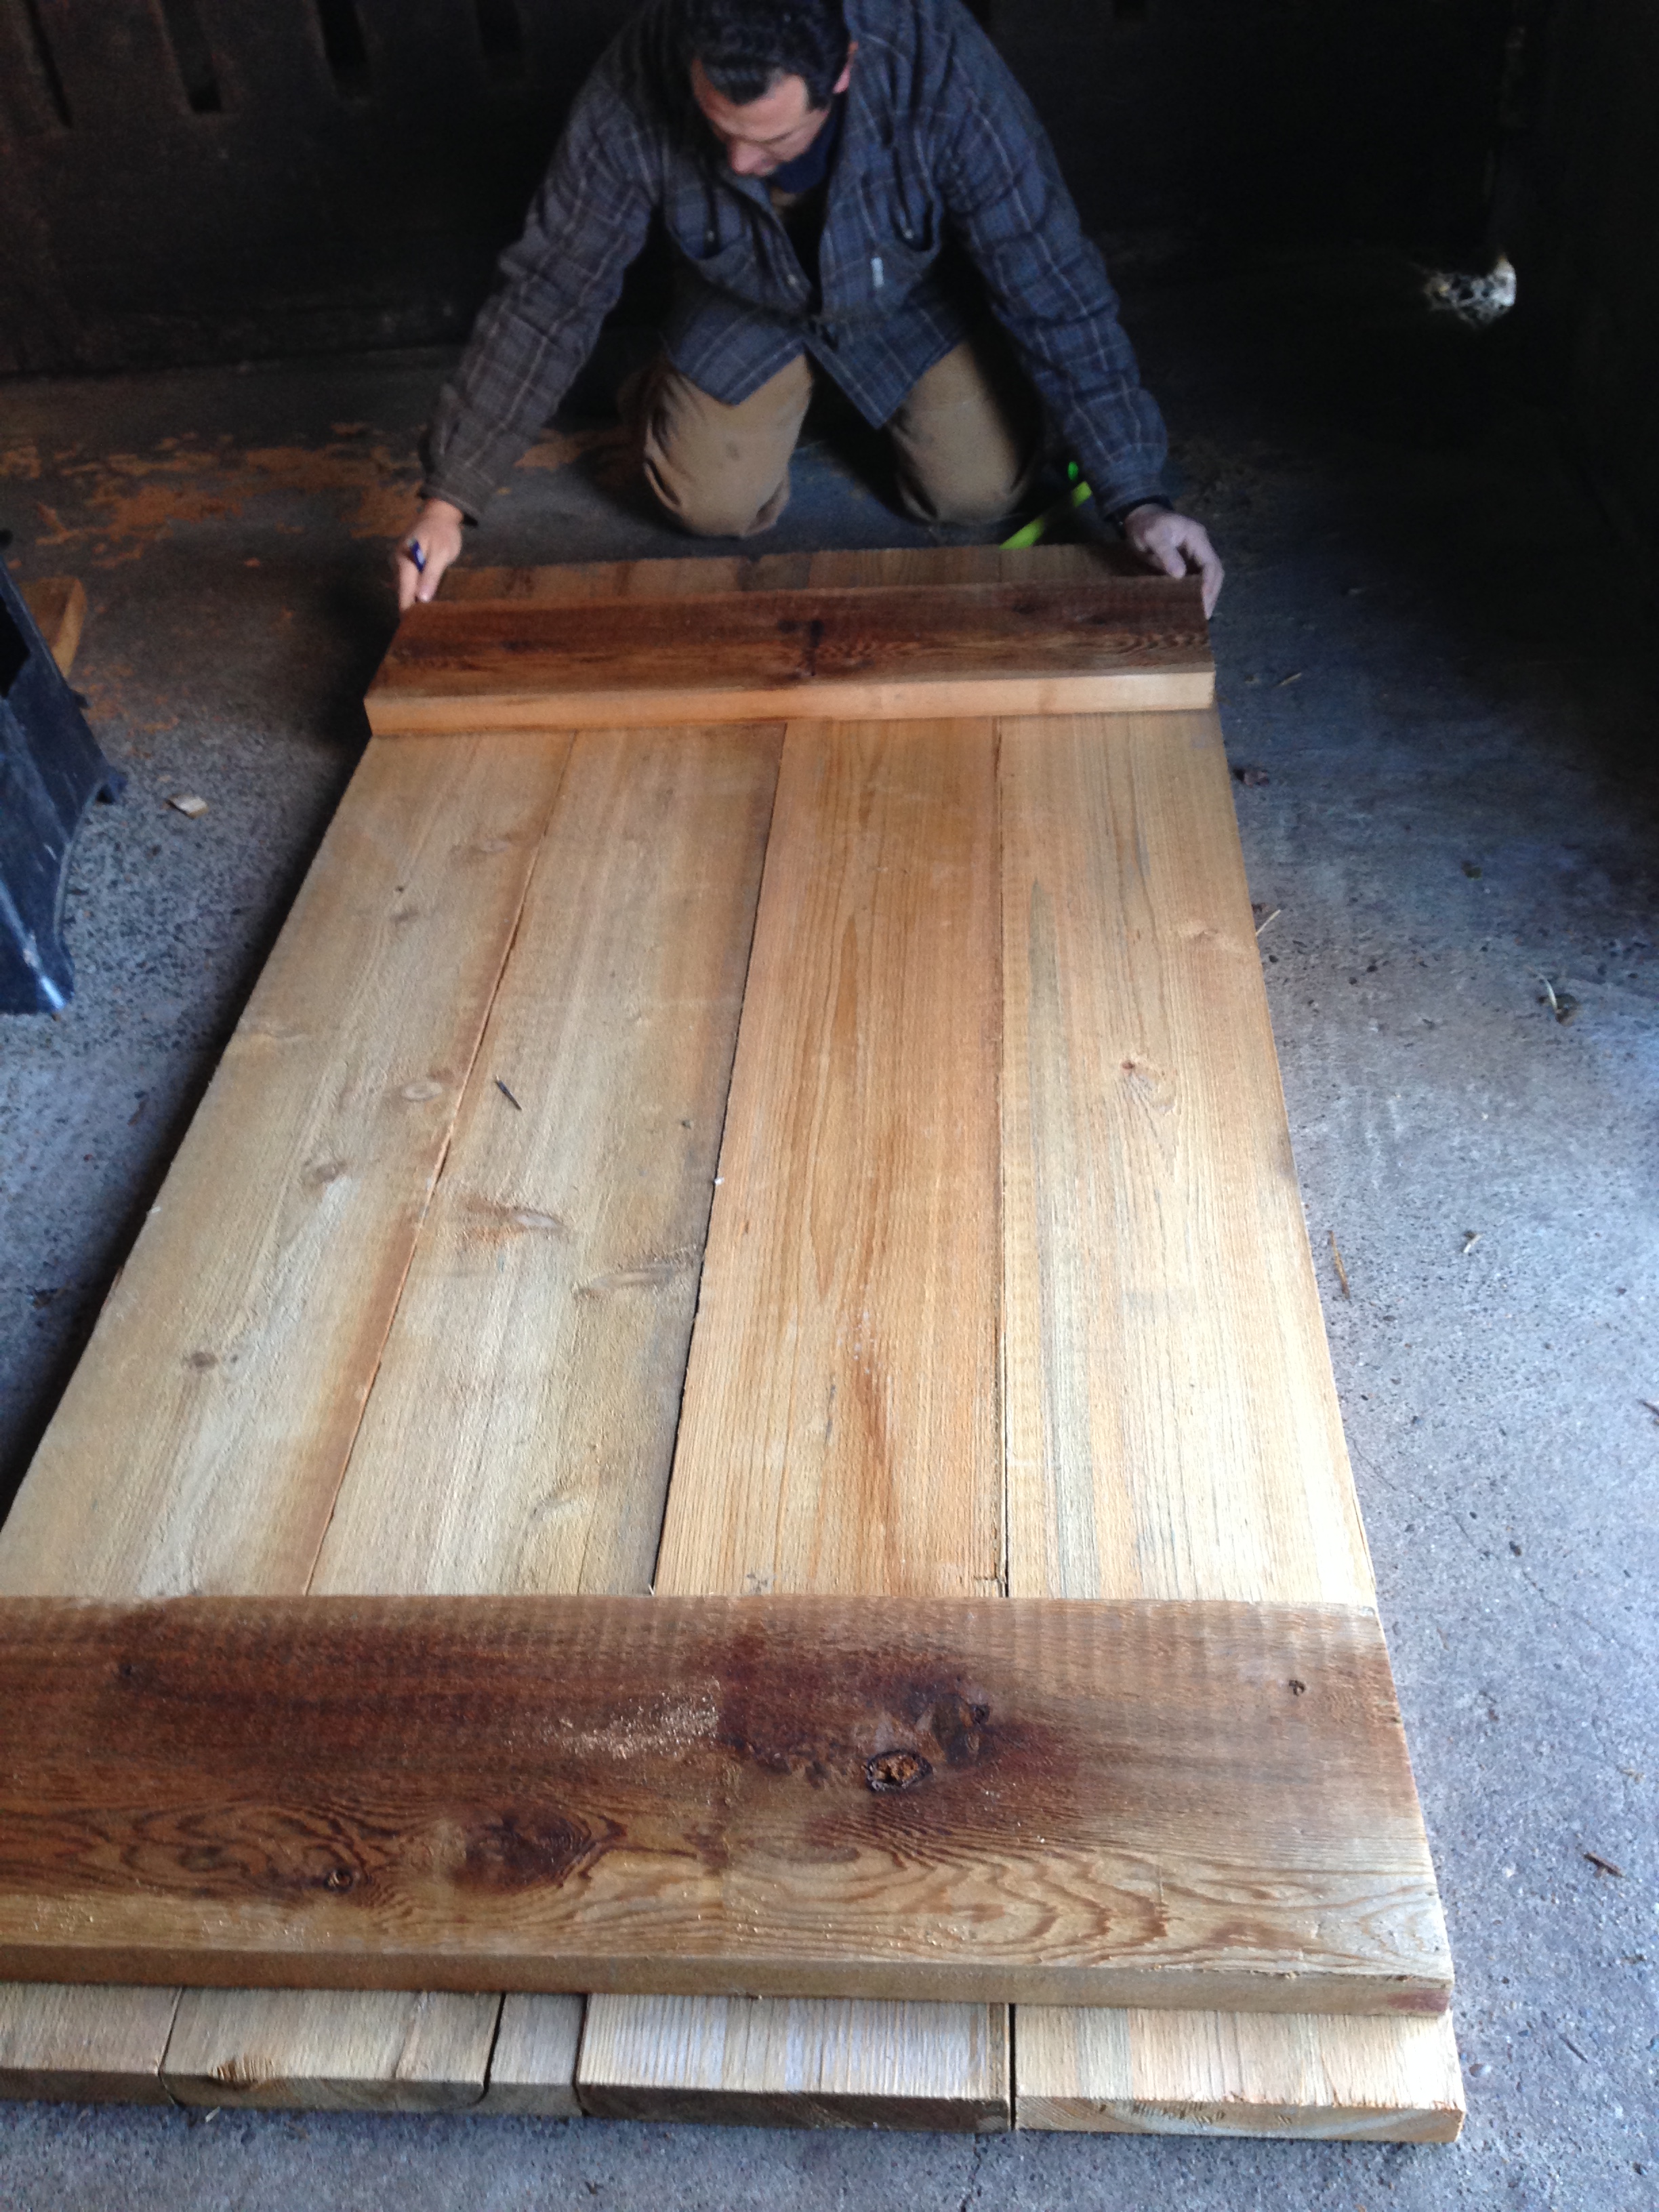
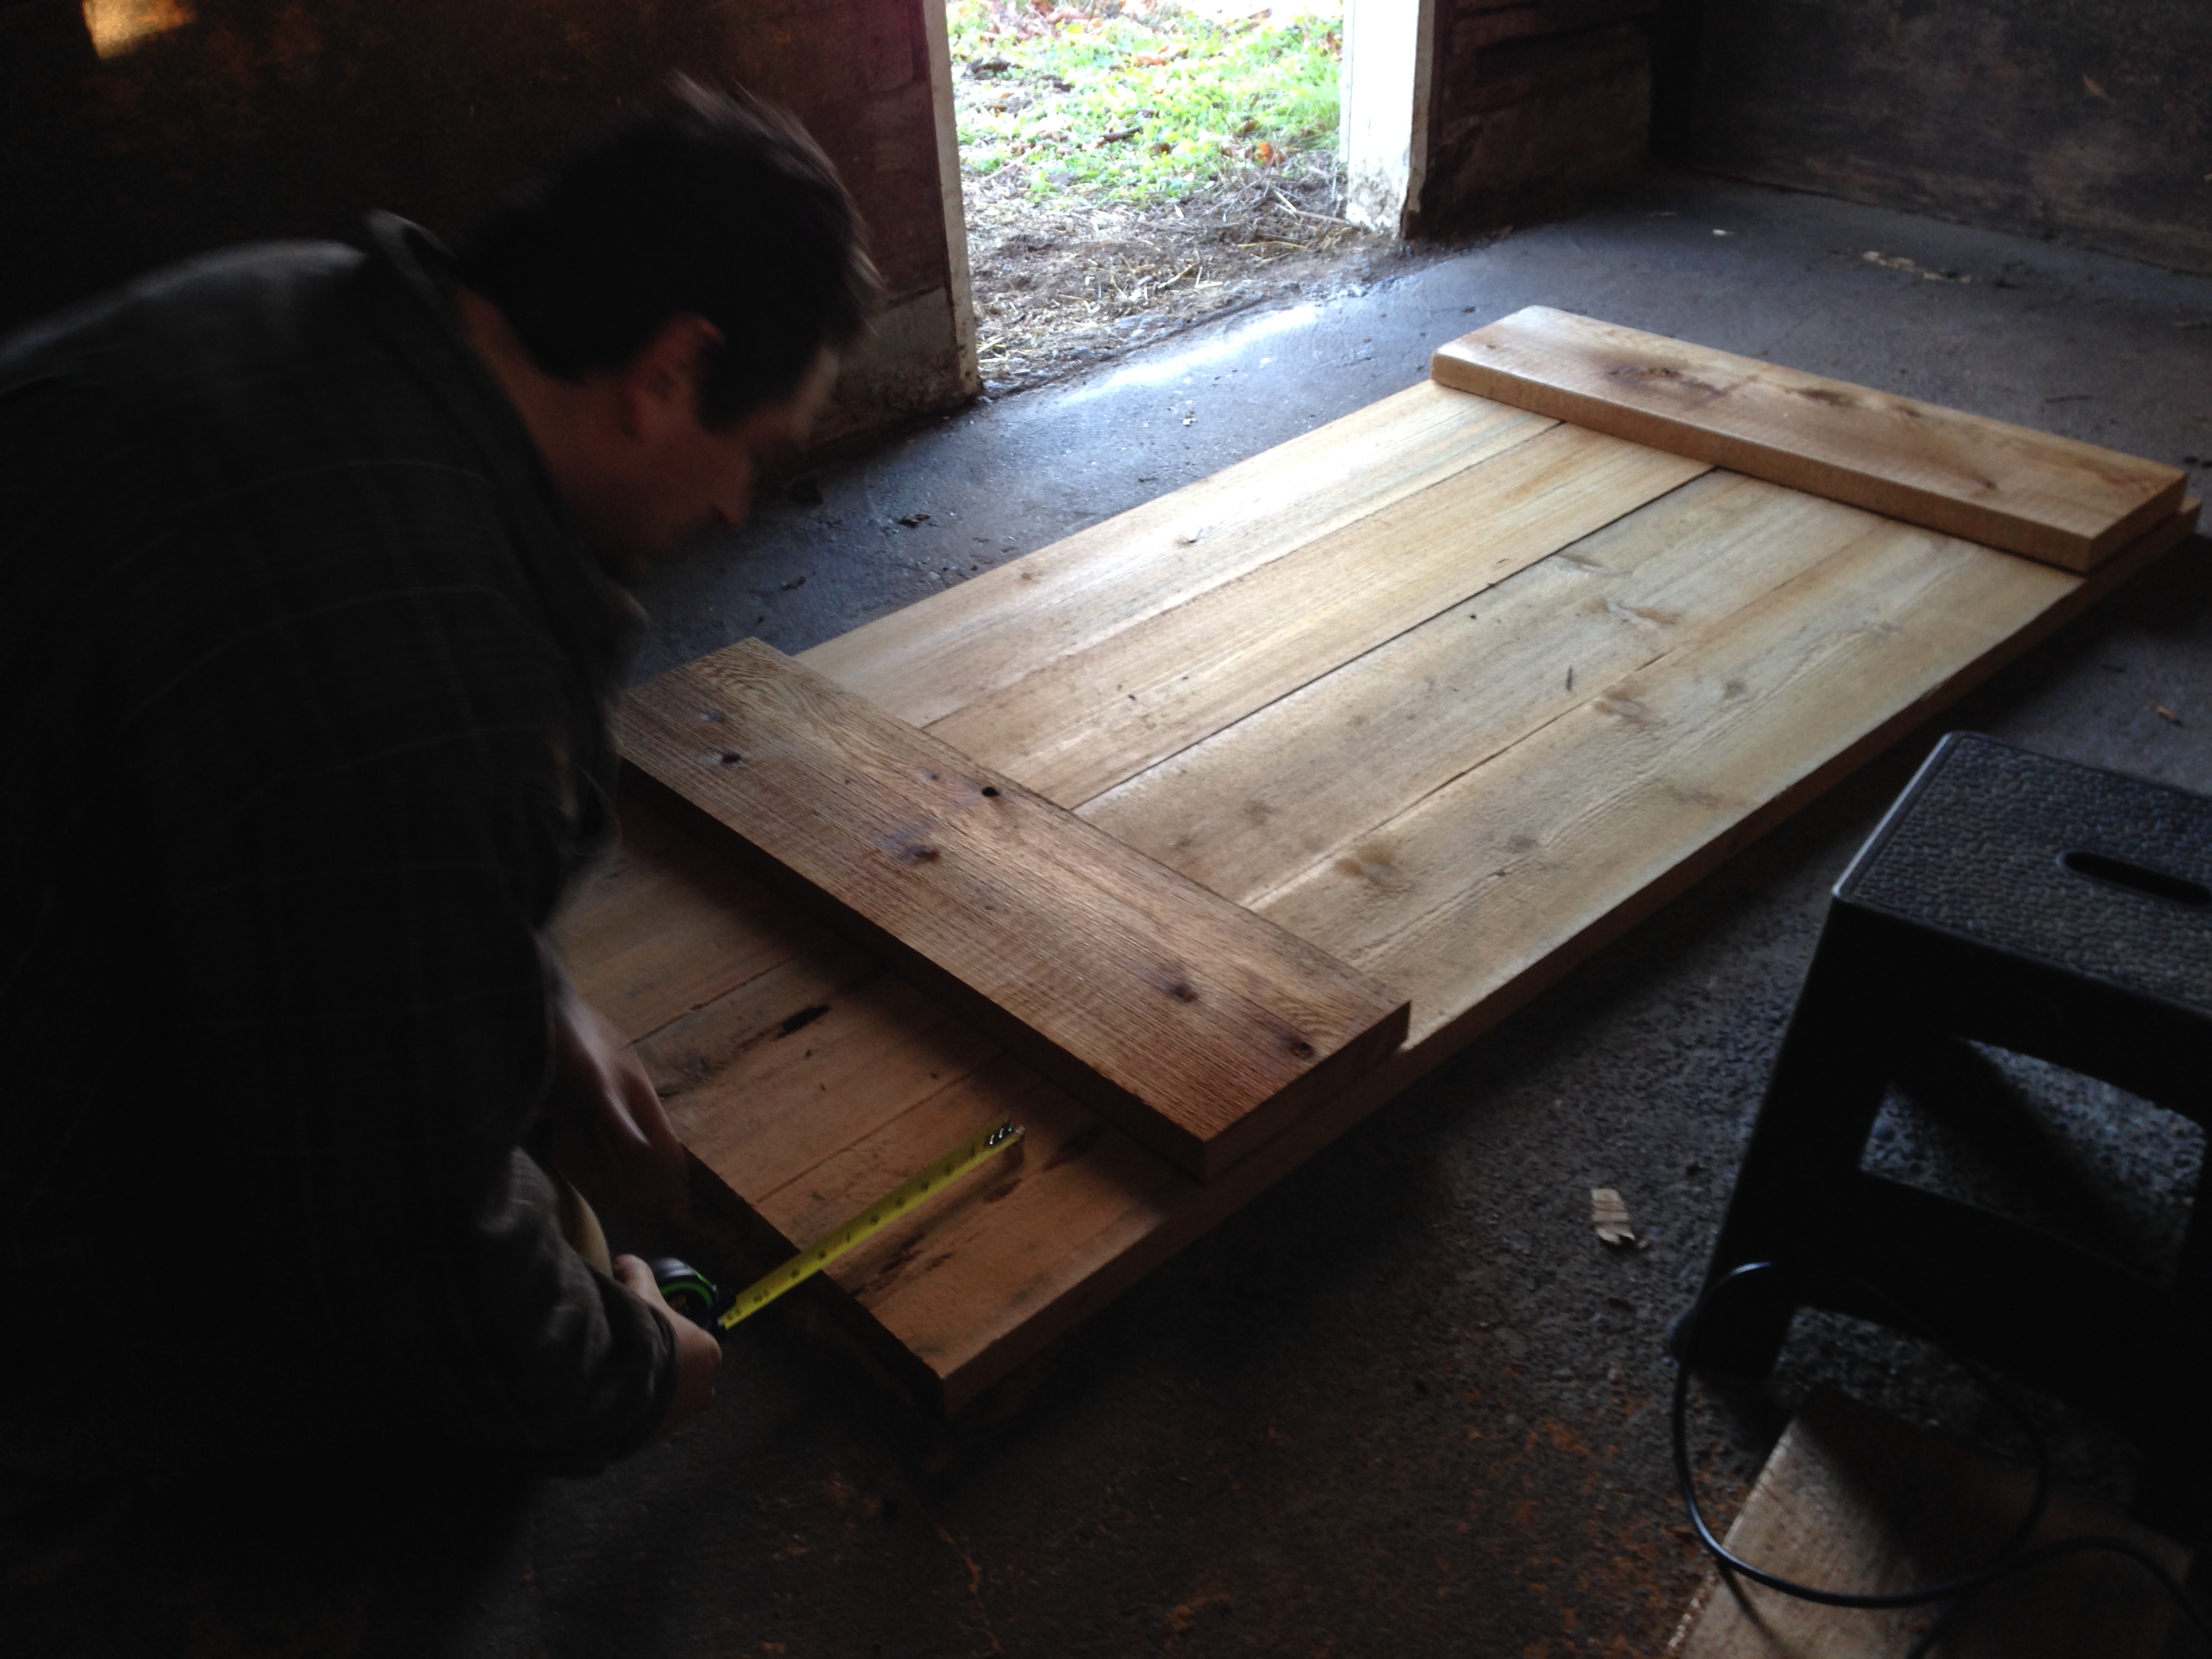
Then I added the upper and lower battens to the face of the door being careful not to bump the boards we just ensured were all square. I brought the top batten down 2″ from the top and the bottom batten up 8″ from the bottom. This will allow my hinges, when centered on the batten, to be 7″ from top and 13″ from bottom.
then I laid the board I will use for the diagonal batten over the door so I can transfer the angles from the door to the board for cutting. Once the cuts are made, position the diagonal batten down and its all ready to be screwed together.
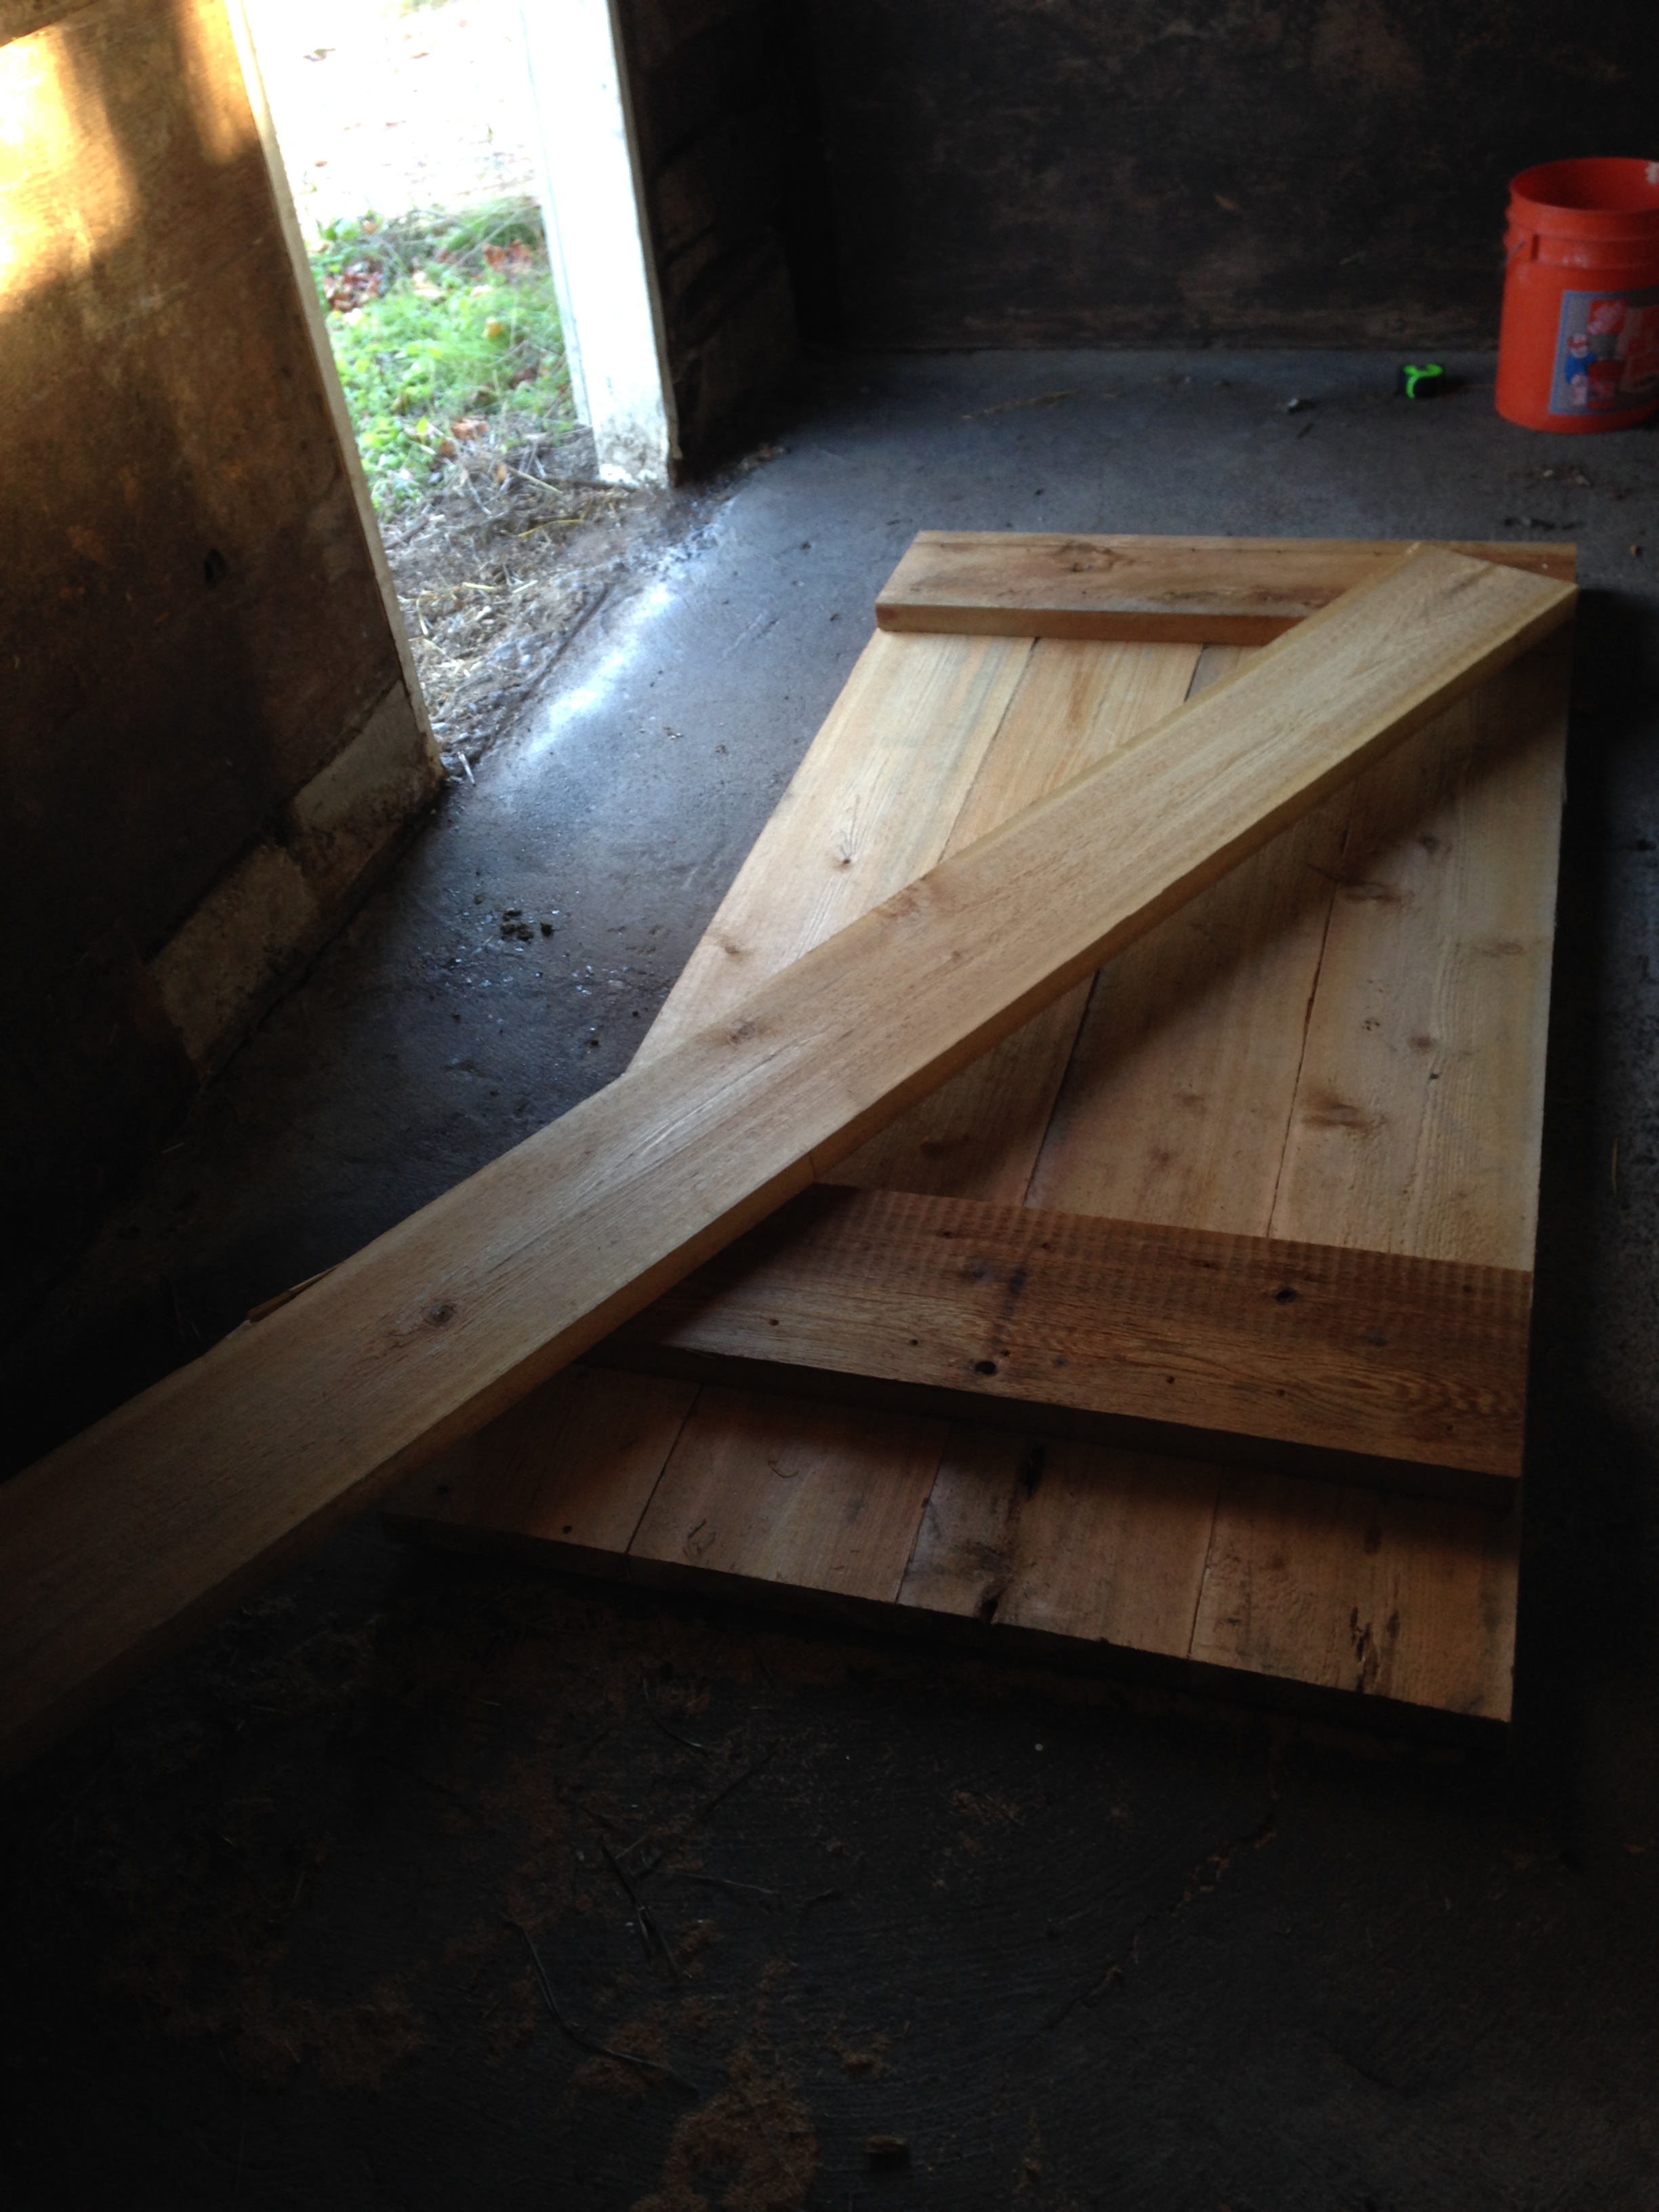
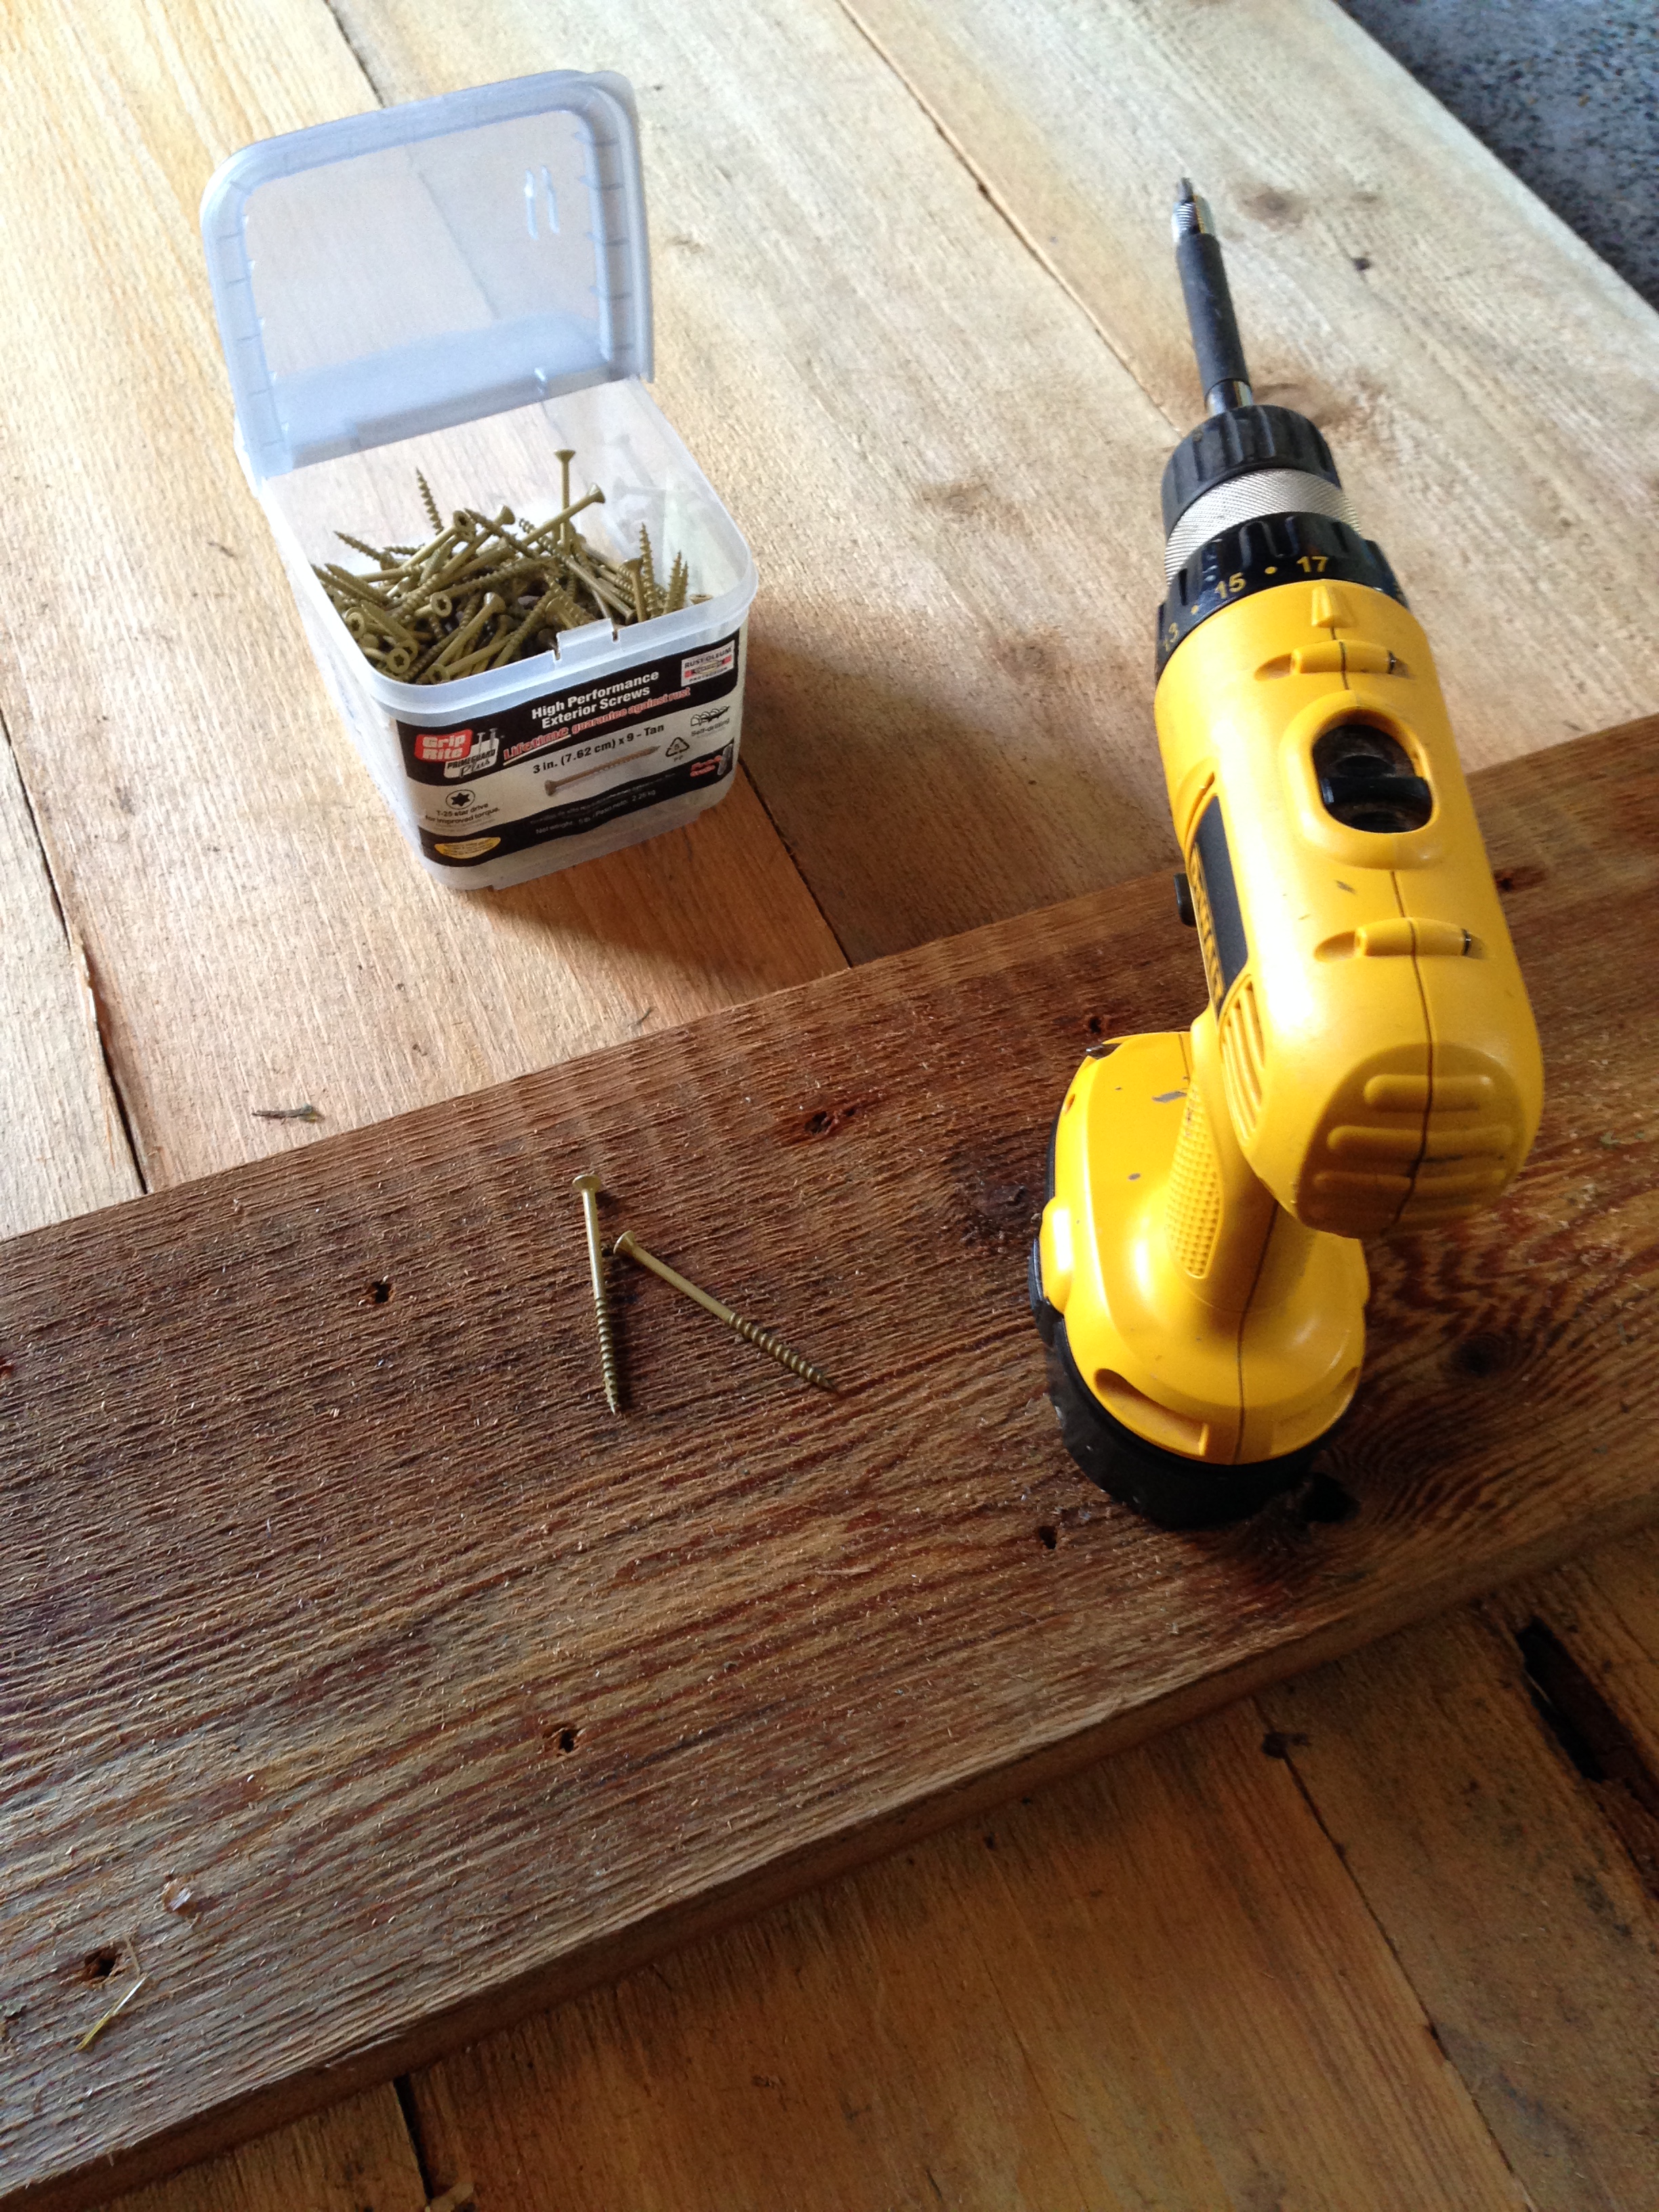
On my last door I used nails, but I opted for screws this time.
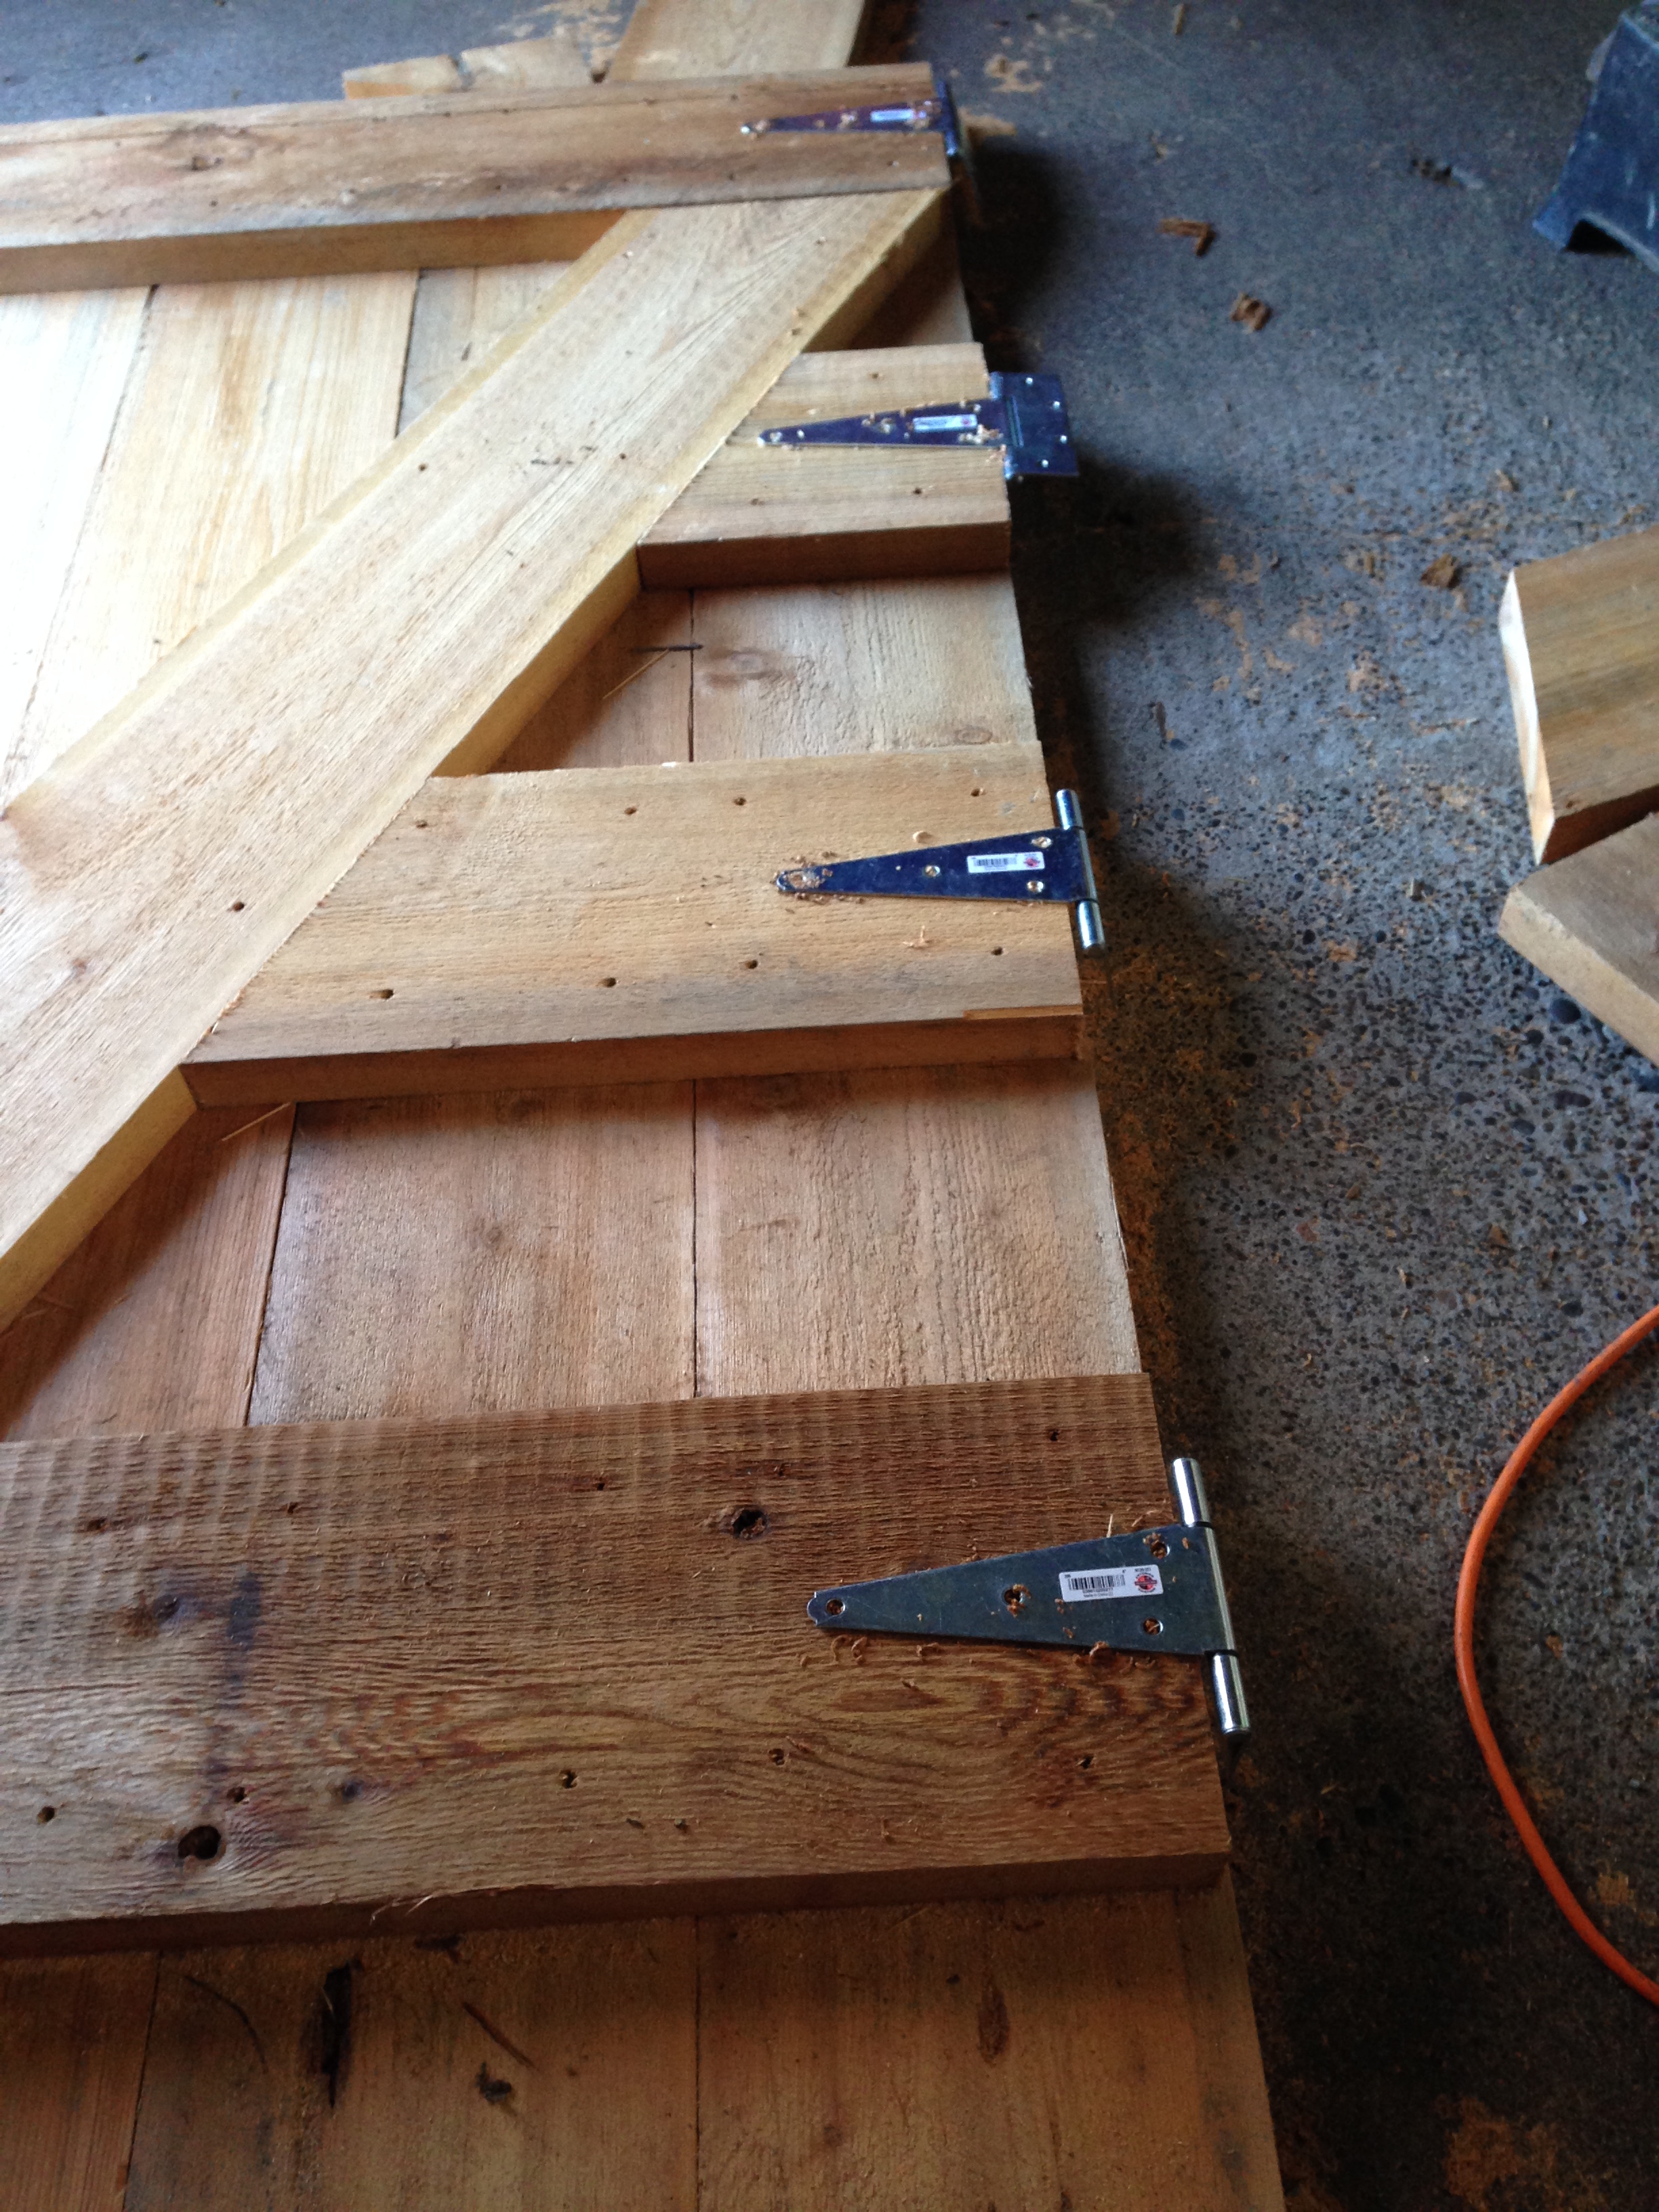
Then I cut some additional pieces where I will add a couple more hinges, 4 total. Remember, this door is VERY HEAVY.
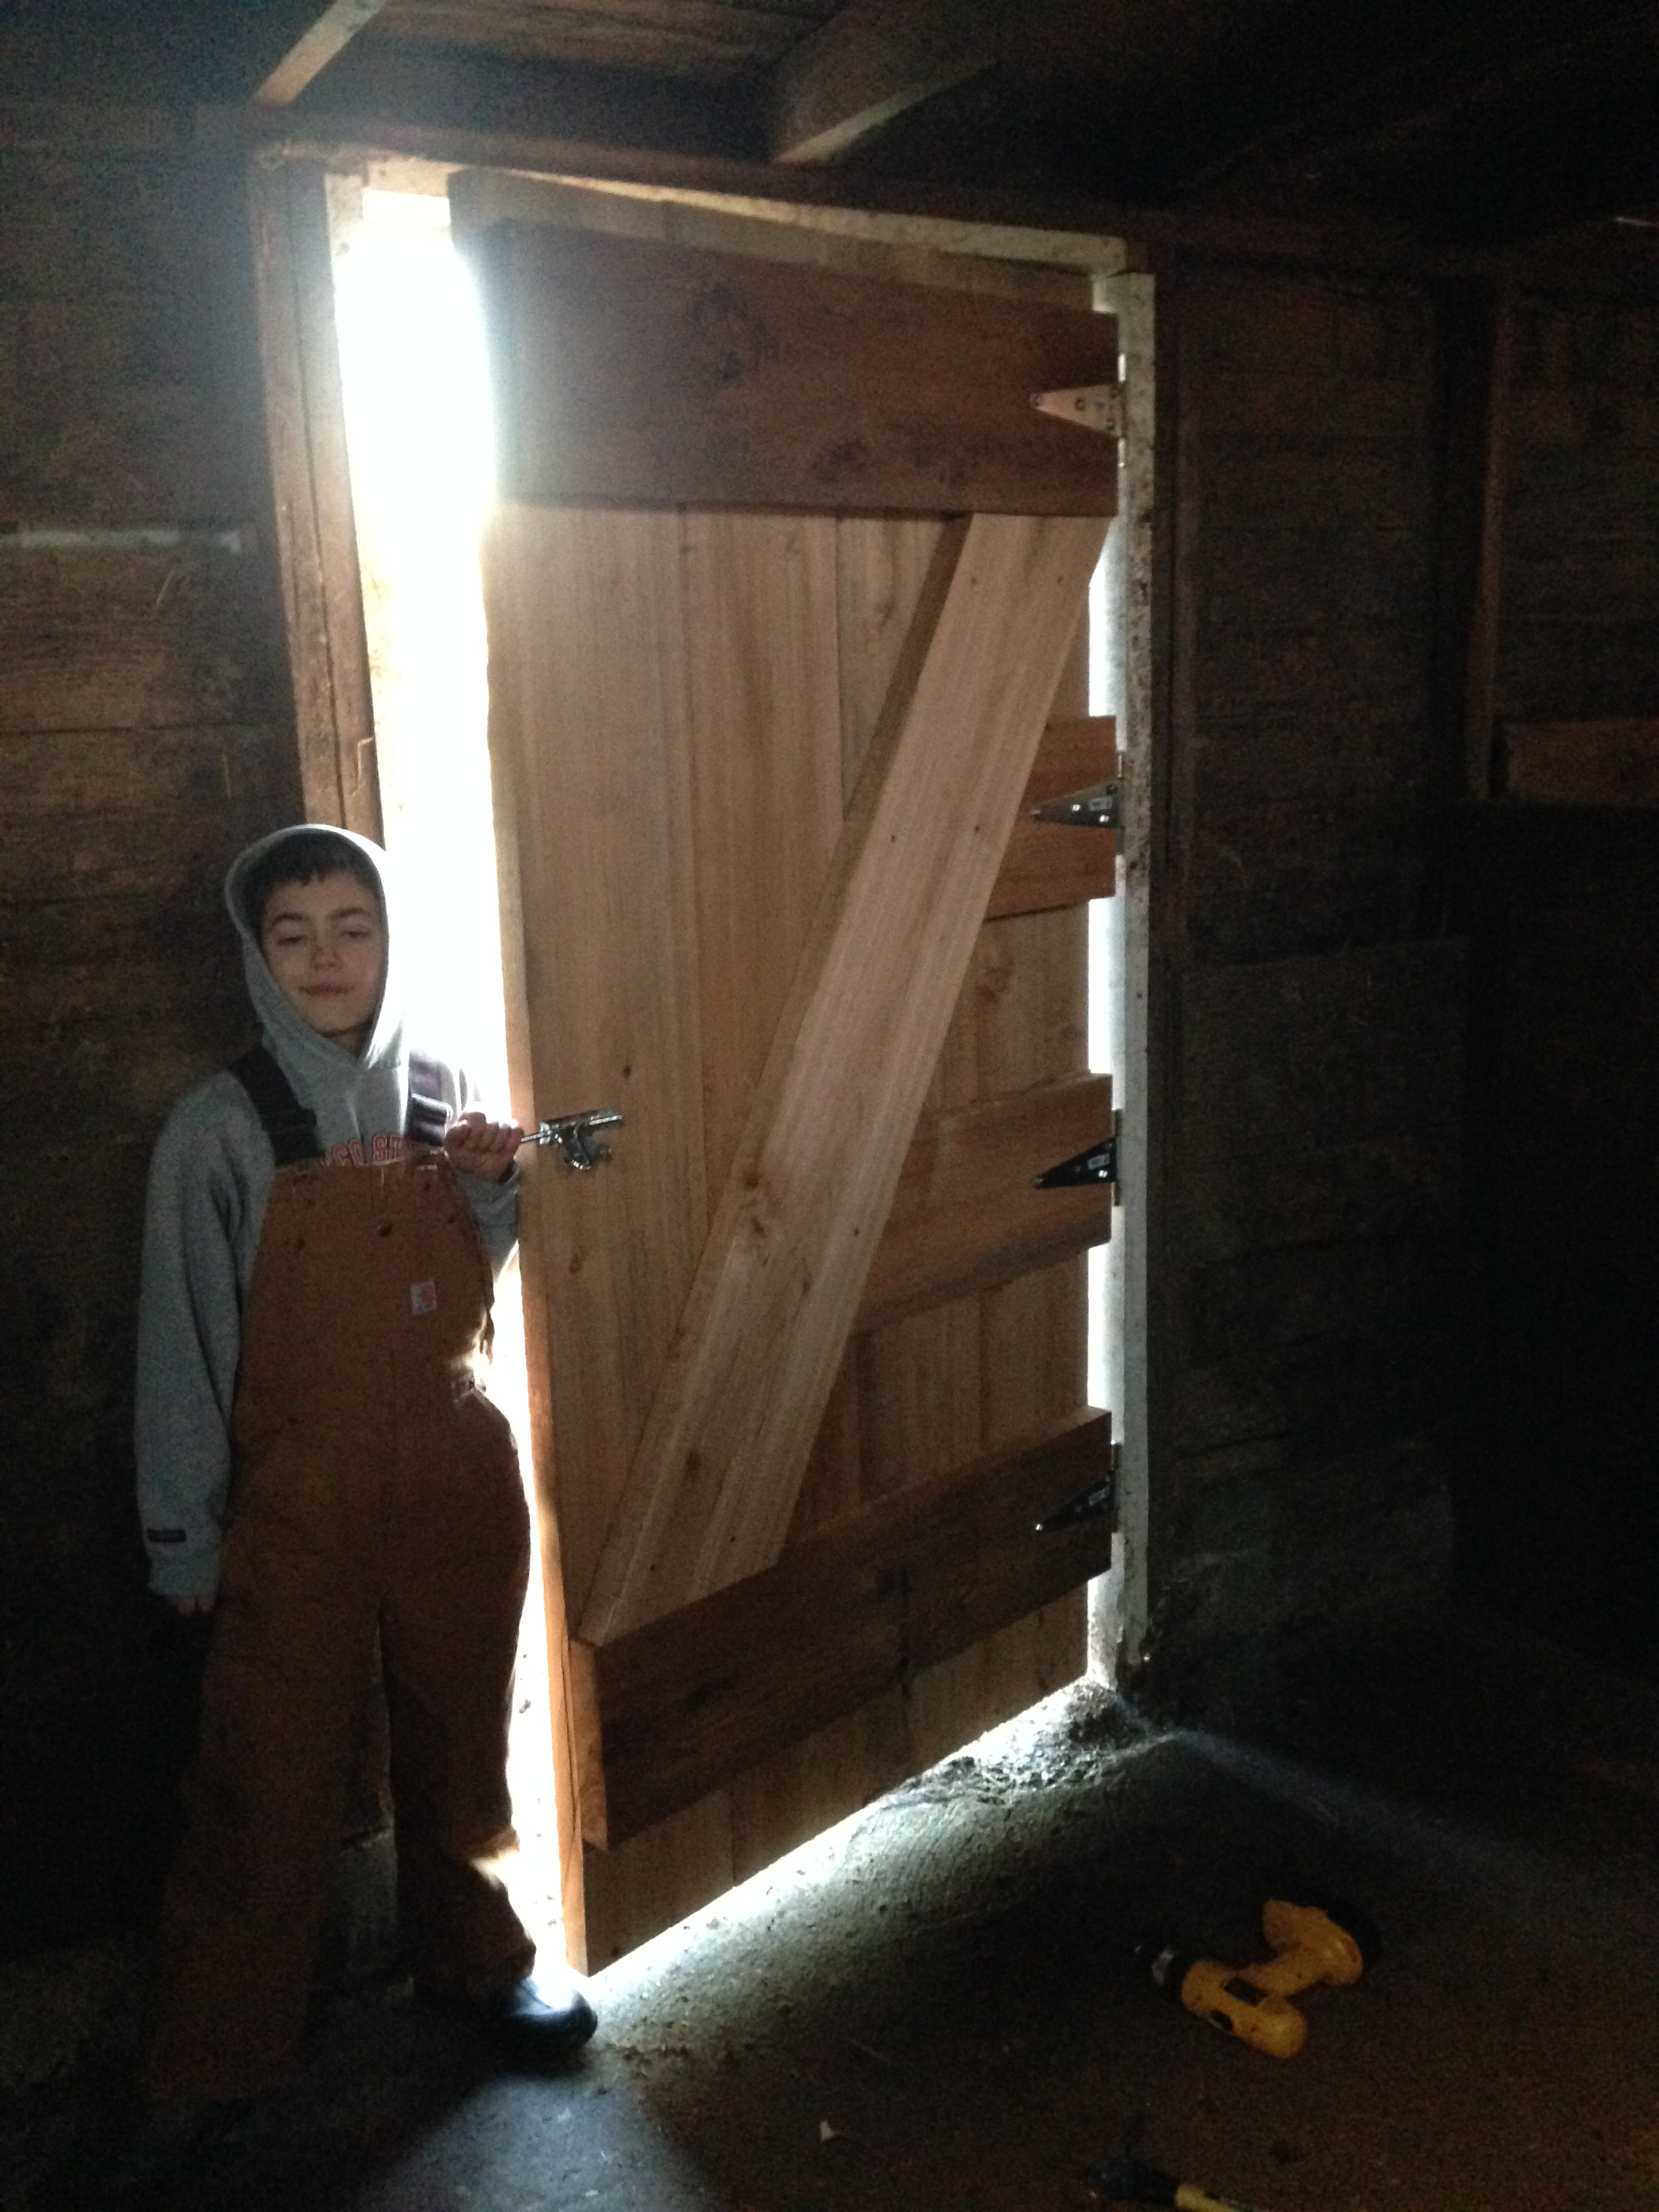
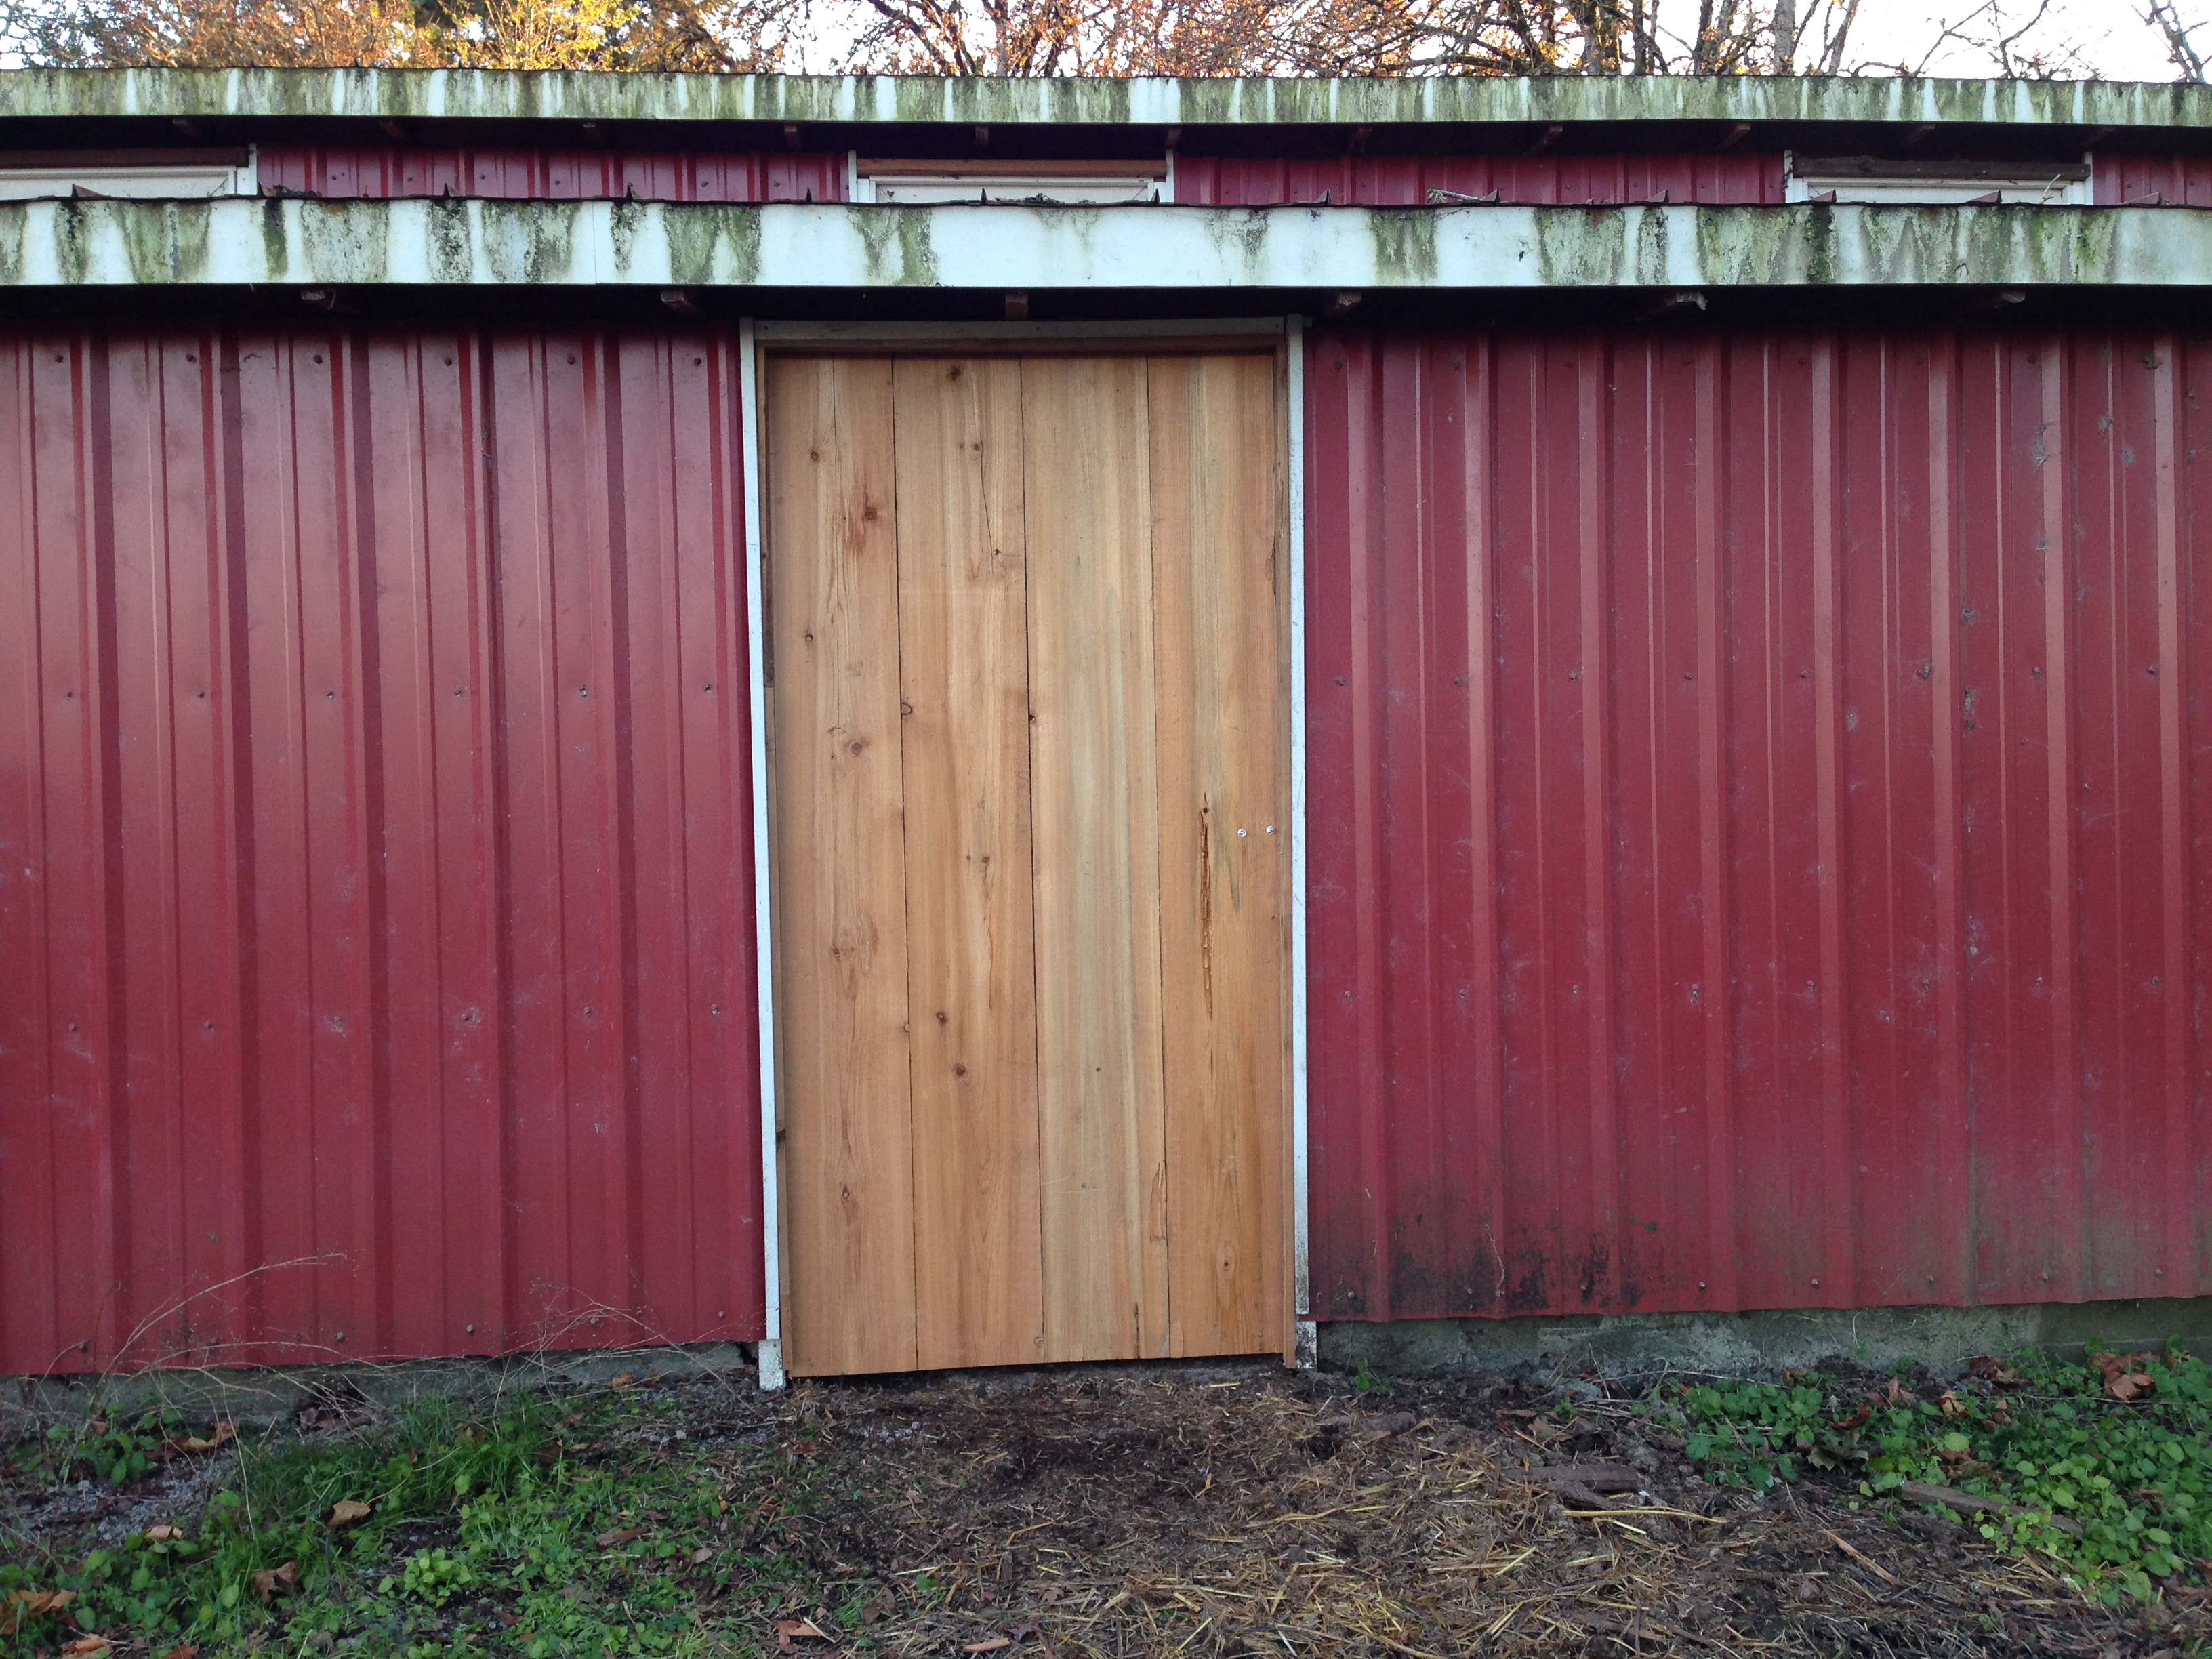
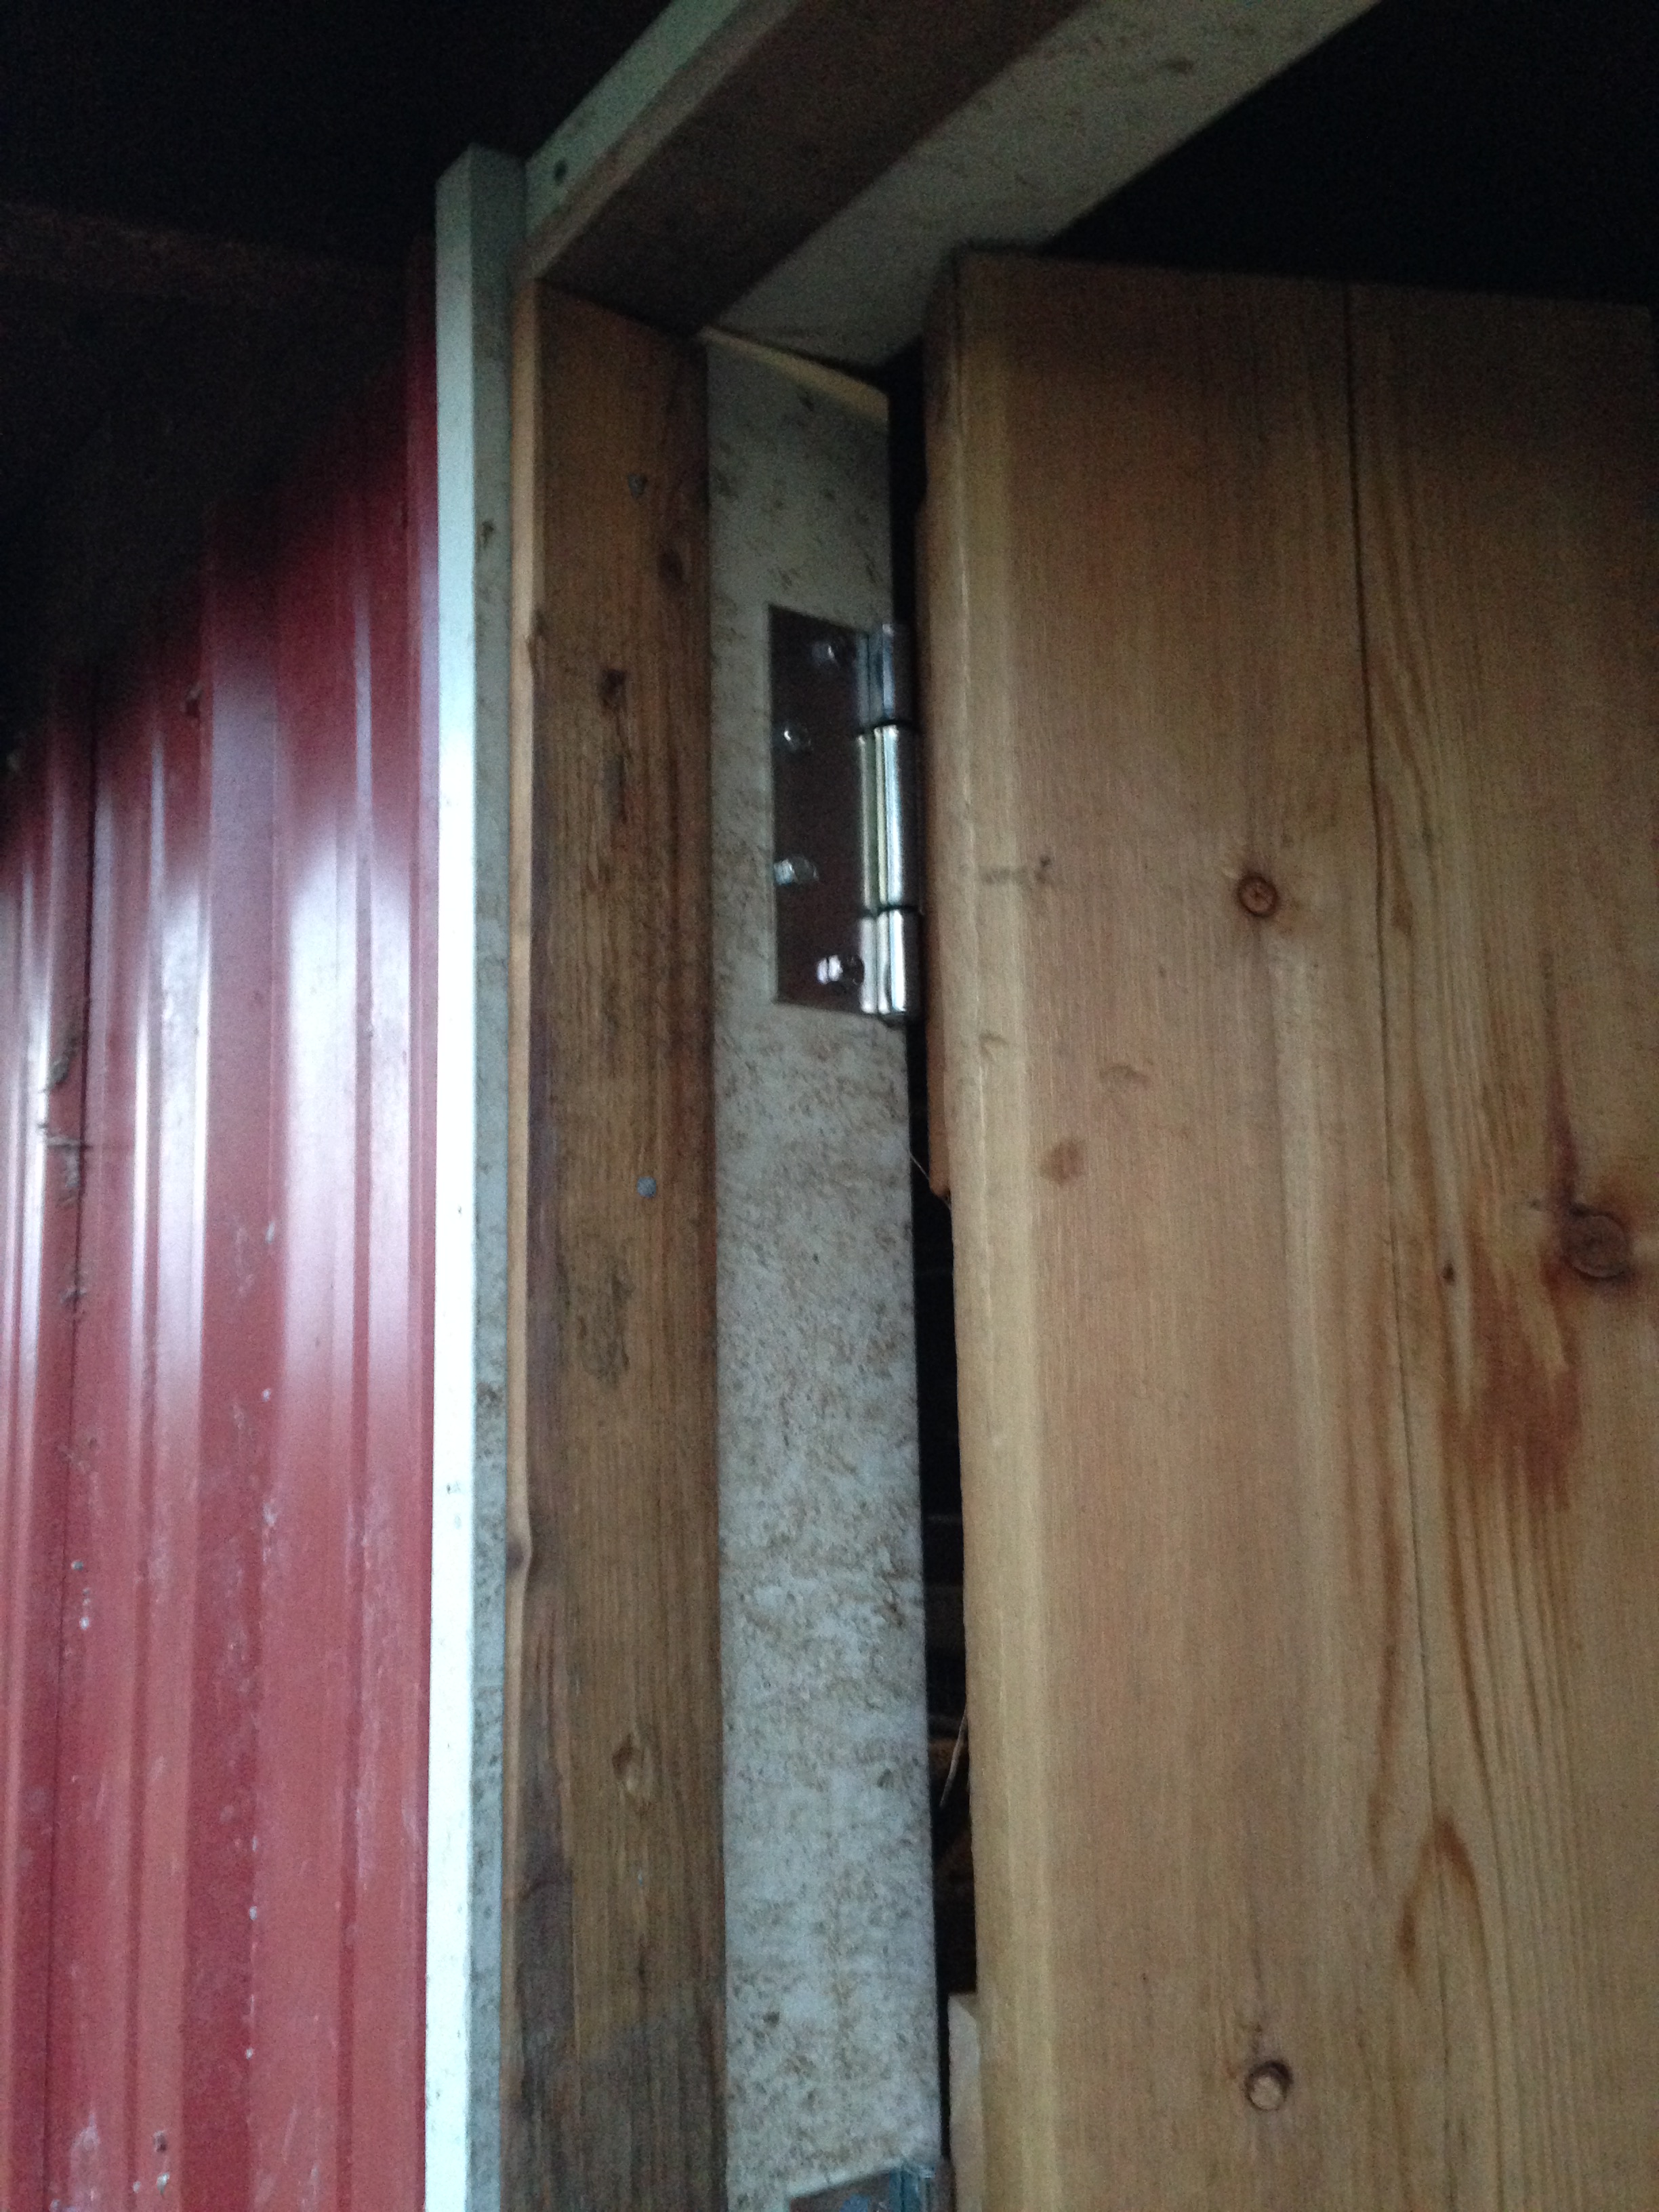
And here is the finished product hung in the doorway. I did have to cut about 1/2″ from the side of the door at bottom, but we knew we would need to do that when we started. It takes some work to get the door in the opening square and true. We used some shims to lift it off the floor and create the space needed to open freely once bolted to the doorway.
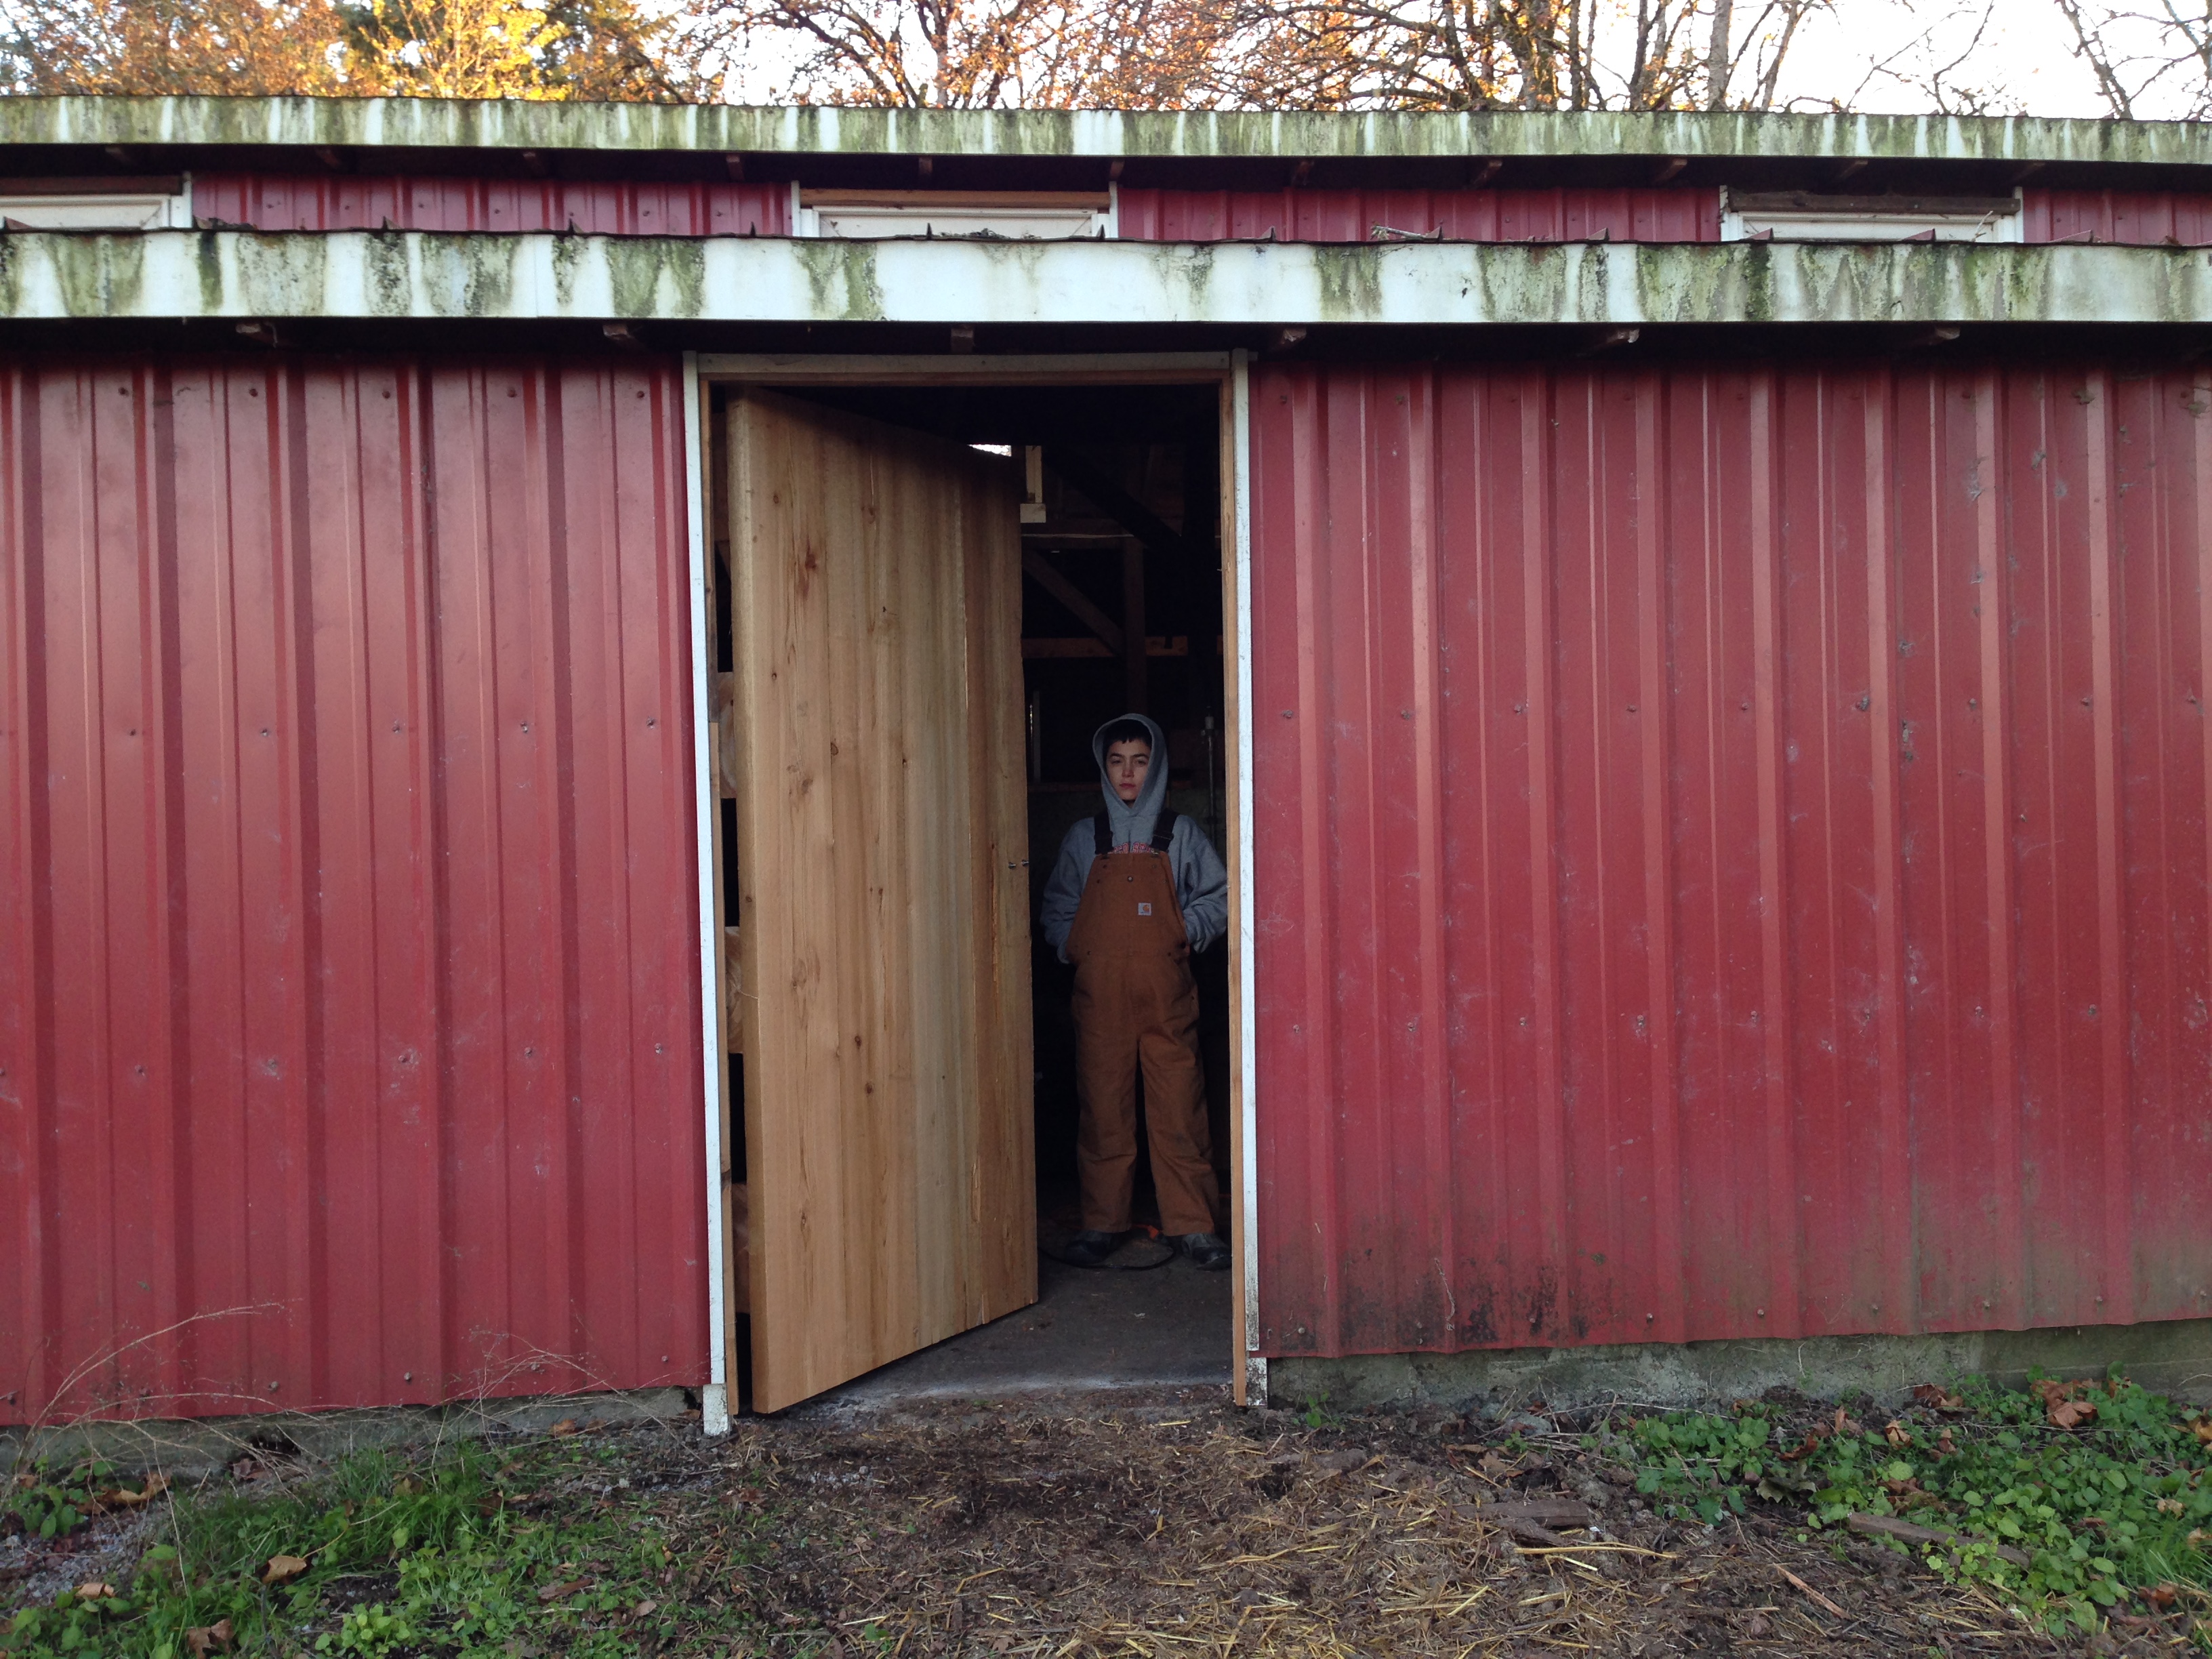
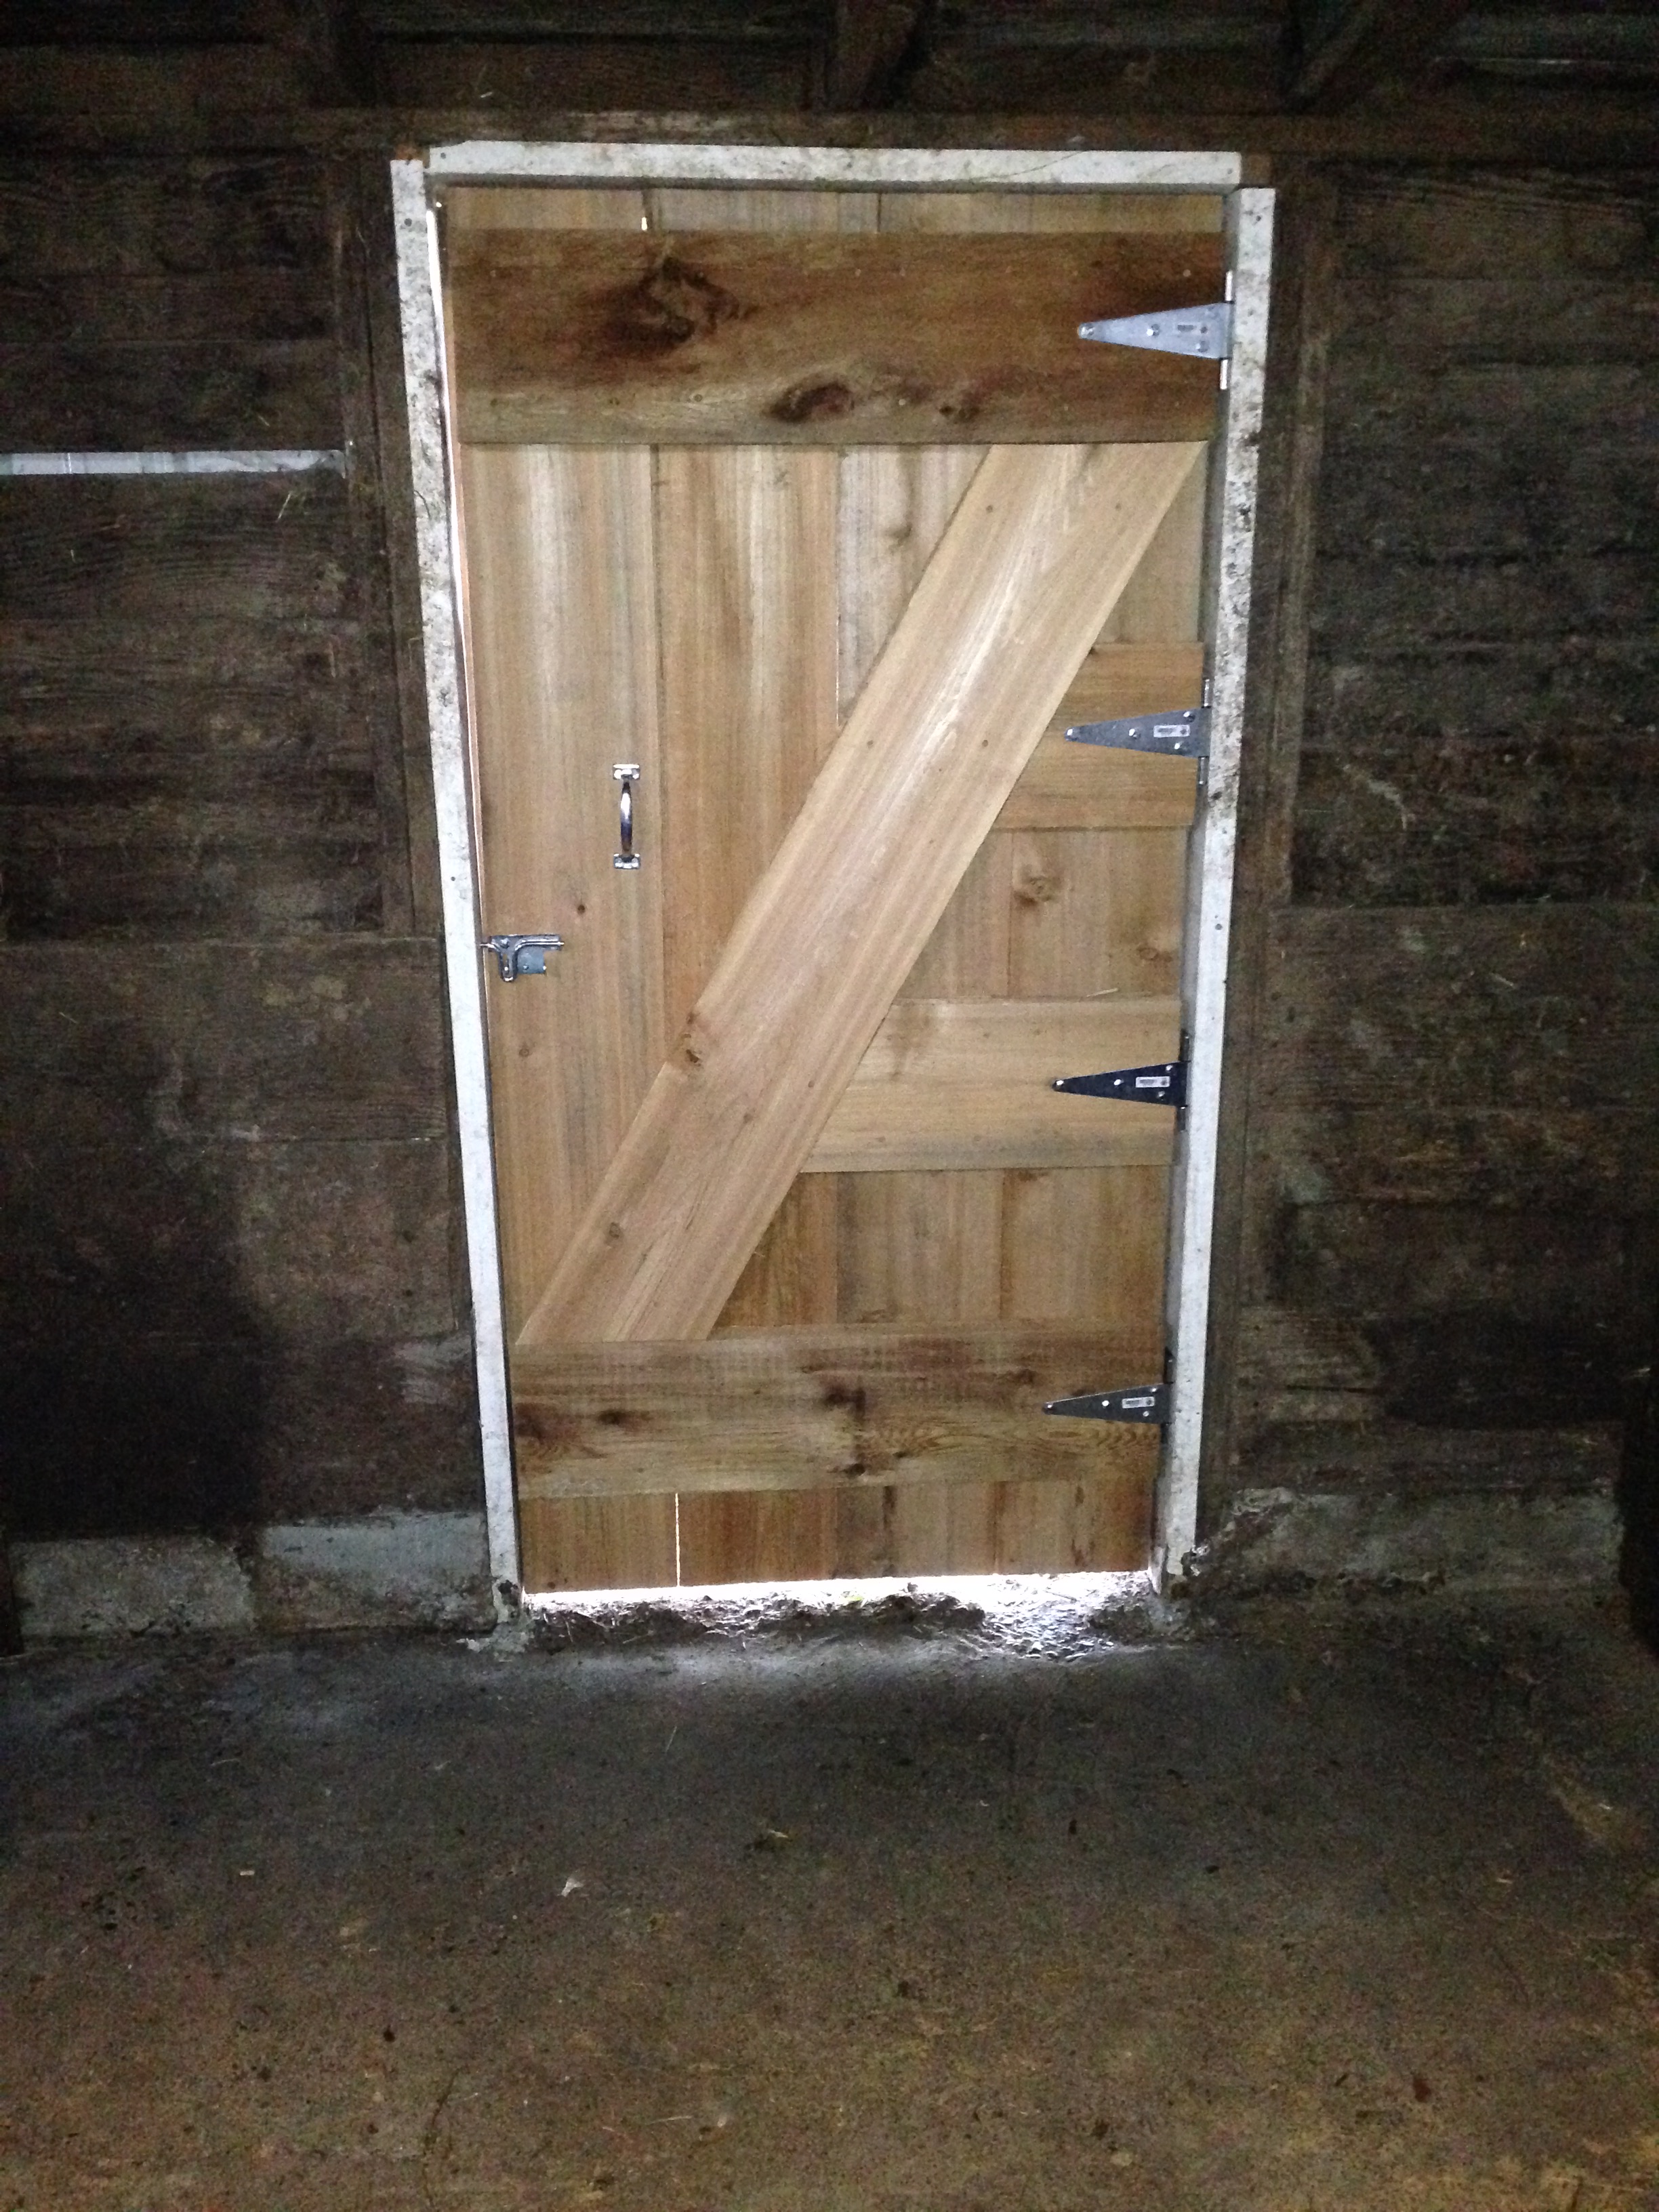
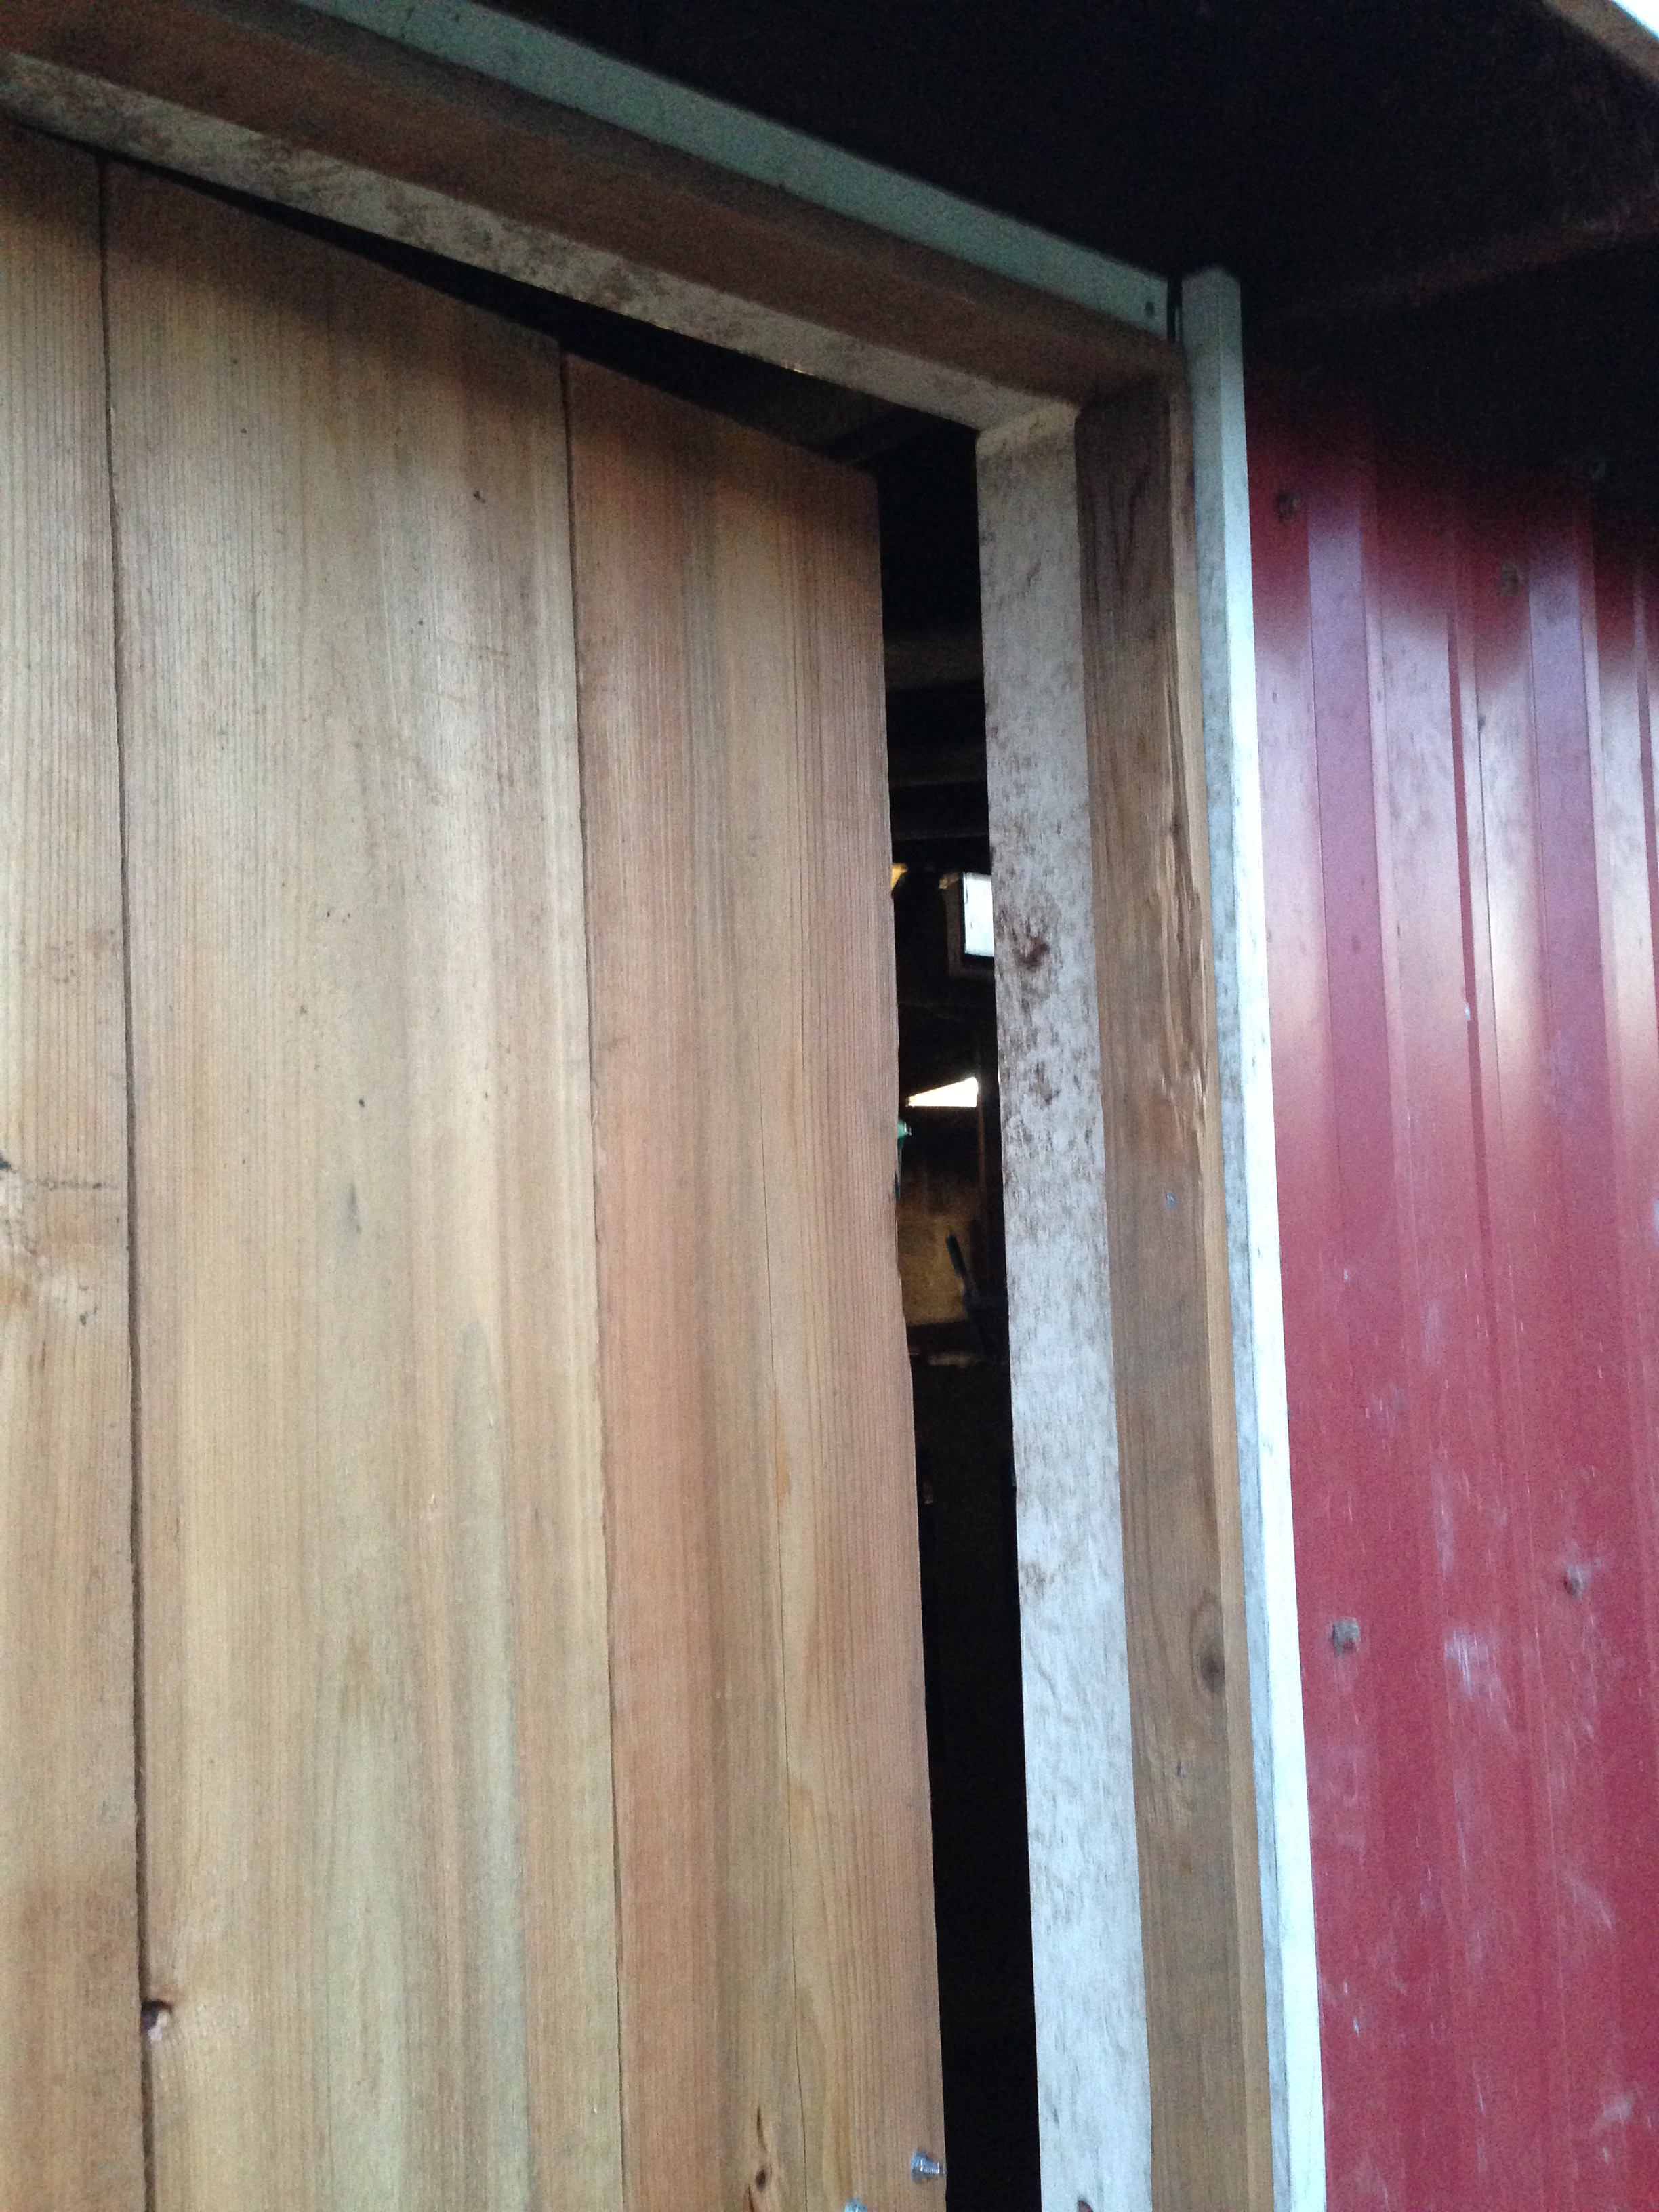
I also added some small trim around the door jamb to serve as a stop when closing the door. It also helps seal the gaps between the door and the jamb.
So, that is the 3rd and final batten door for the barn. This is a fairly simple and very functional and sturdy door style for any barn, shed or rustic application.
Thanks for following along!
Michael
Dear Mike,
Oh, what cool doors. They are a masterpiece of workmanship. What a great role model you are for your boys.. Methinks you are a 21st century version of Einstein and Michealangelo. I so admire you and Karen.
Love to you all
Saundra, thank you for the compliments on the doors. It is so fun to learn new things, and have them turn out well. Having your own land I know you understand this too. We so appreciate you following along with us. Say hello to Mr Stebbing too!
Looks super! I now know how to go about making a door! Thanks for sharing.
Well I learned it from someone else’s blog, so I figured it was only fair that I pass it along! Have a great Thanksgiving Natasha.
Michael, When do you have time to do your regular job and relax?? Seems like you are always working on the farm!! Proud of you and love you, Aunt Pinky
Hey Aunt Pinky,
believe it or not, doing chores and projects on the farm is relaxing for me. Once the workday (paying one that is) is done it just feels good to get other things done; I enjoy tinkering. I am still trying to gain enjoyment in the process rather than the completion of the job though. Love you, say hi to all in Cali for us!
Michael
Beautiful work, Michael. You and Karen are amazing, as is your example for Joshua and Nicholas. So proud of you. Love, Mom
Thanks Mom, love you too! Look forward to seeing you guys Wednesday.
Your barn door opening was square??? Nothing is square in my life. You made this project look easy. I know it took lots of planning and careful work. Great job.
My hubby has an amazing way of making everything he does look easy. I guess those high school years taking of taking all the shop classes he could paid off. That is definitely the area he will be in charge of teaching to our boys. Thanx for checking in with us.
Karen and Michael
Looks great! So are you painting it or letting it weather? Looks like it’s rough cut?
Thanks! Going to let it weather, I love natural cedar, especially when it is rough and irregular. It really takes on a character of its own. Have a great Thanksgiving Heather.
Great job. Your boys are sure learning a lot on the farm. It seems like it would be an ideal life for a boy.
Thanks Dorothy, they sure are learning a lot, and I couldn’t be more proud of the lessons they are learning and the attitude they display towards the work (most days). And they do have a lot of fun! God Bless you guys.
Michael