Well, another of our big projects checked off the to-do list, yeah! We have lots of books; lots and lots of books. In our last home we had some bookcases built for us to store our books, so I promised Karen before winter was over I would build her a set of wall-to-wall bookshelves in the new downstairs. I spent a few months thinking about it, looking at different designs before drafting up my plans. Below is a step-by-step of the build.
The wall to be outfitted with the bookshelves was 12′ wide, and would go up to the drop ceiling, which was 8′ high. I chose to use Poplar laminate for the sides and shelves, and Alder hardwood for the trim and facing. It is very difficult to find any hardwoods in widths greater than 8″, so using a laminate was a must. I used an excel spreadsheet formula to calculate how many shelves and the spacing of each shelf in order to have everything equally spaced and balanced. I kept plugging in different numbers into the formula until the total of shelves/heights came out to my wall height. I determined that the bookshelves would be 11″ deep, with 7 shelves. The bottom shelf would fit 14″ tall books, the next 13″, then 12″, with the top four shelves having an 11″ height. By divided the wall width it into 4 different sections, the individual shelf widths would be under 34″, a good span which would prevent the bowing of shelves under the weight of the books.
Using the Poplar laminated plywood I cut and assembled the vertical uprights. I picked up an old Craftsman table saw on craigslist for $70. Wow, what a great addition to the shop. Before my cuts were always so crooked trying to use the portable saw; not anymore, nice even cuts! It made it so easy to rip the full sheets of plywood into the 11″ widths for the uprights and shelves.
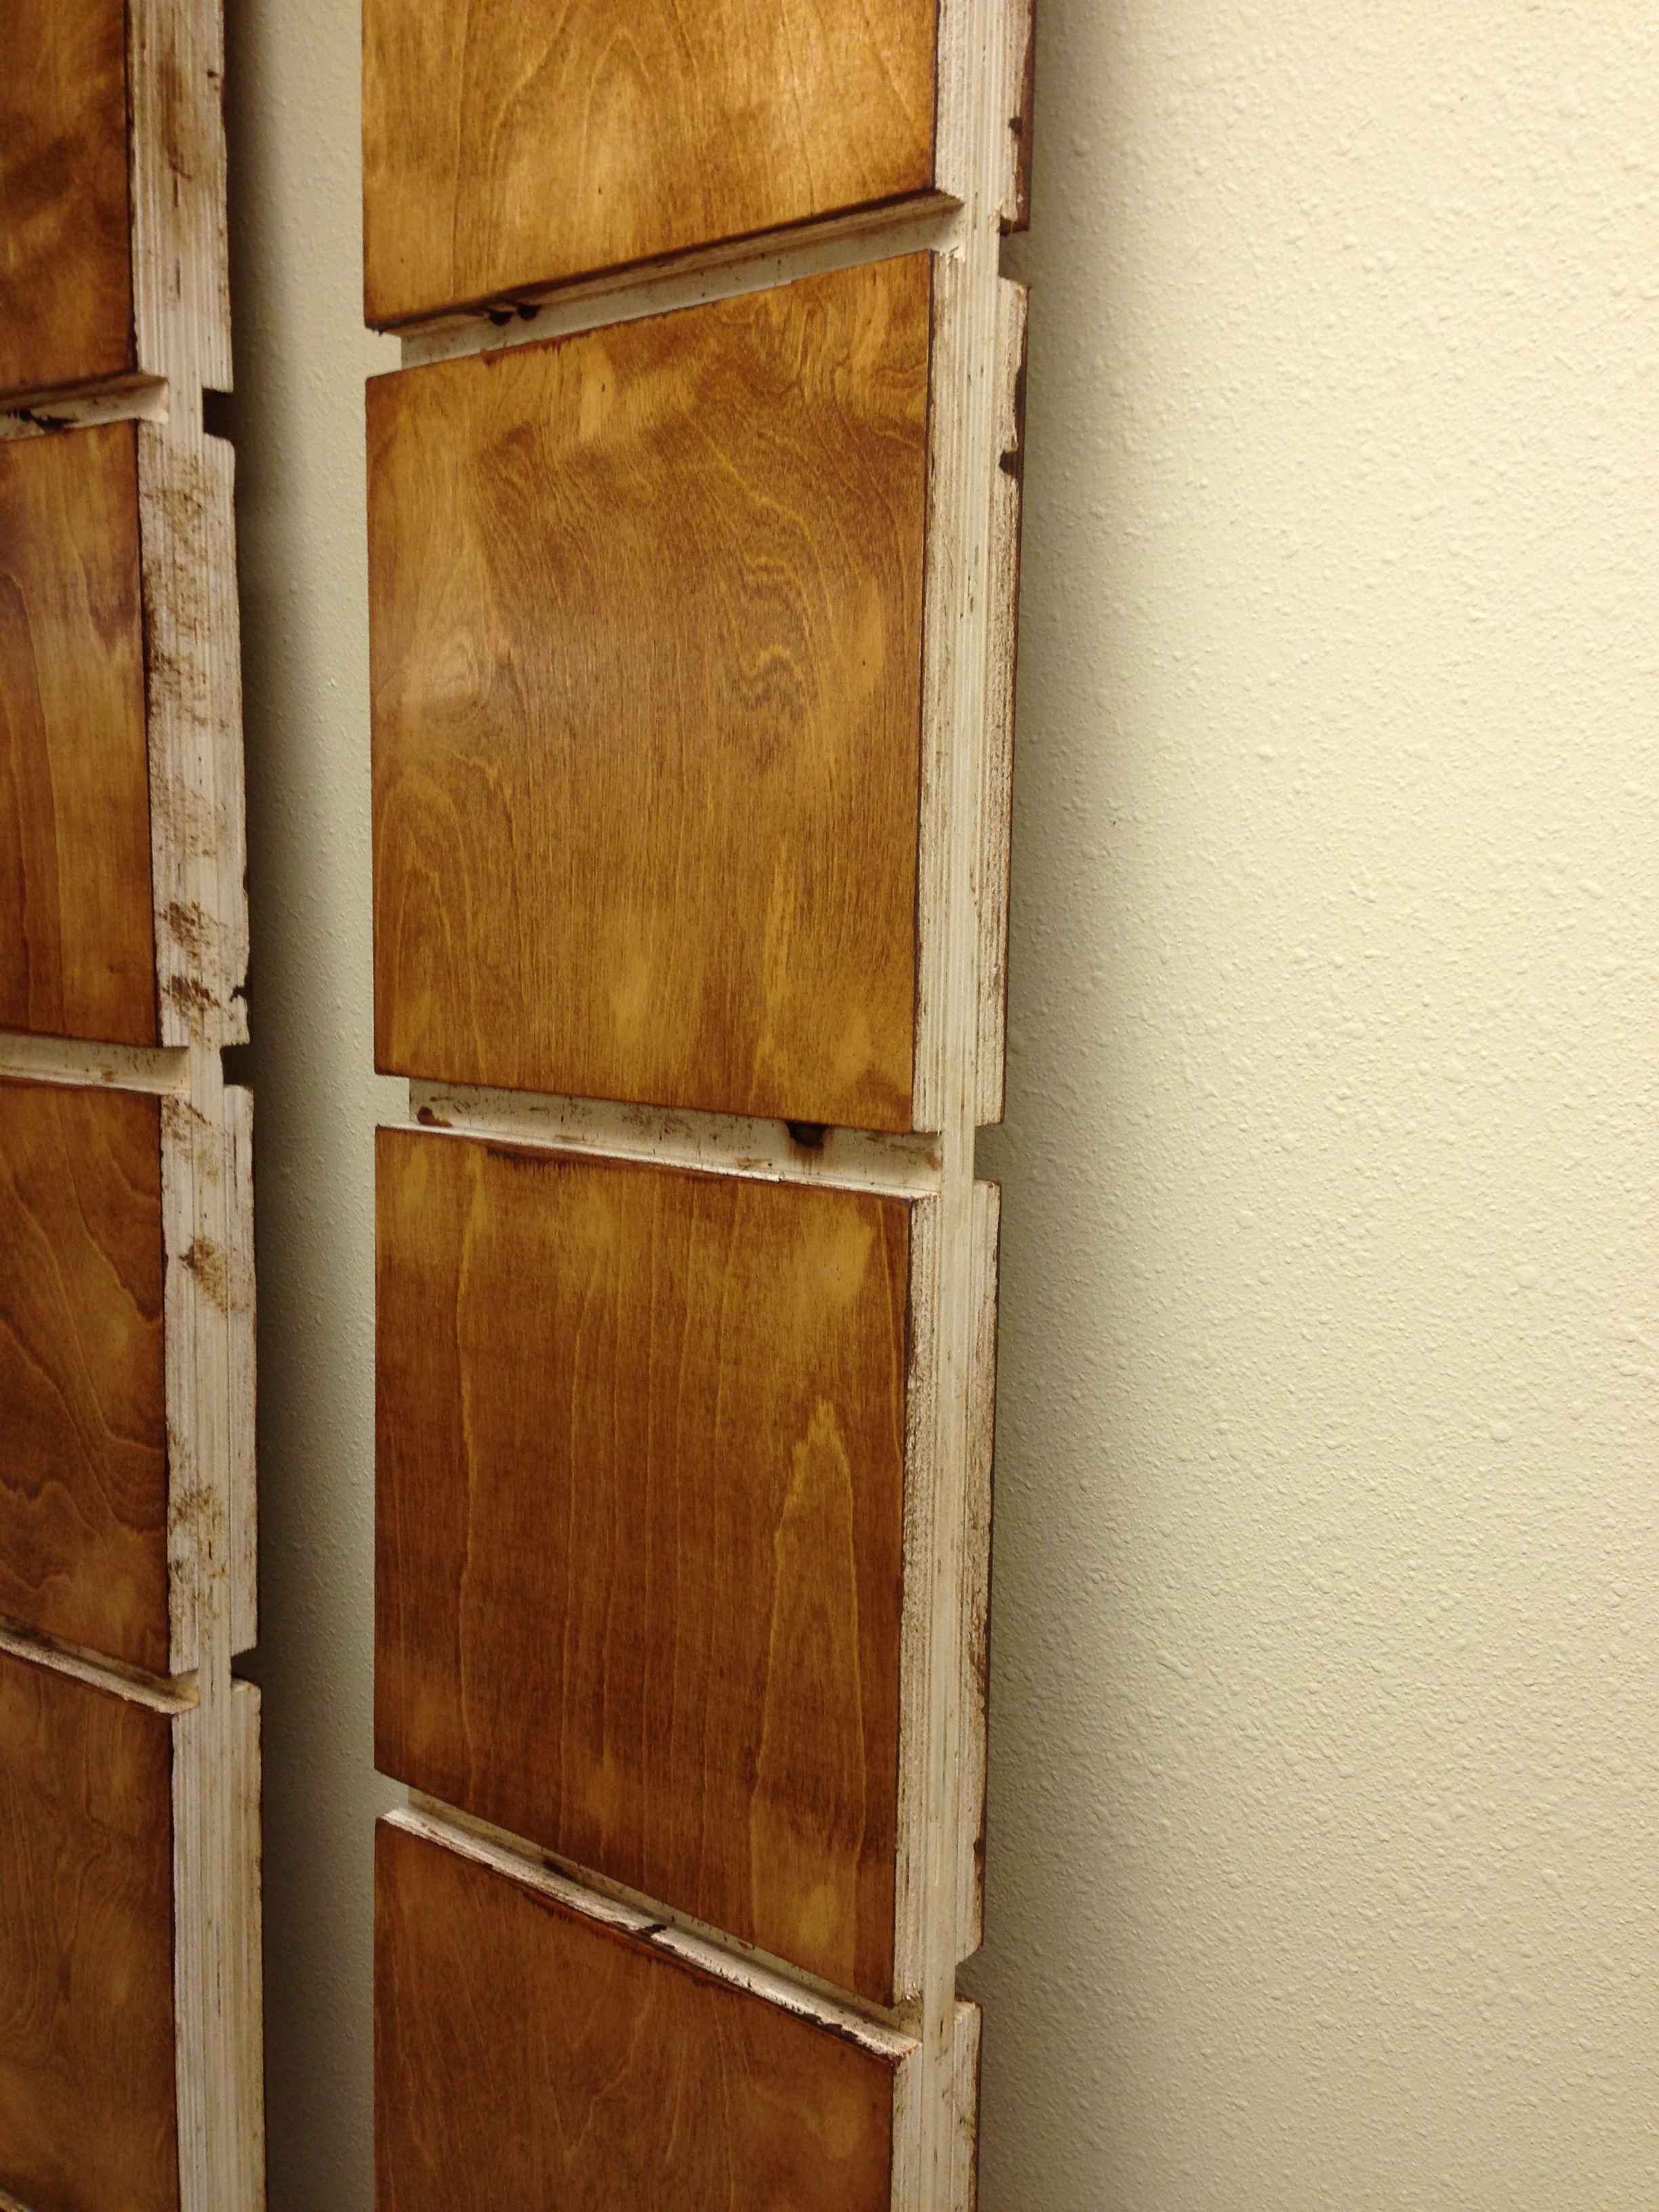
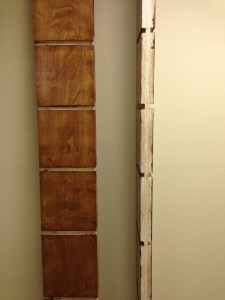
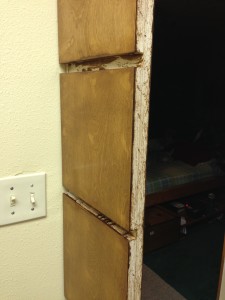
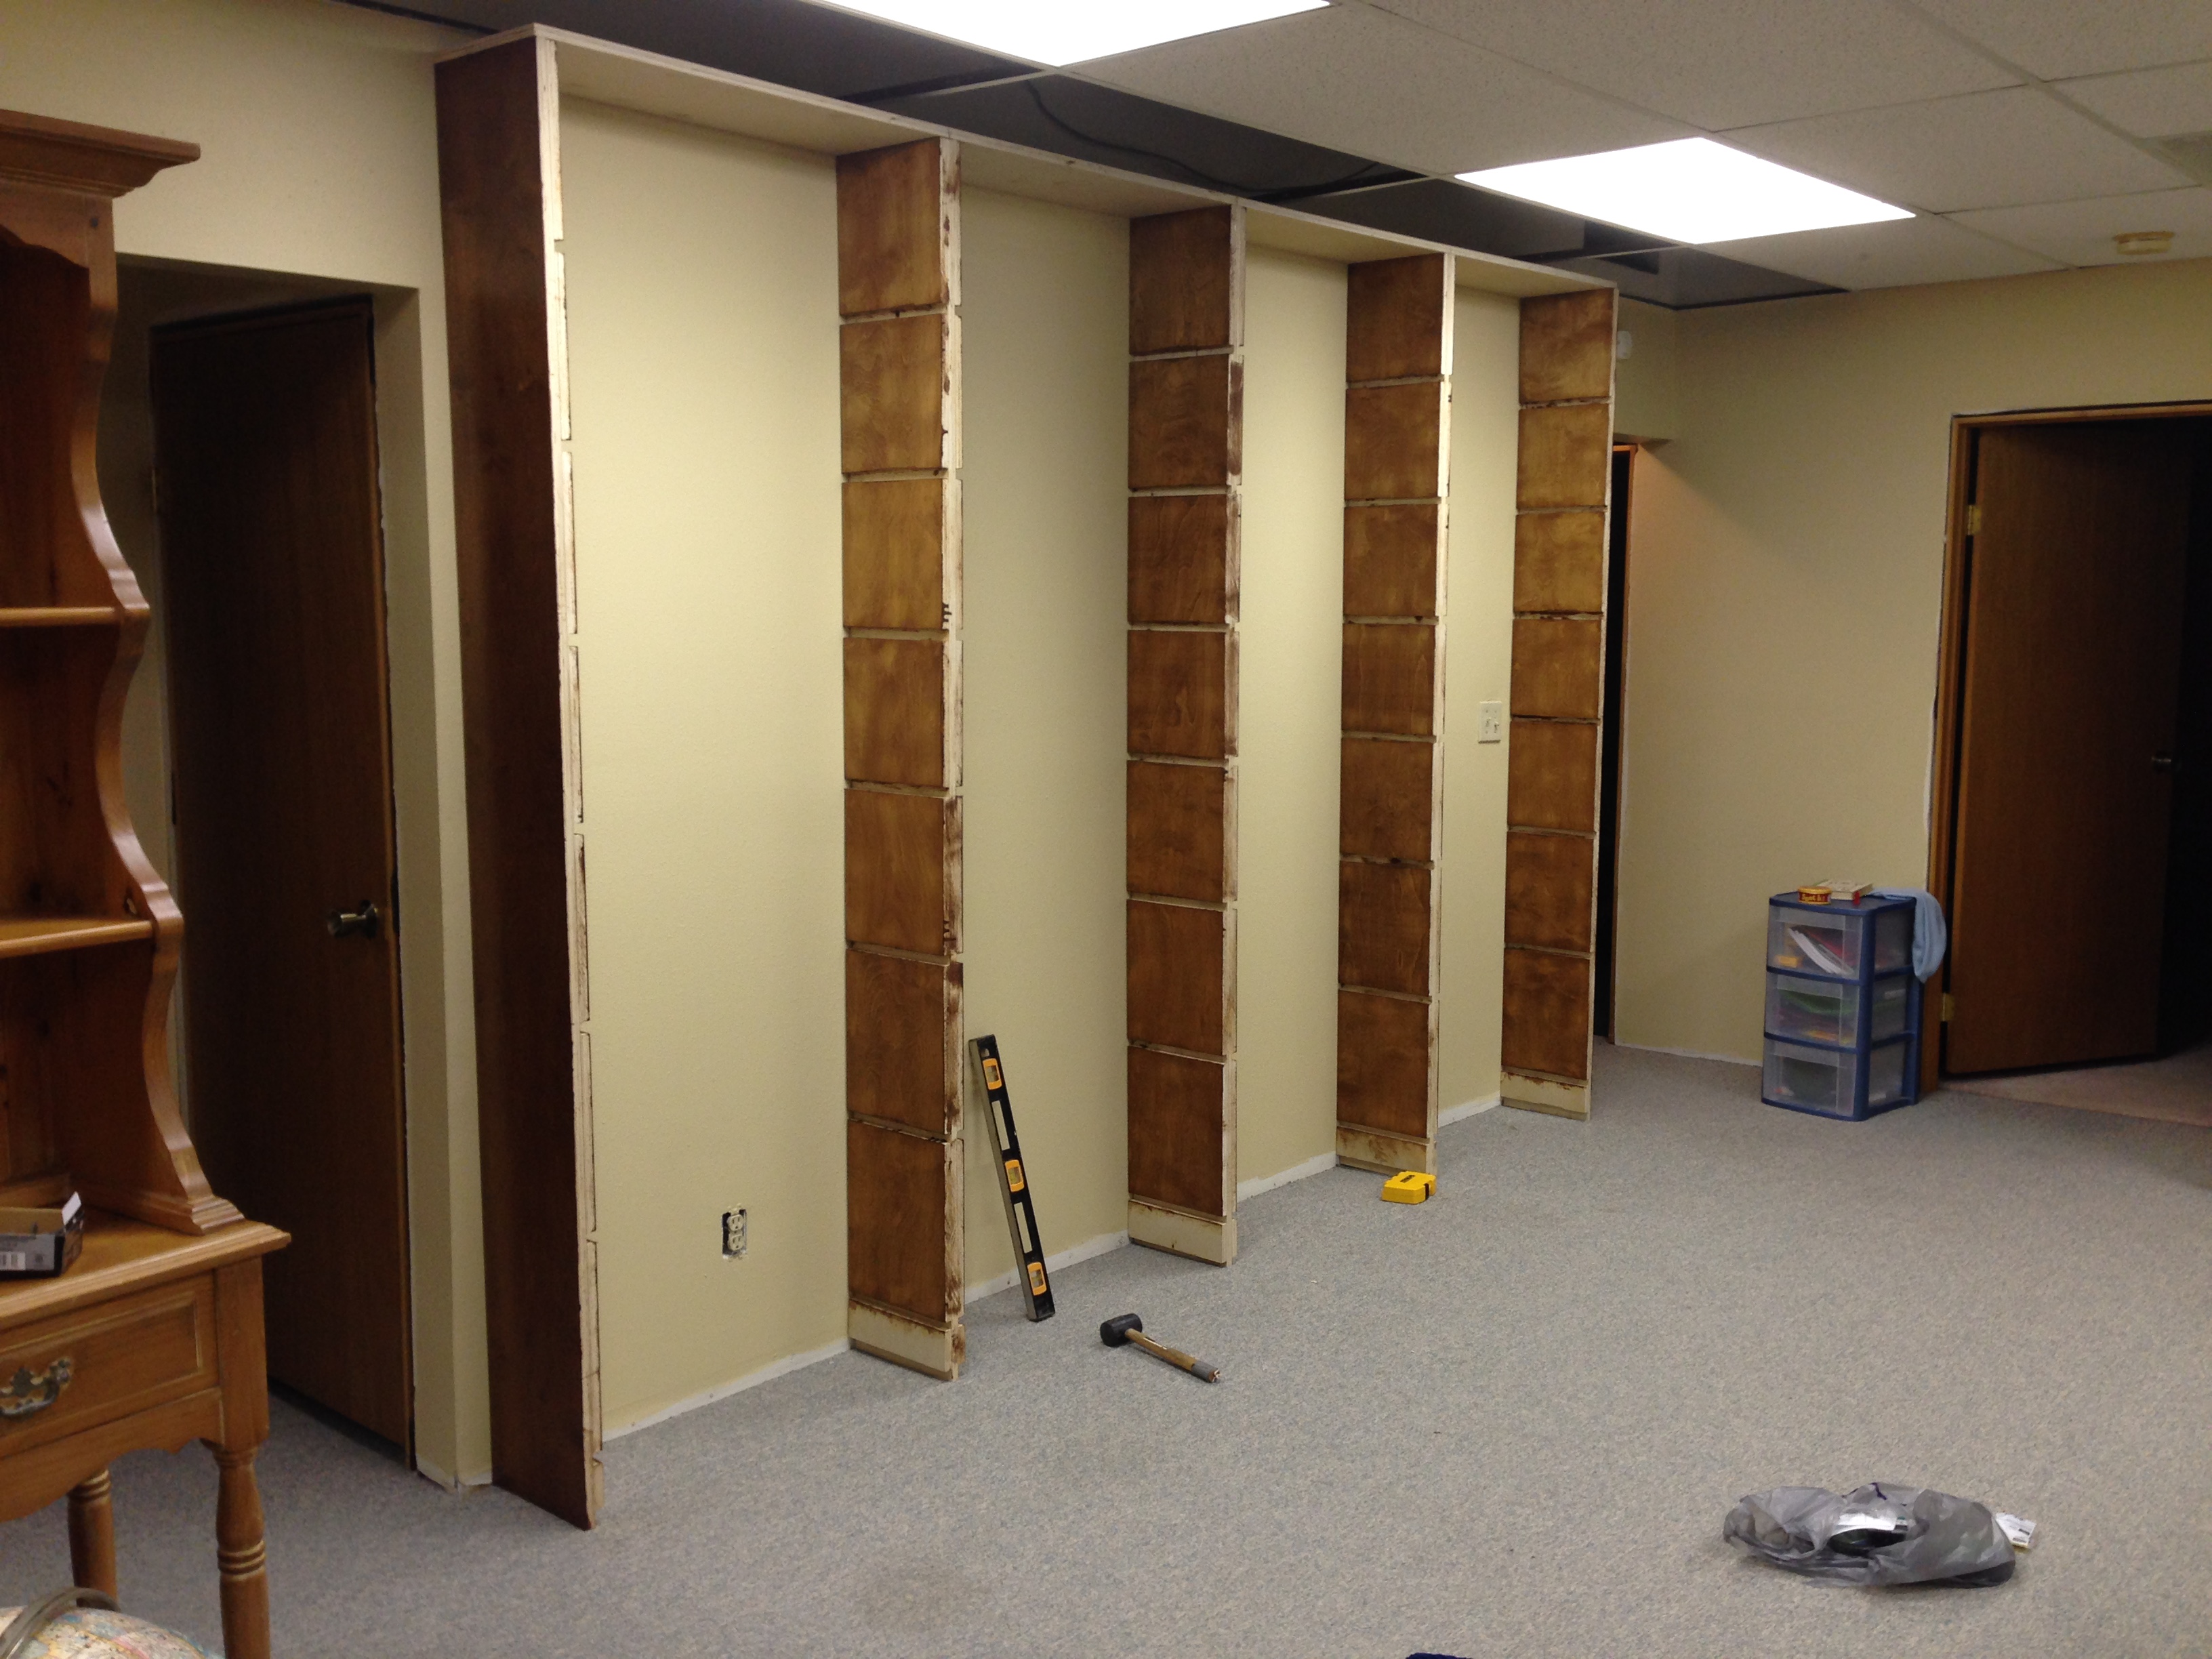
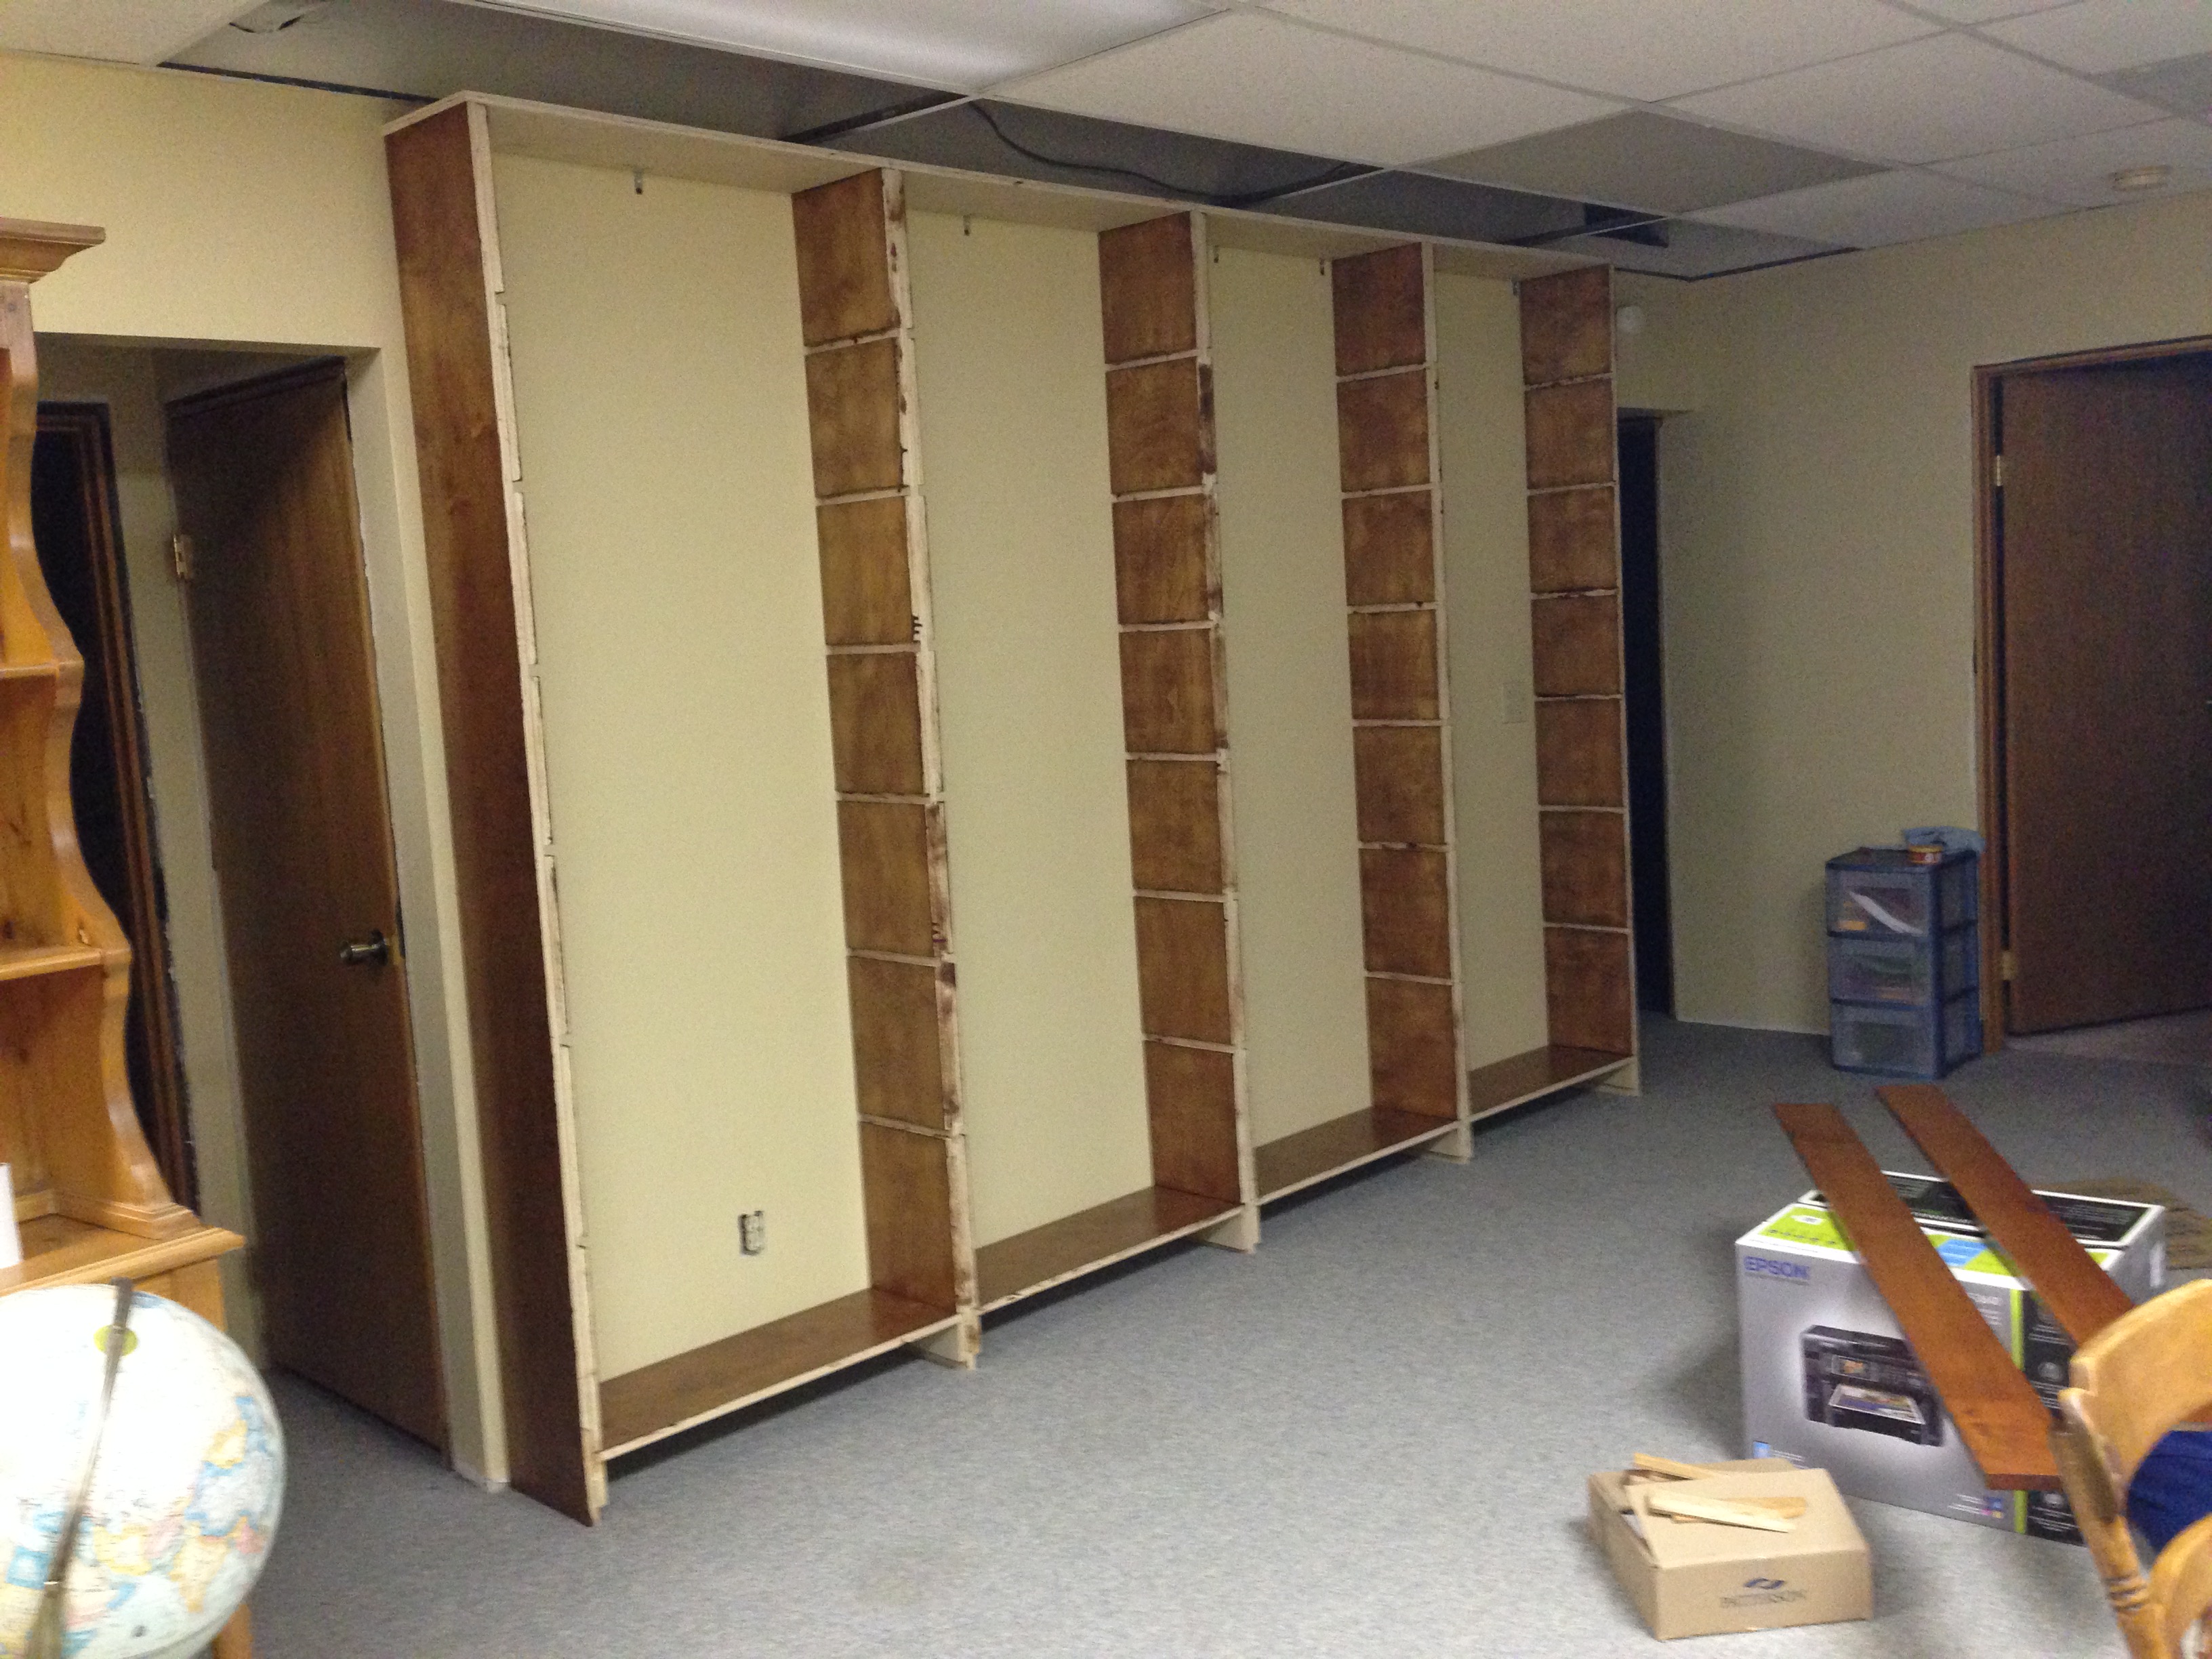
As you can see in the pics below I cut out squares and glued/nailed to a center upright, creating “slots” where the shelves would eventually fit in. On the end uprights I attached these squares only to the inside of the upright. You will also notice in the 3rd picture here the light switch which is EXACTLY IN THE MIDDLE of where a shelf will be; this needed to be relocated up 8″. Thanks Dad for the electrical how-to book……
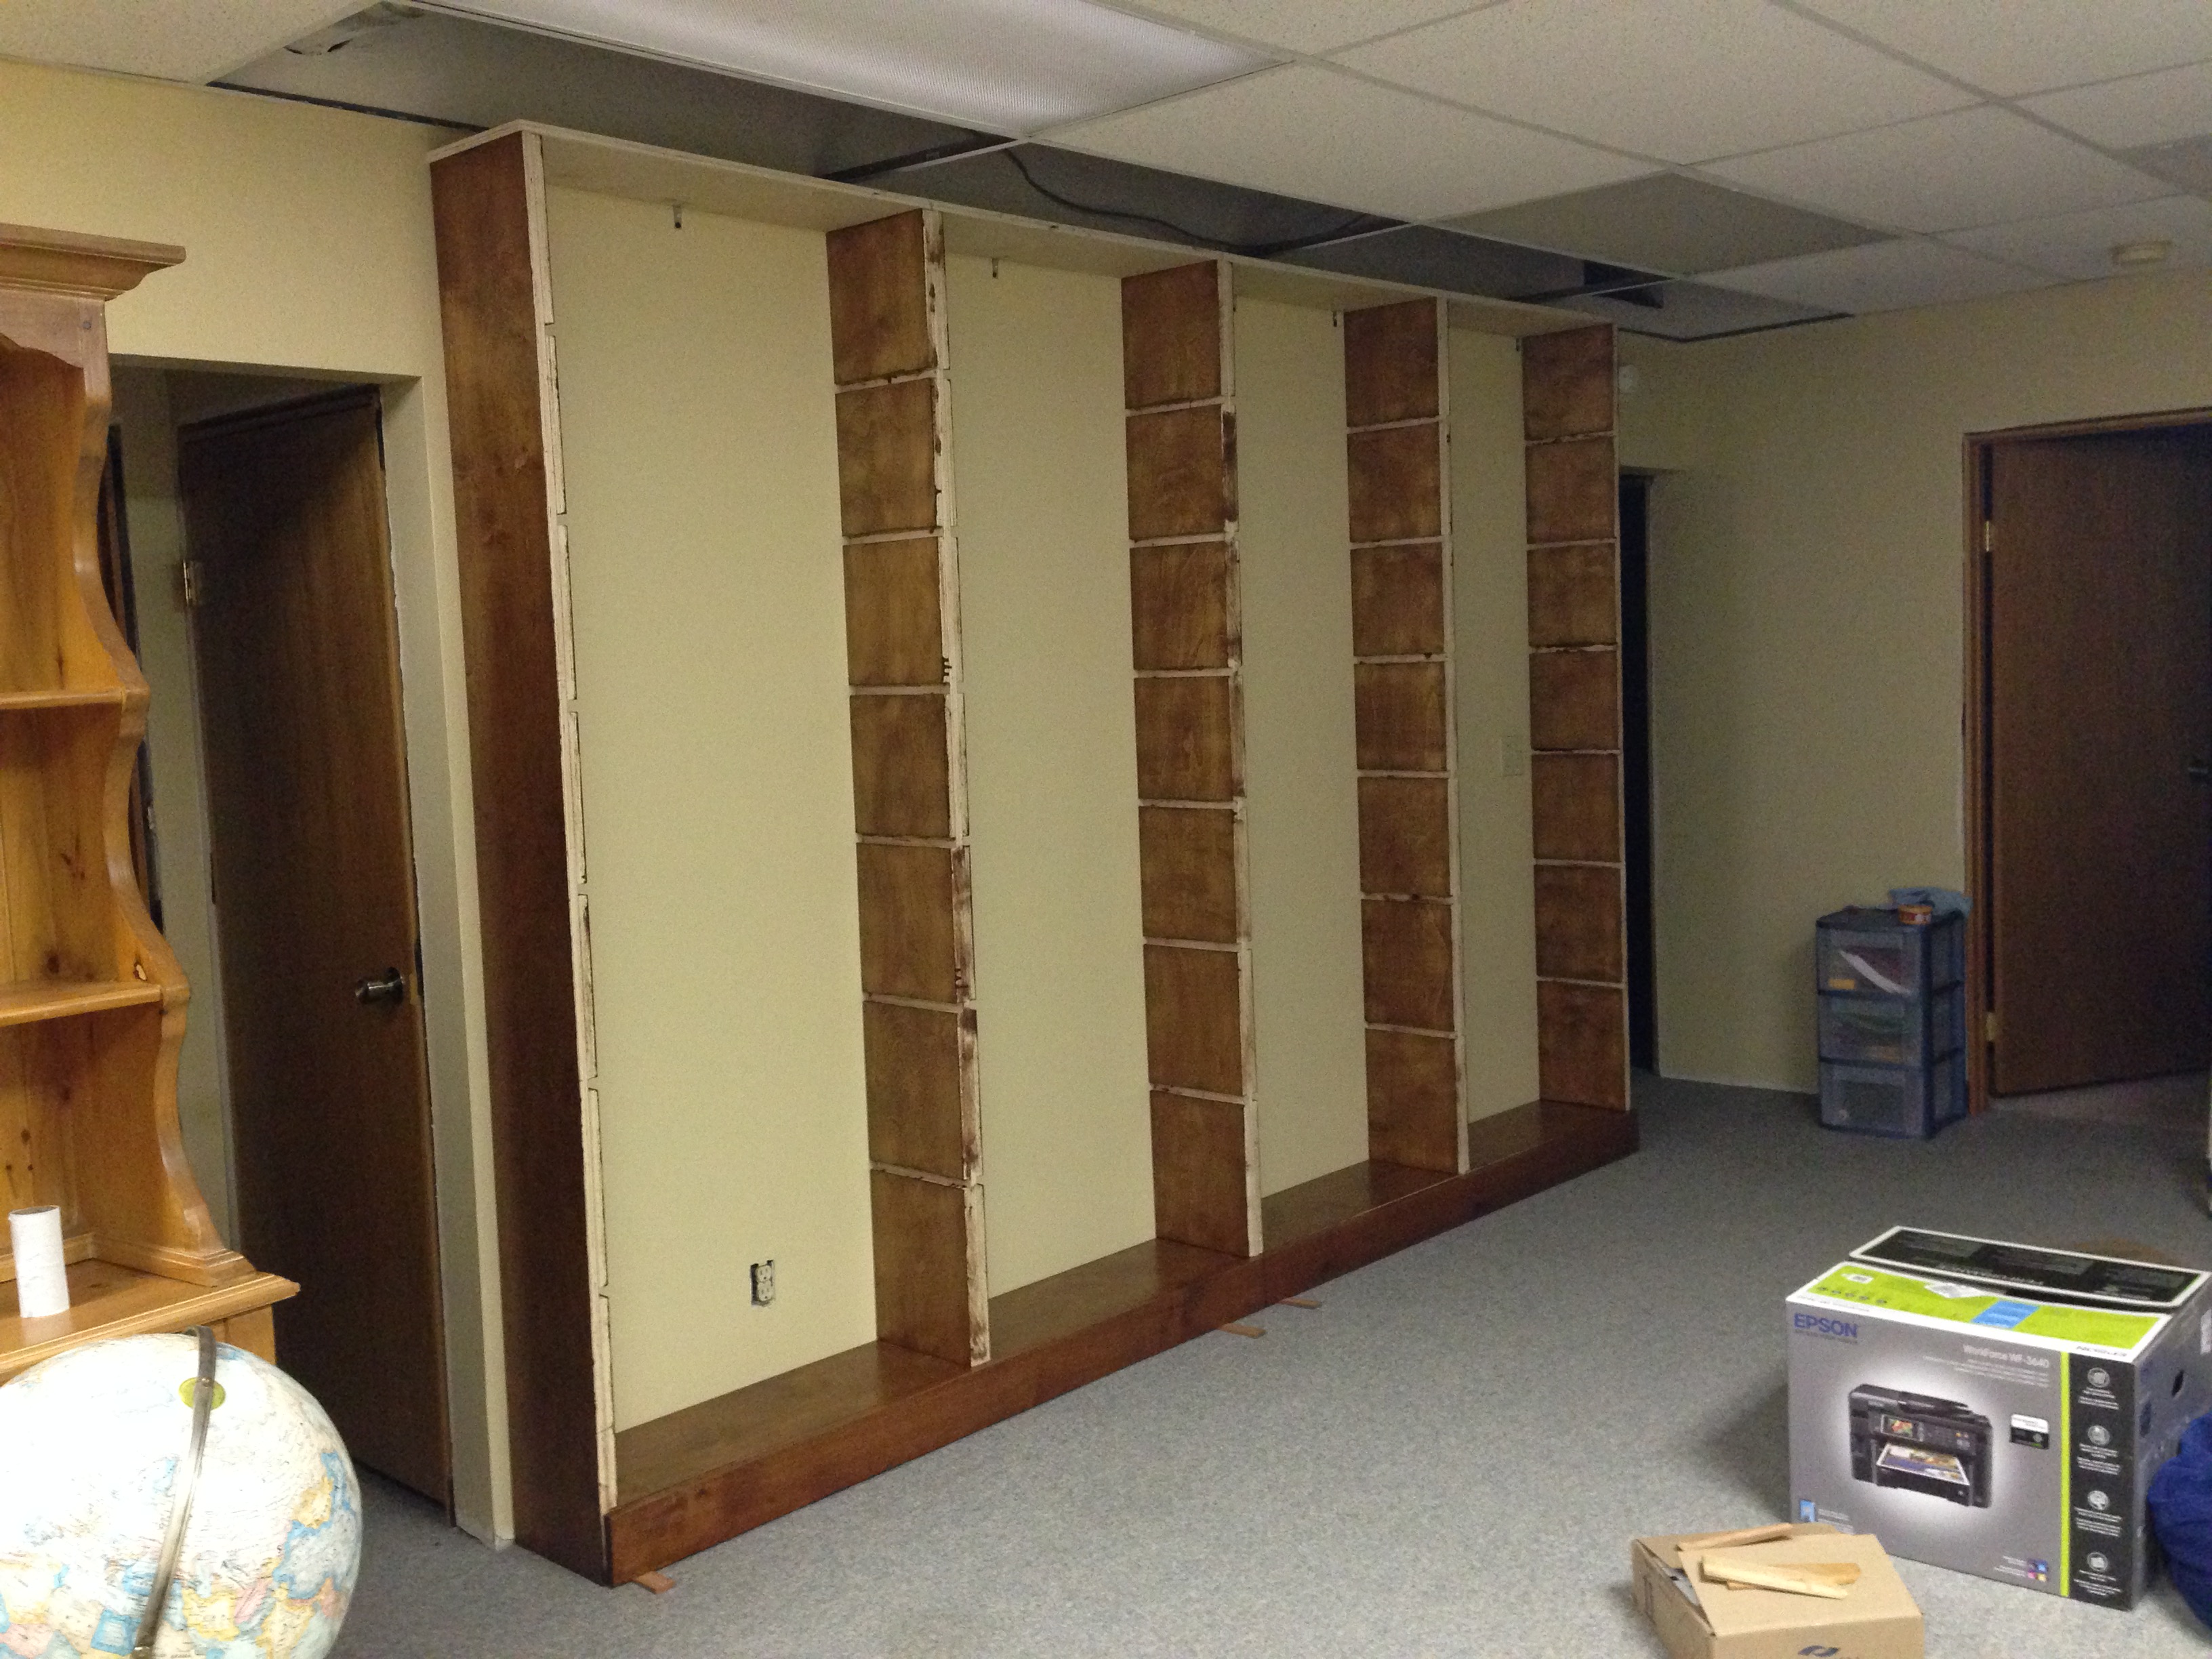
Next, I spaced them out on the wall, measuring twice (usually 4 or 5 times) to make sure they were all spaced perfectly along the wall, and attached the top board to the top of each upright. Then using a stud finder I marked the stud locations on the wall, and used corner braces to screw the top board to the wall.
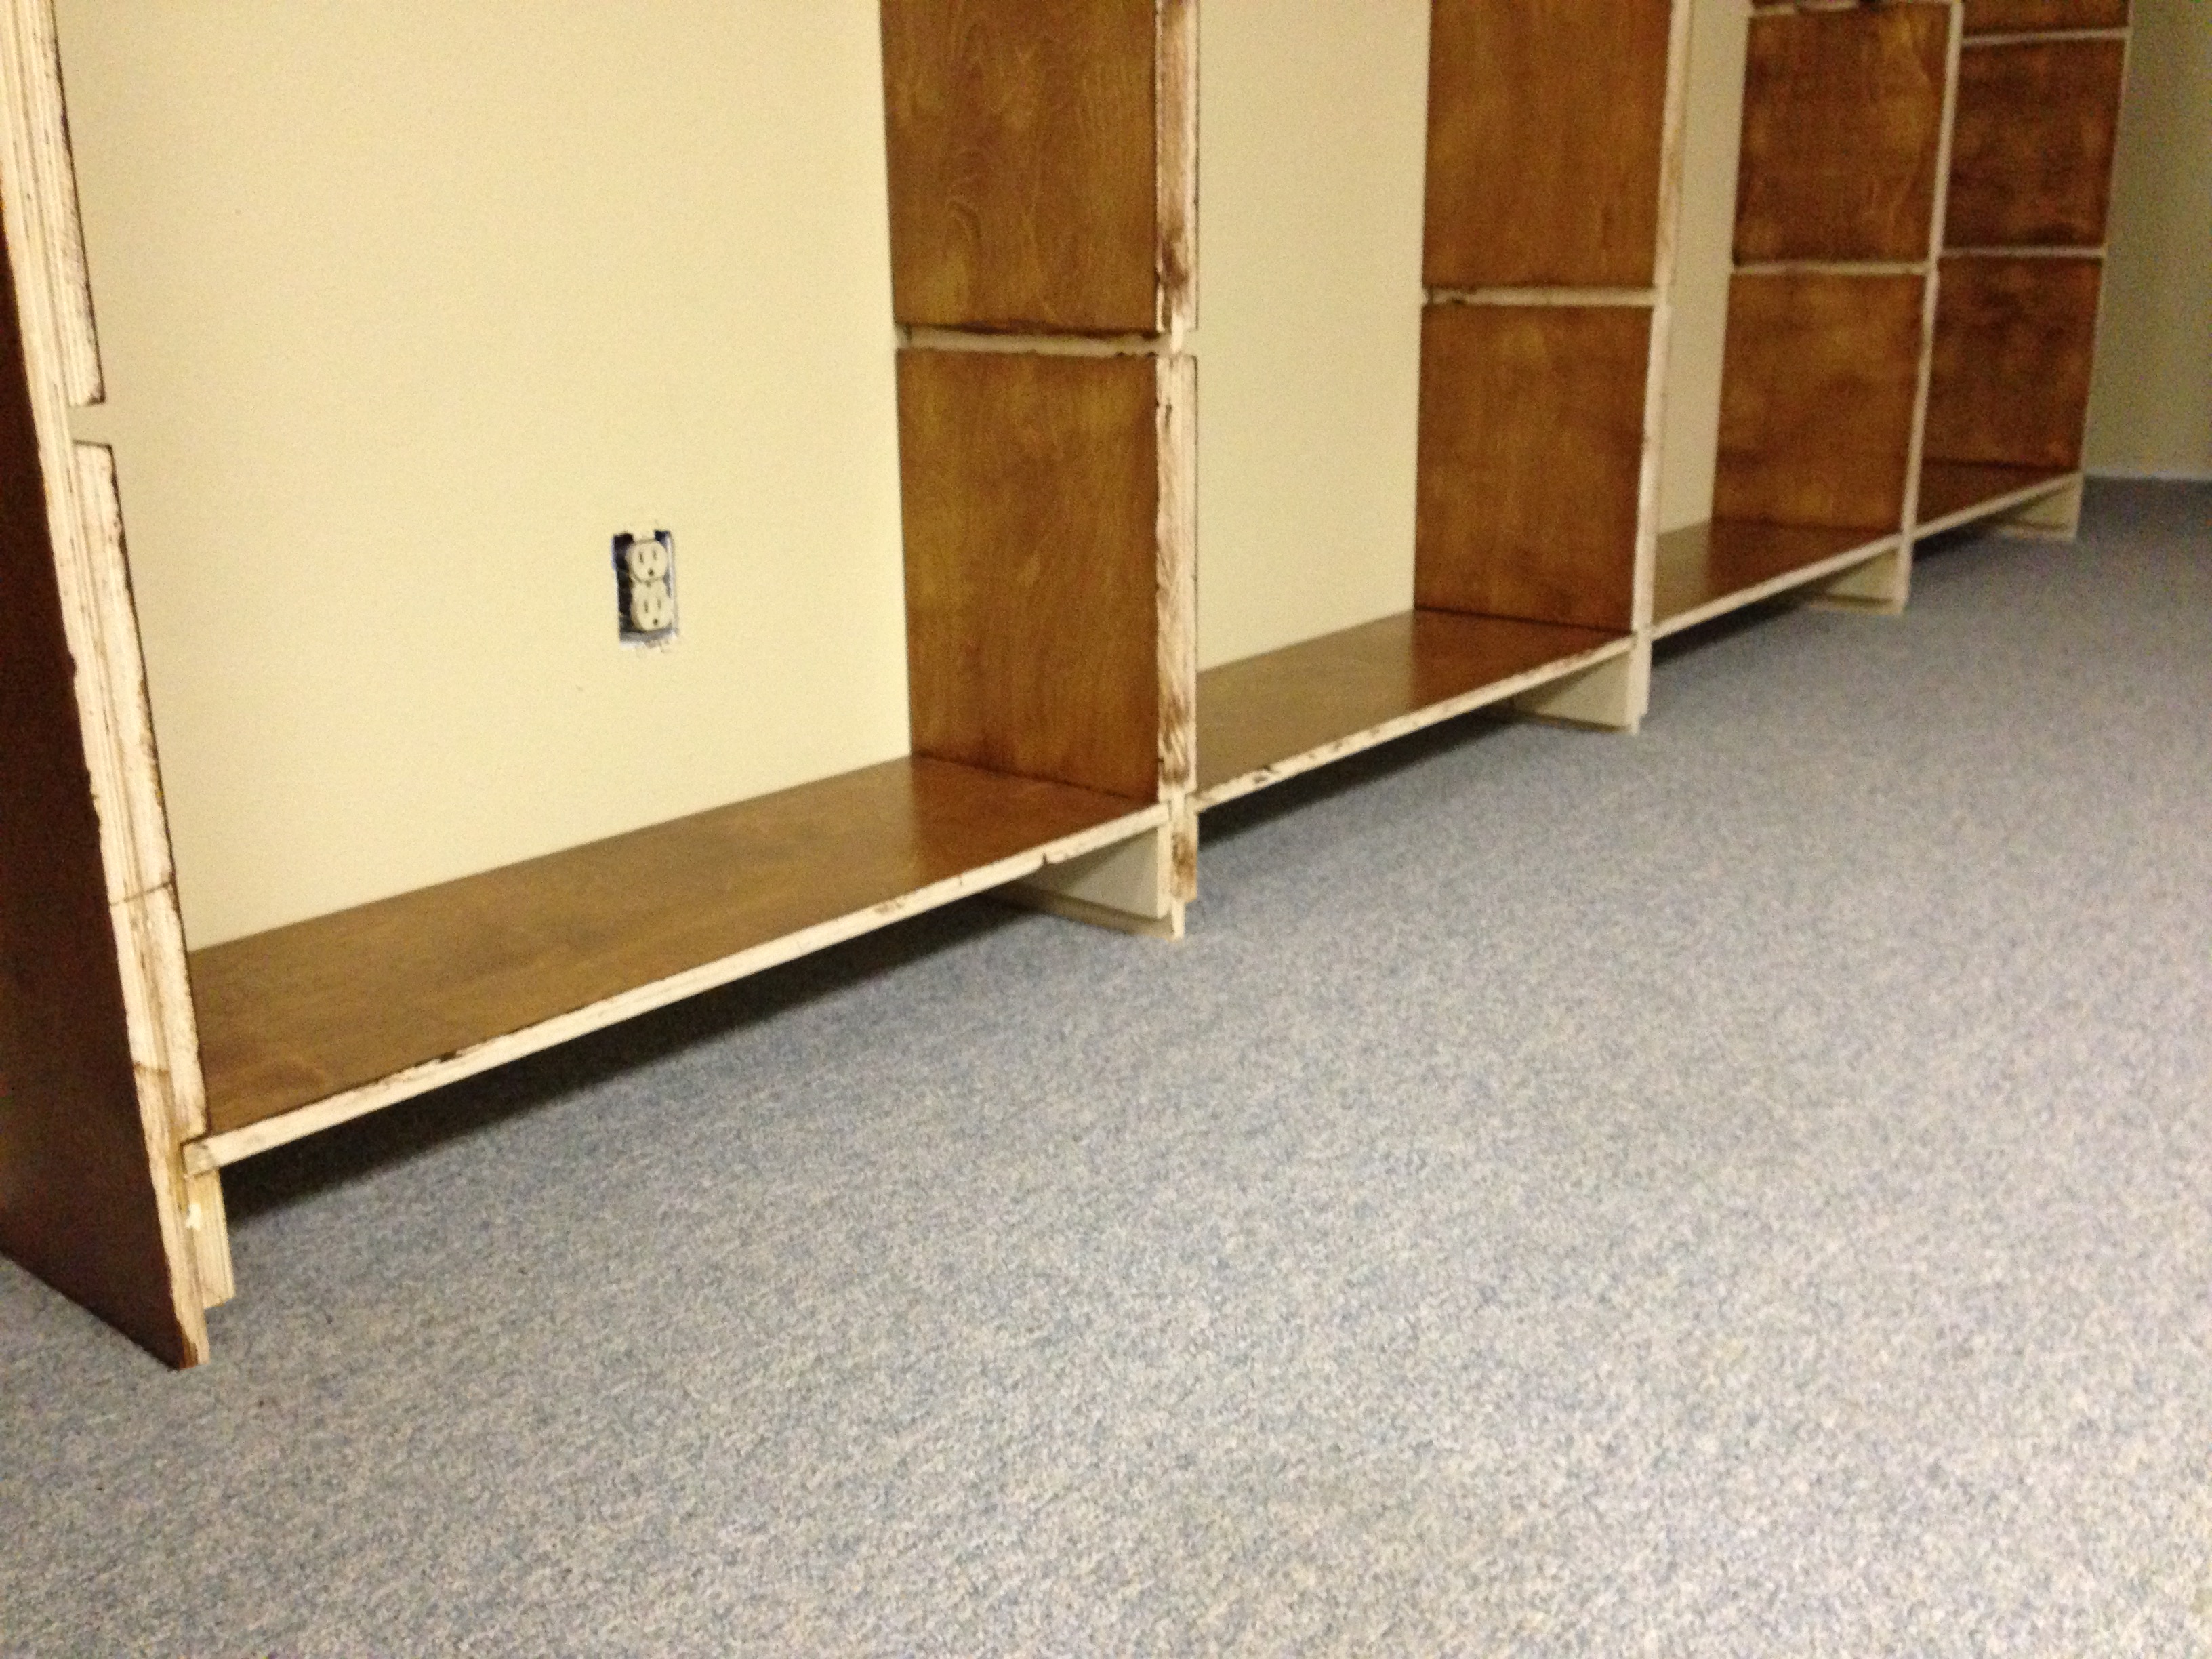
Next, to tie it all together, I glued in place each bottom shelf. This ensured the spacing at both the top and bottom between each upright was correct and secure. Once this glue dried I again used corner braces and attached to the wall studs below each bottom shelf so it was hidden. (I screwed the corner braces to the bottom of the shelves before I glued the shelves into place)
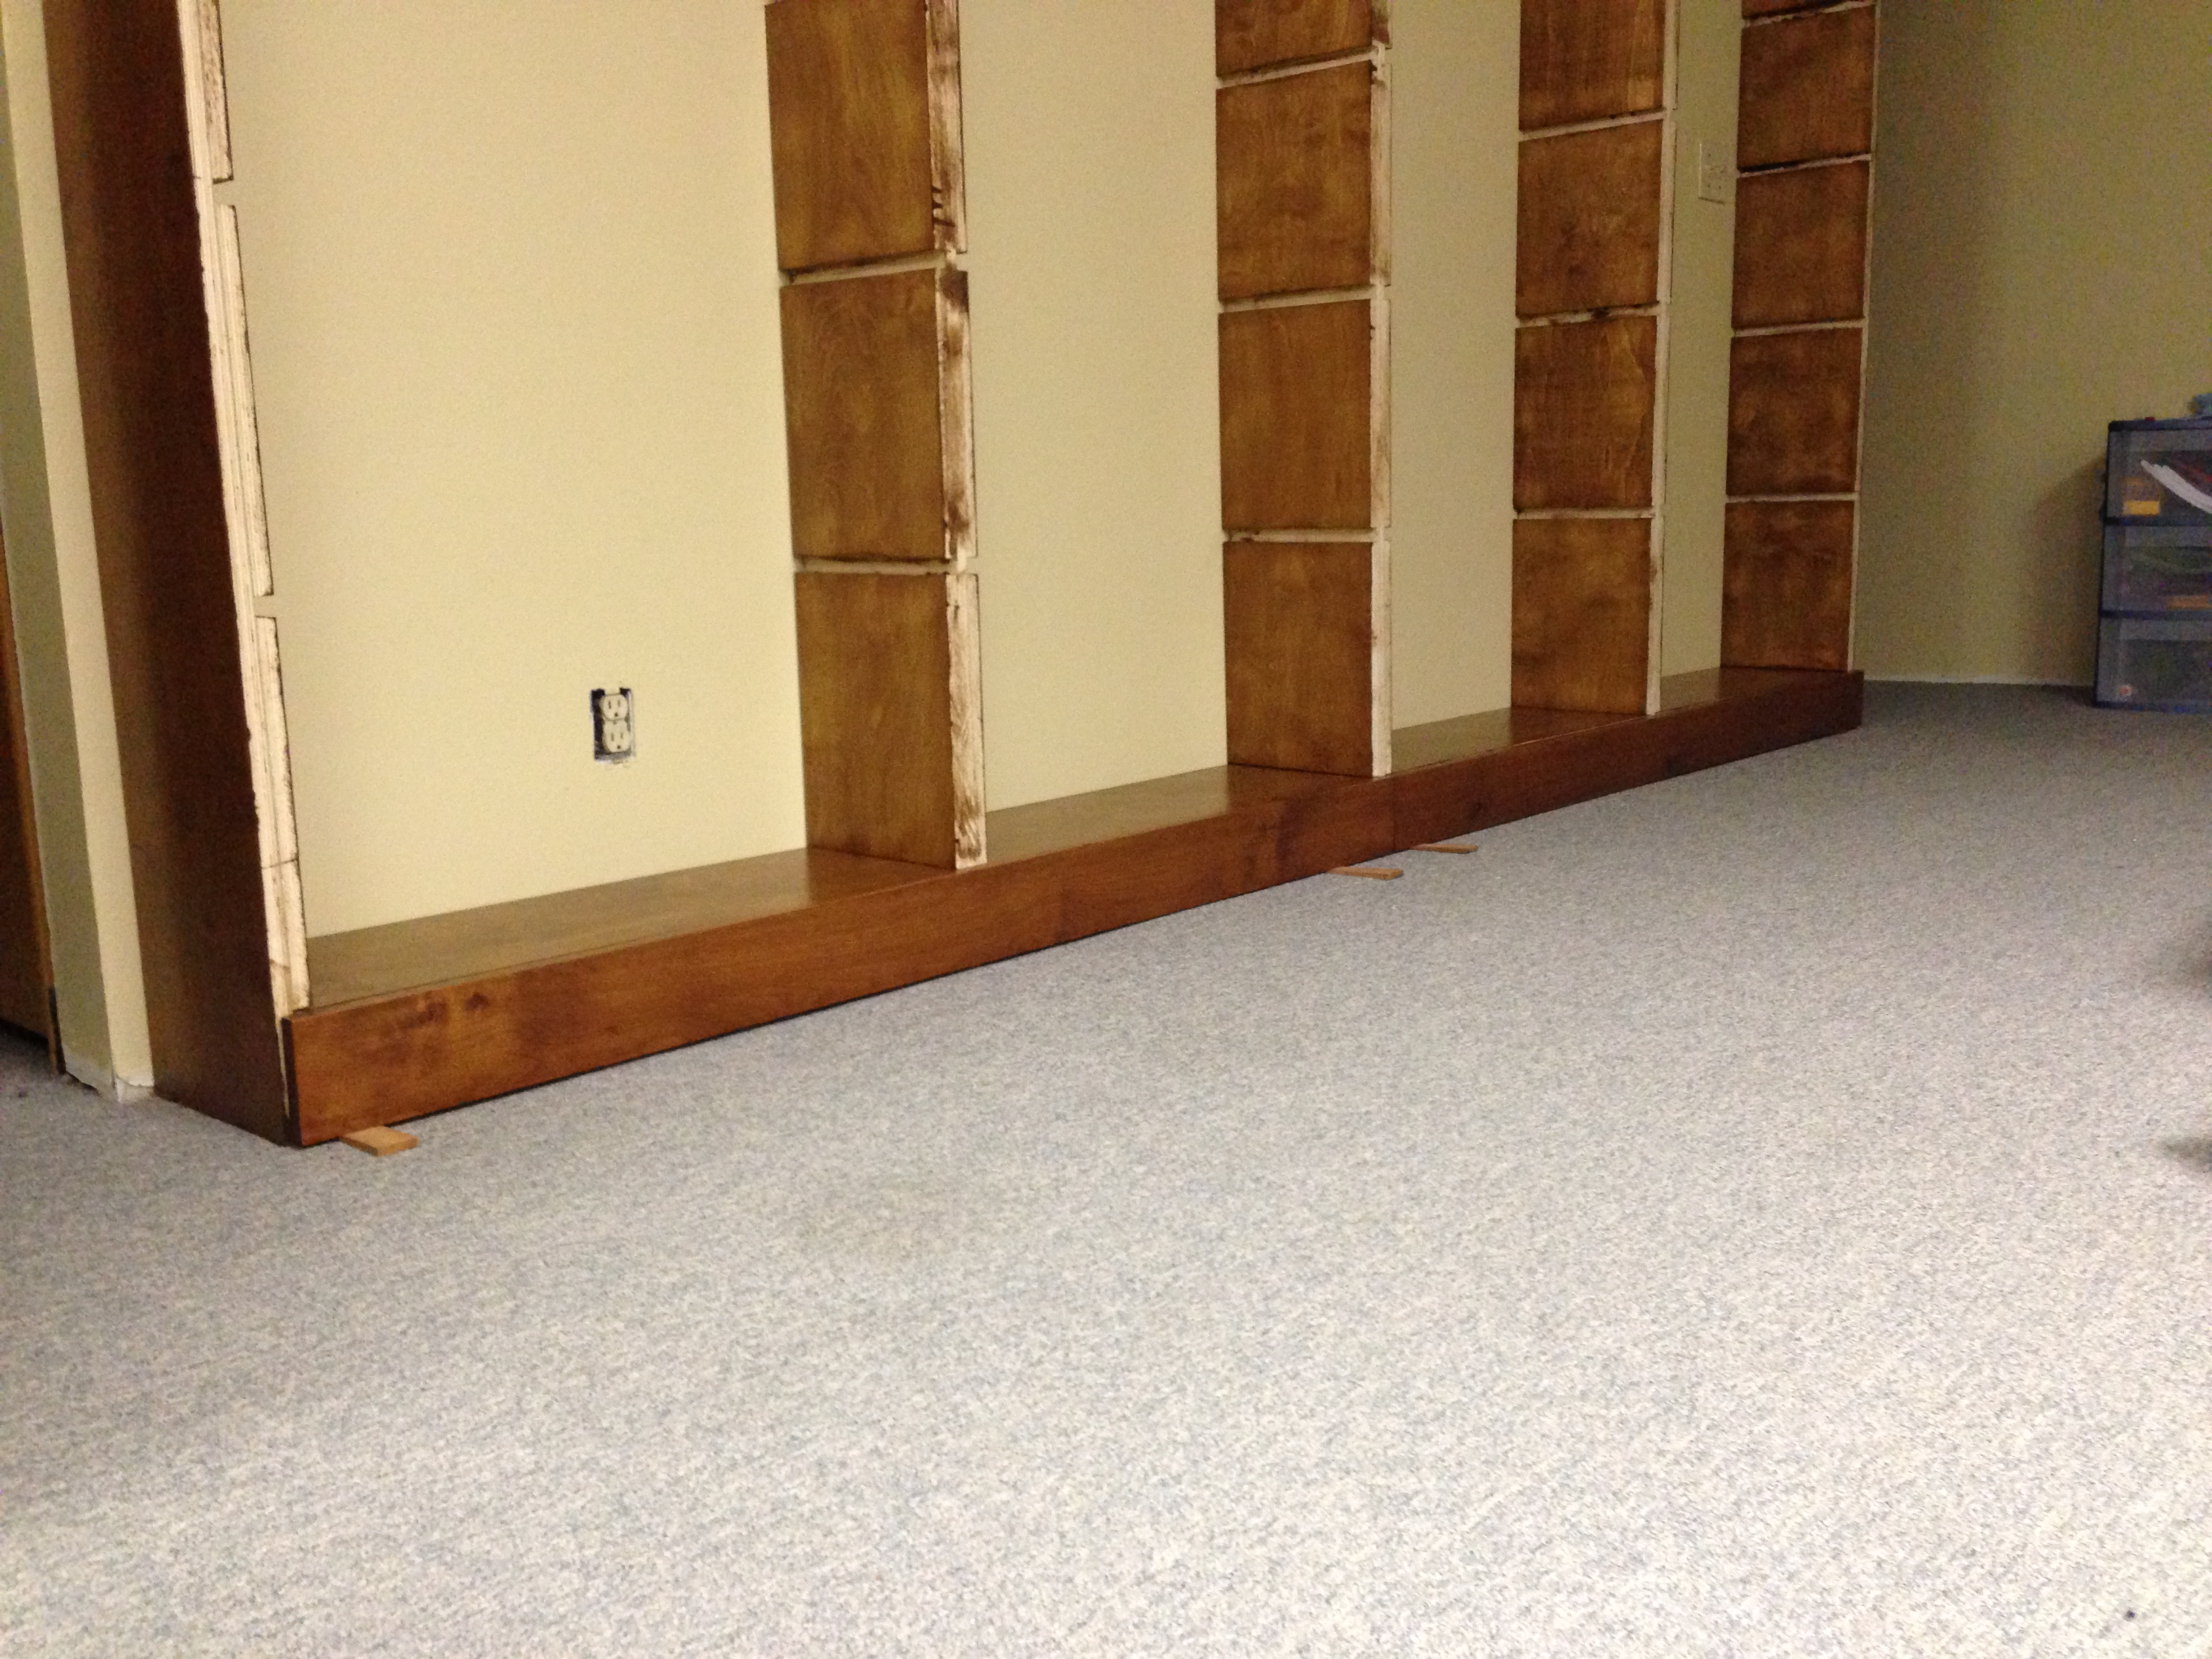
Next, using the Alder hardwood, I cut 2 pieces, that would box in the bottom shelf section and was the first piece of facing trim, and glued/nailed these into place. I didn’t have a piece 12′ long which is why I used two pieces and joined them in the middle. Up ’til now it really felt like this project would take forever, but finally it looked like we might have bookshelves before winter was over. Shhhhhh, don’t tell Karen I ever had any doubts.
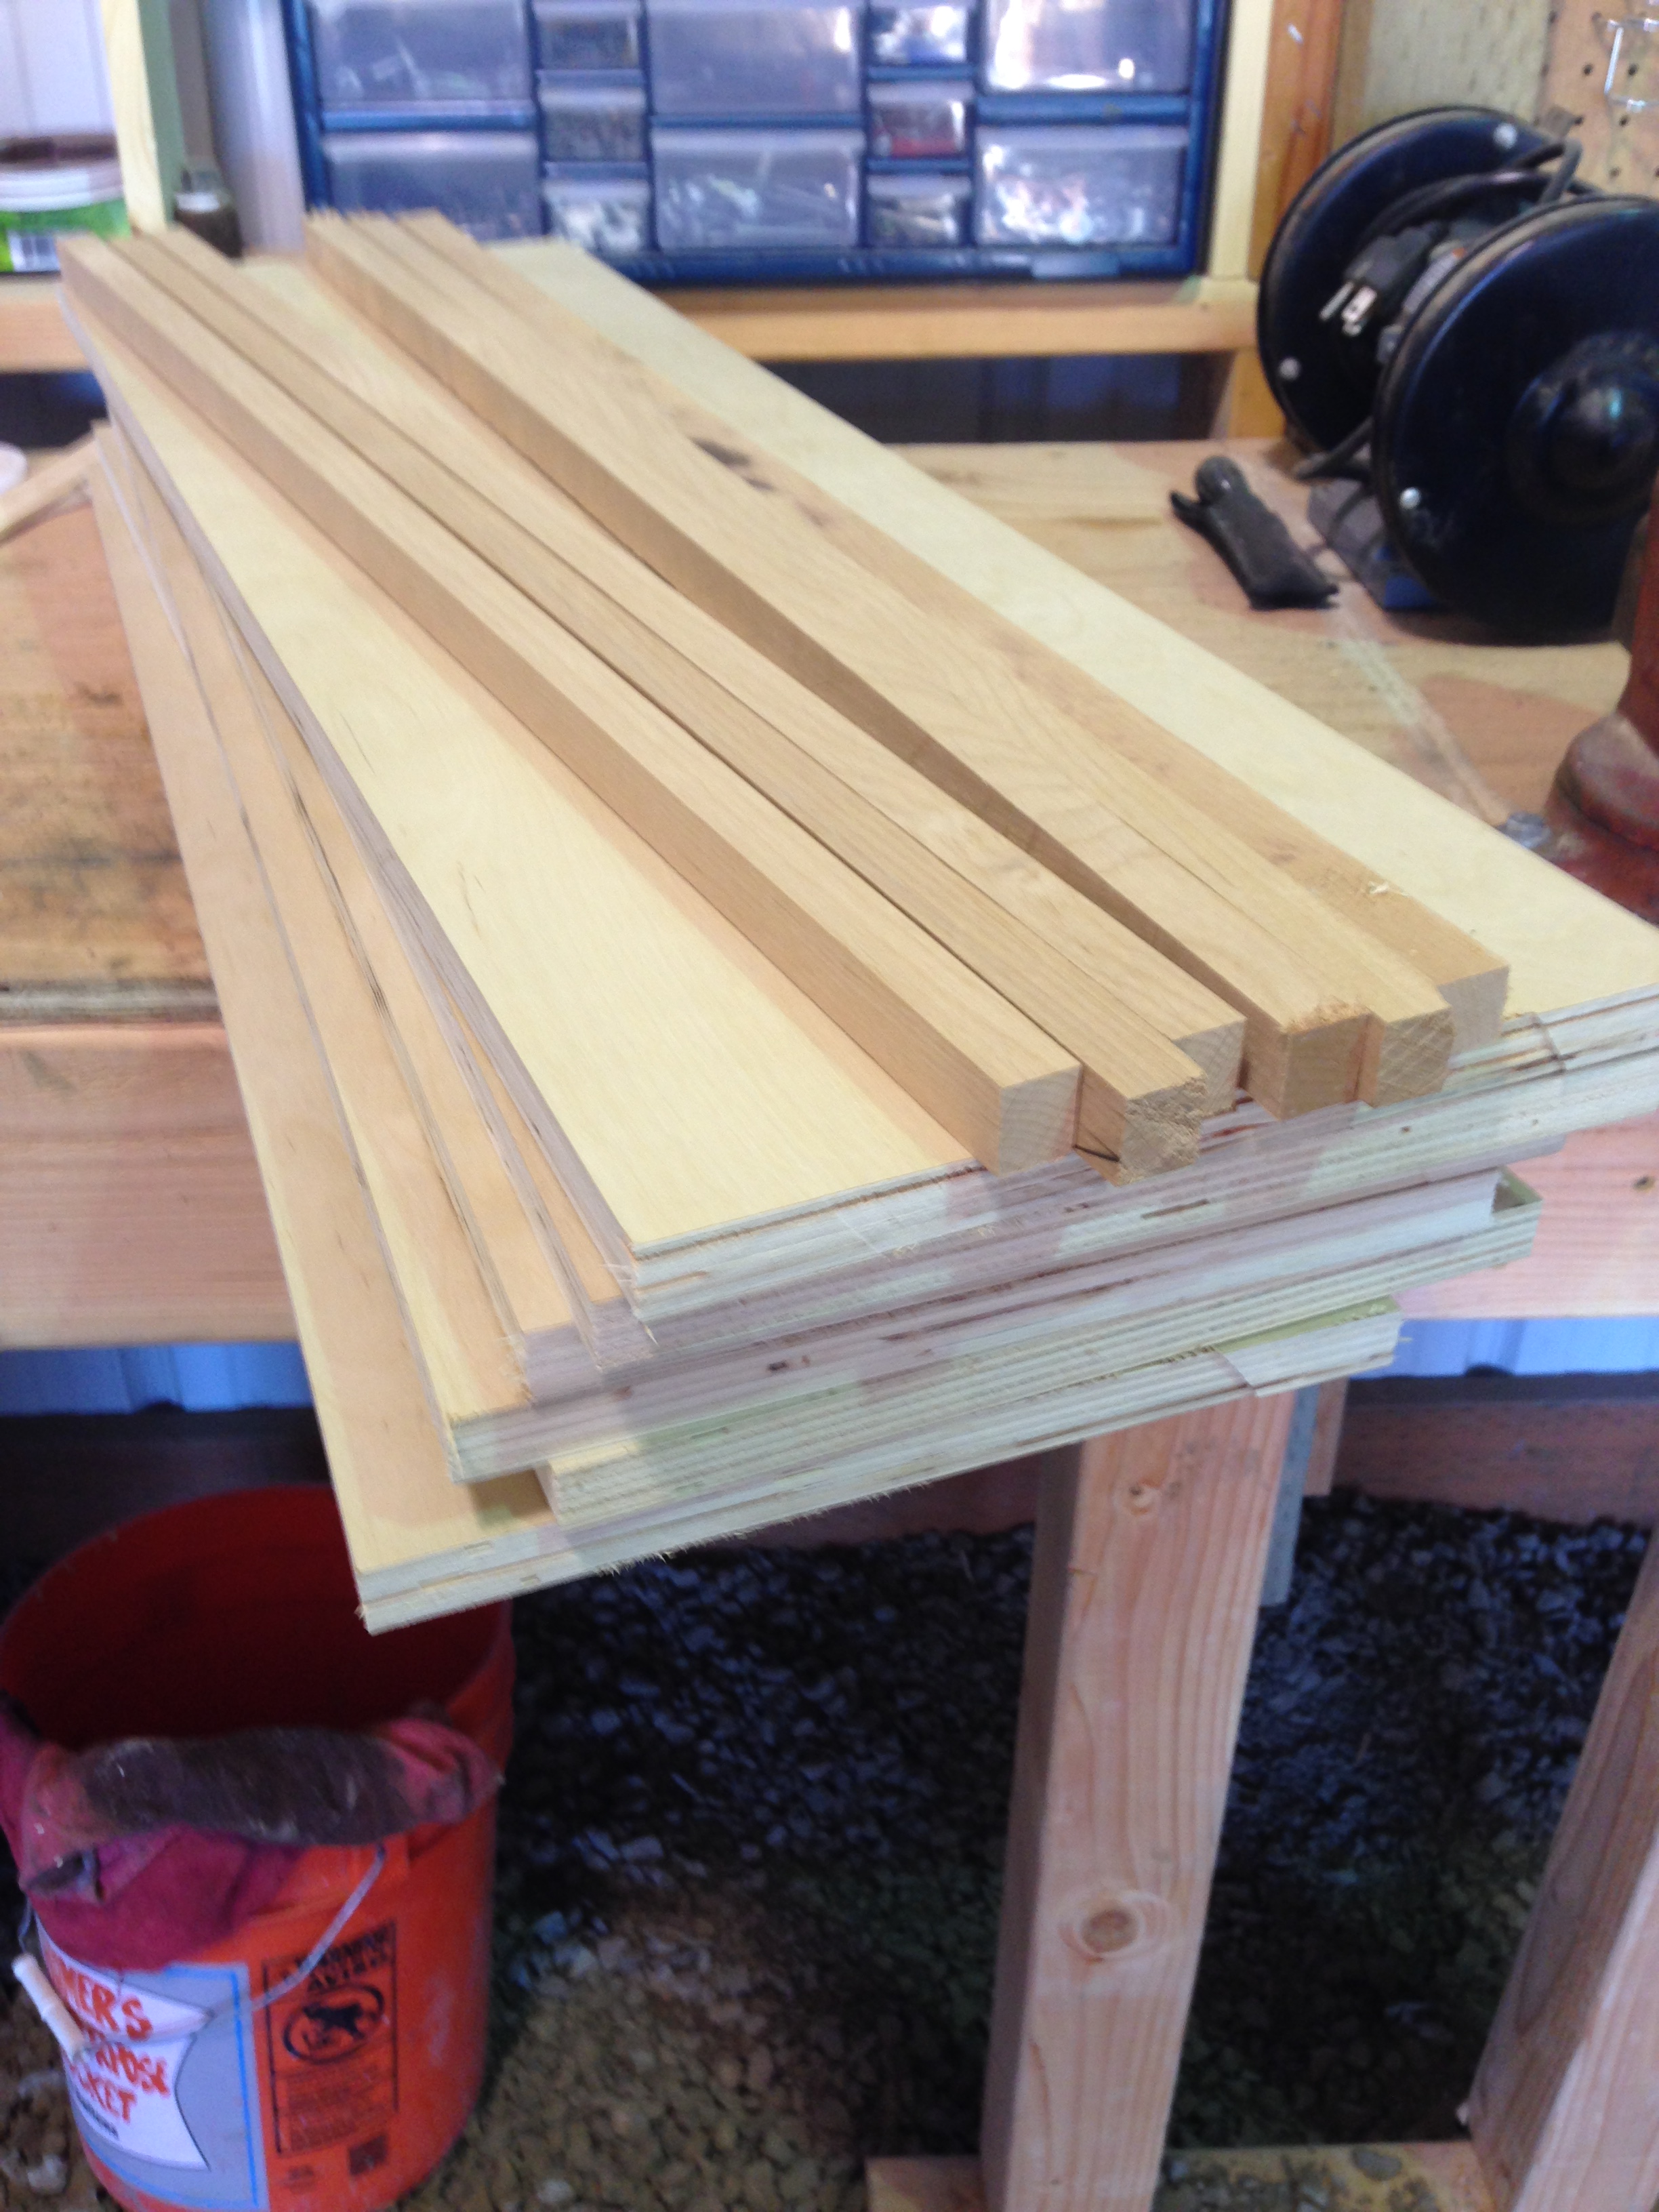
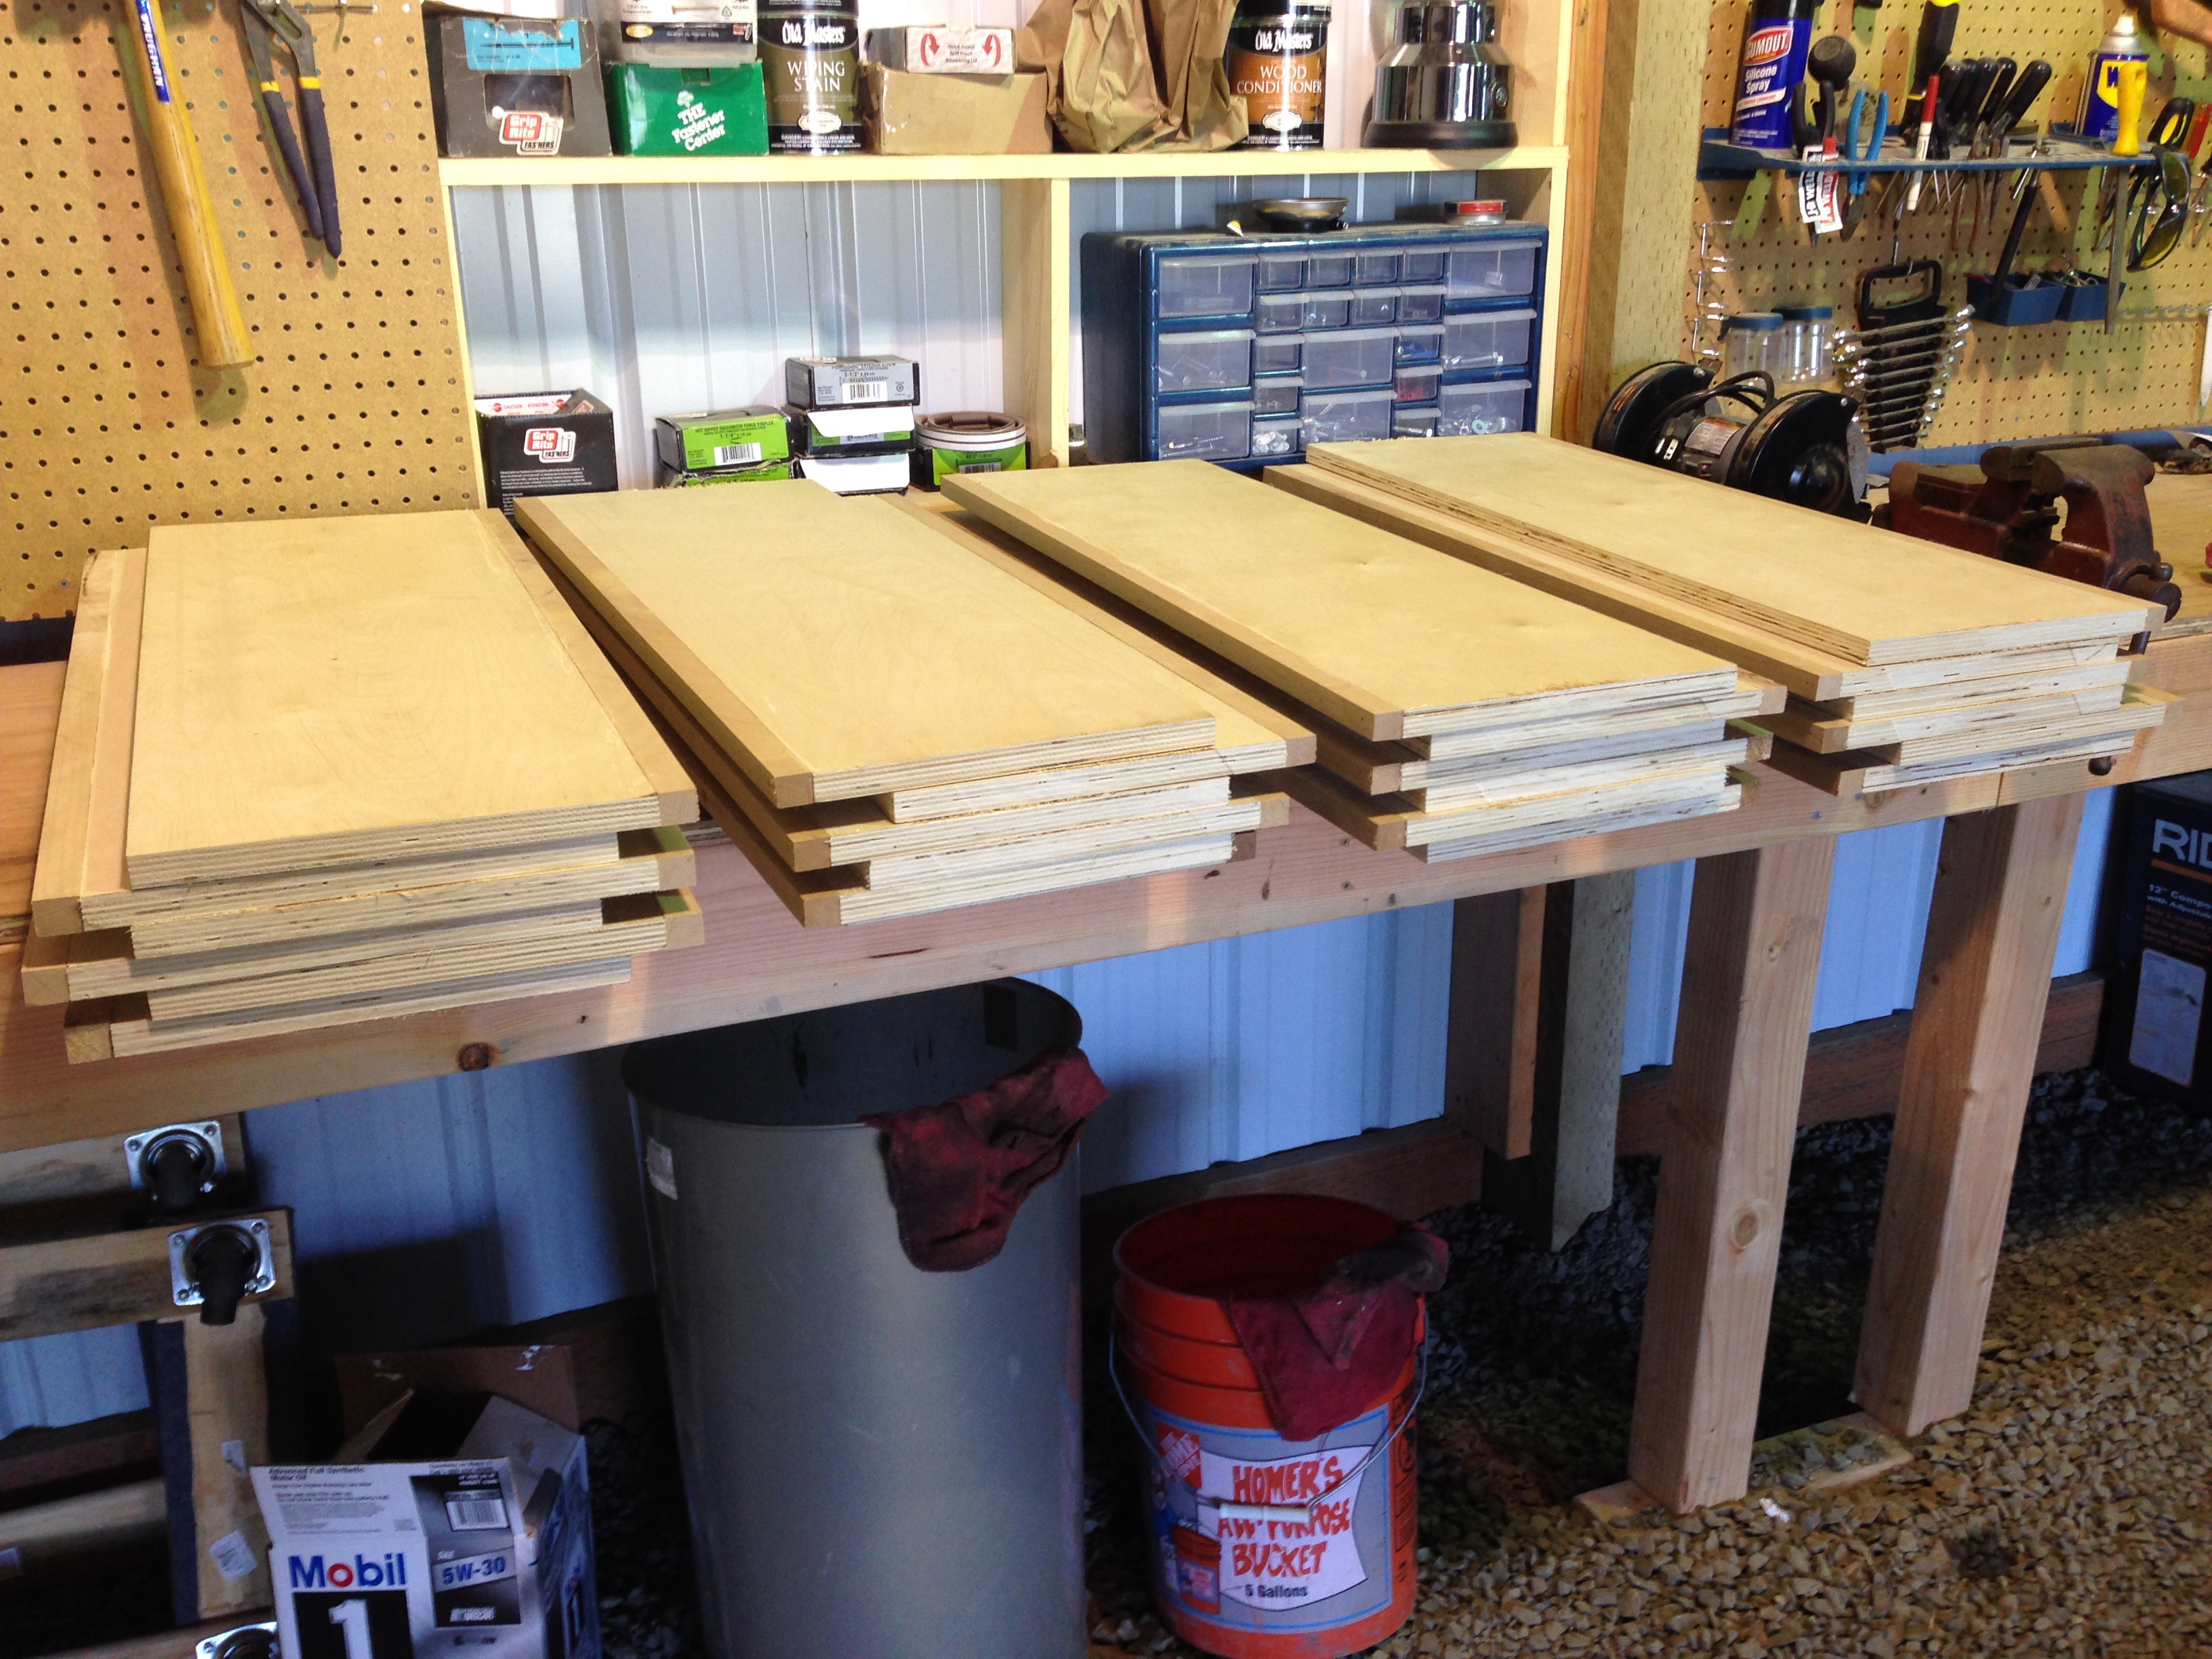
Next were the shelves, lots and lots of shelves. Each would be of the Poplar laminate with a Alder trim piece on the front.
Before assembly
After assembly
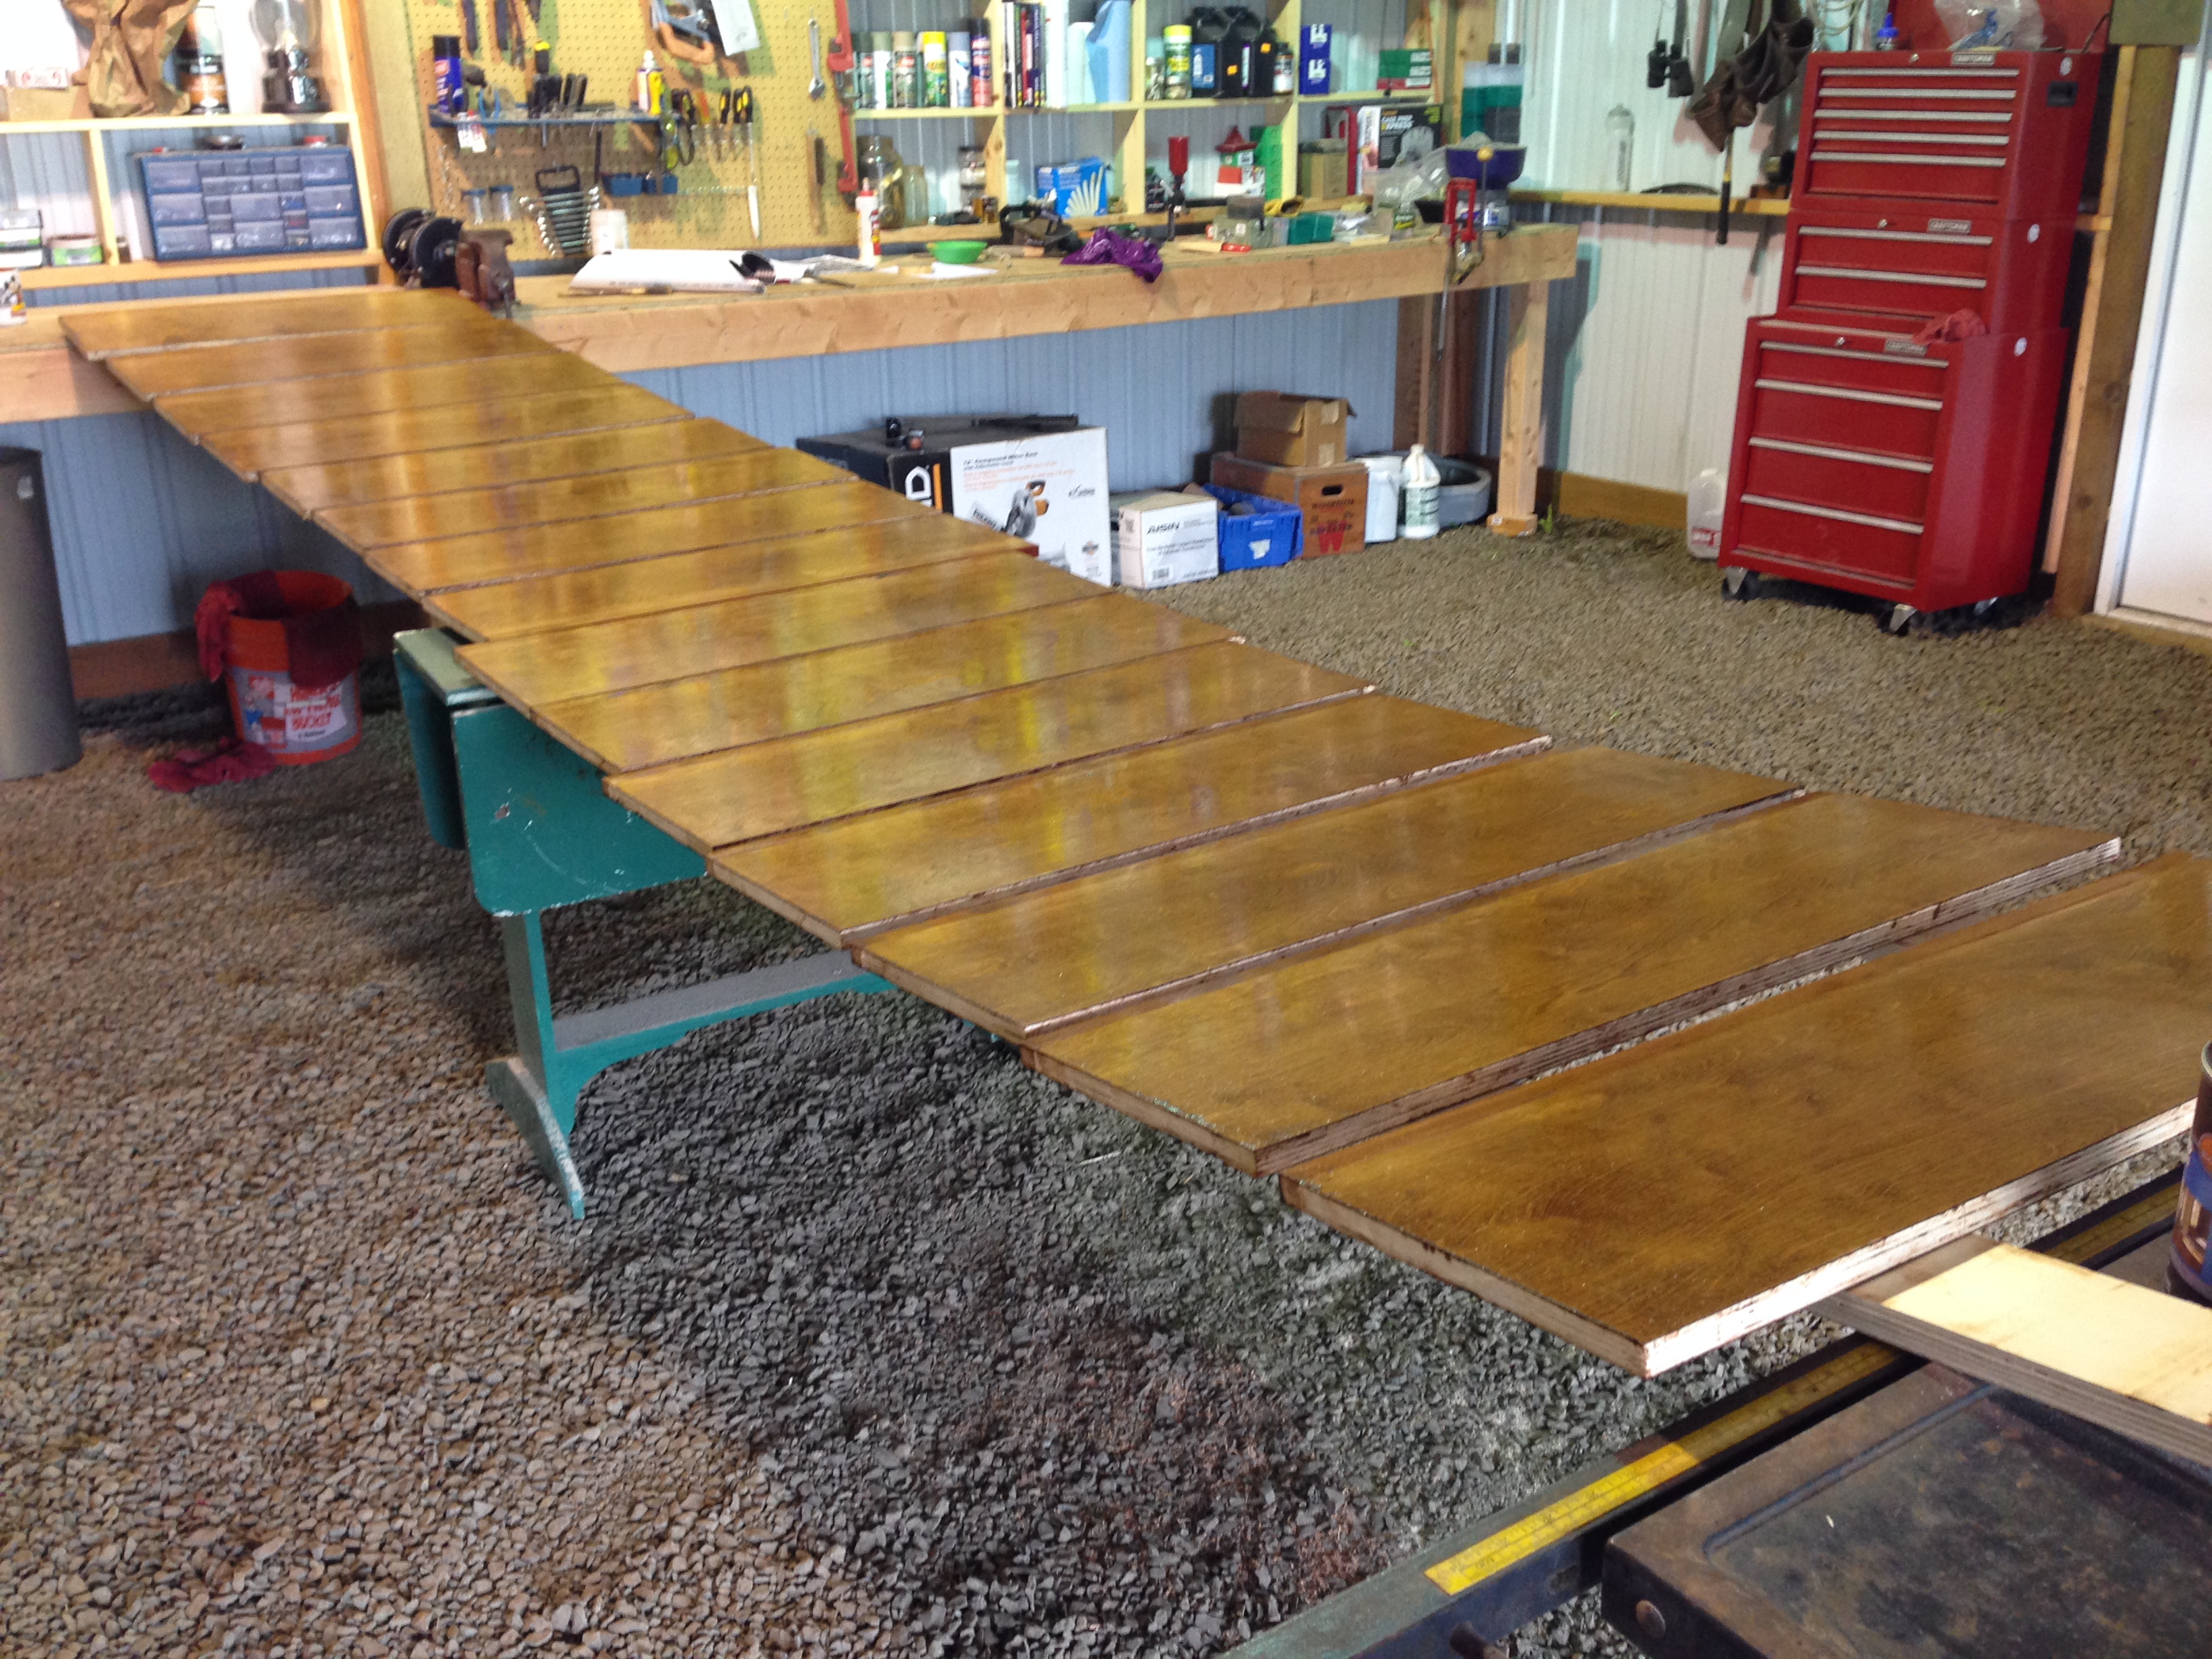
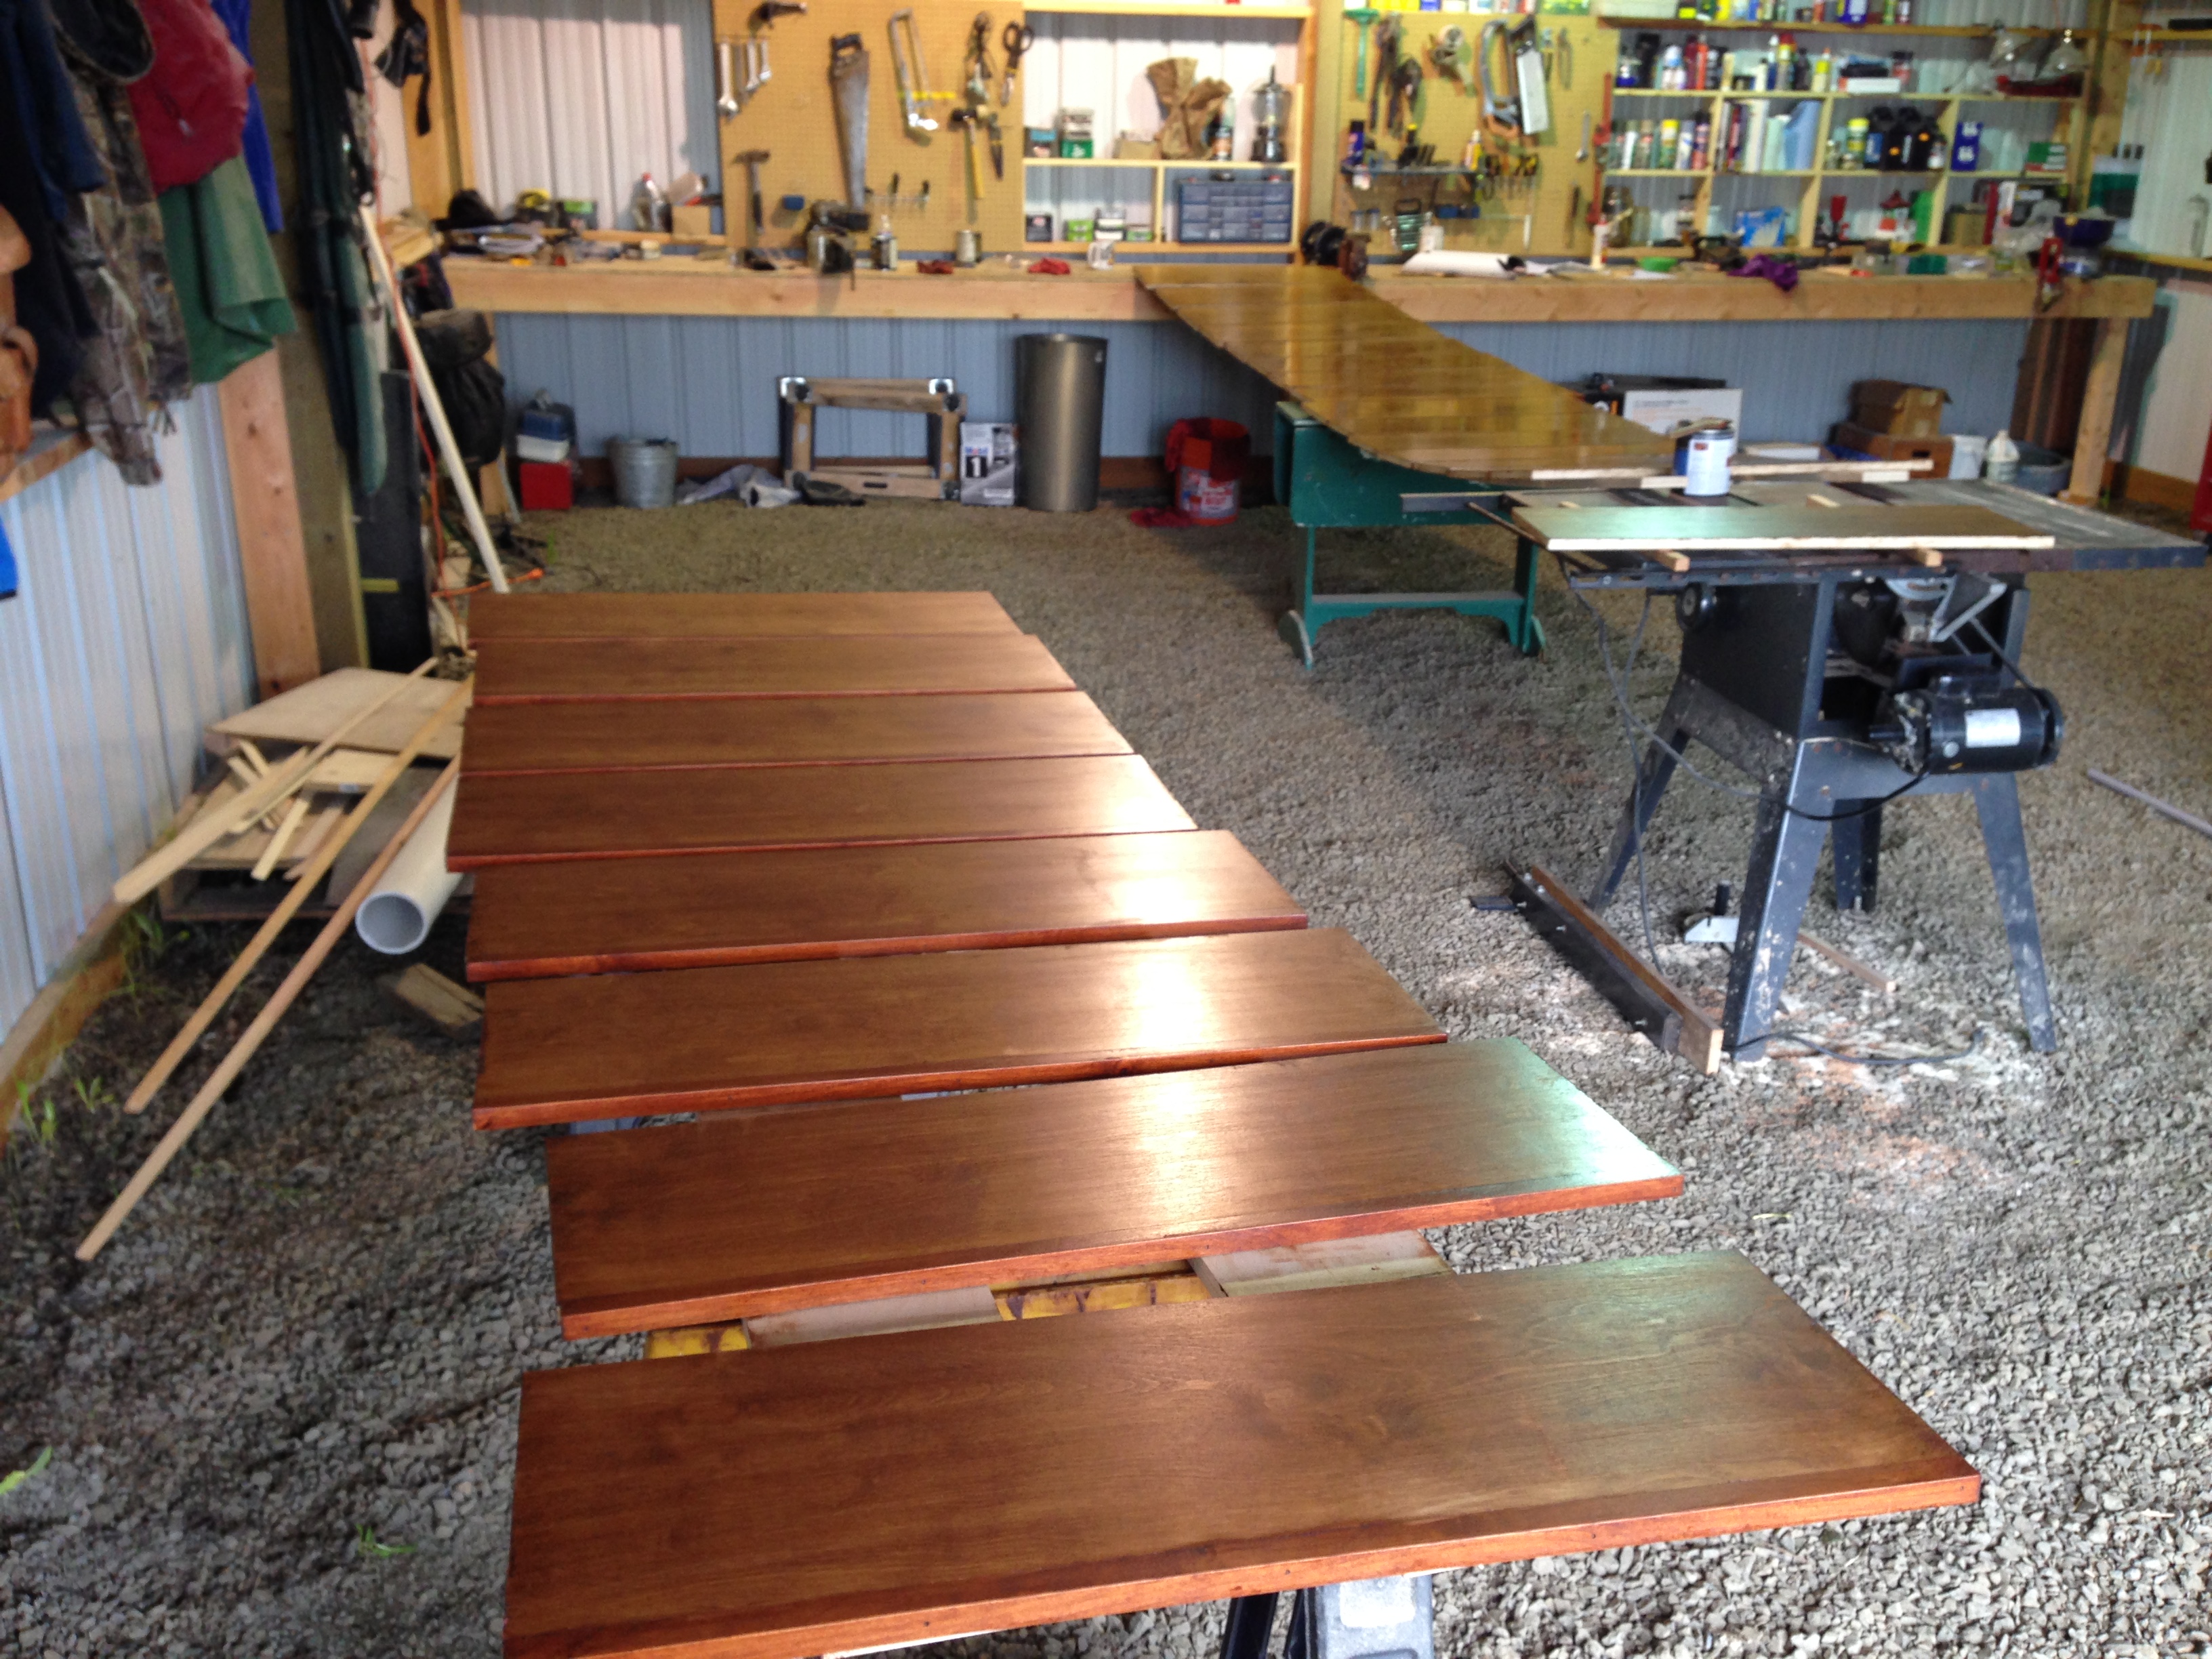
Then, the longest part of the project, 3 coats of stain, to both sides of each shelf, plus another coat a polyurethane clear coat. I used the Old Masters brand oil-based wiping stain in Early American tint. Here are the shelves laid out “getting their finish on”. I let the stain sit for 15 minutes before wiping off, across and then with the grain, and then let sit at least 6 hours before applying again.
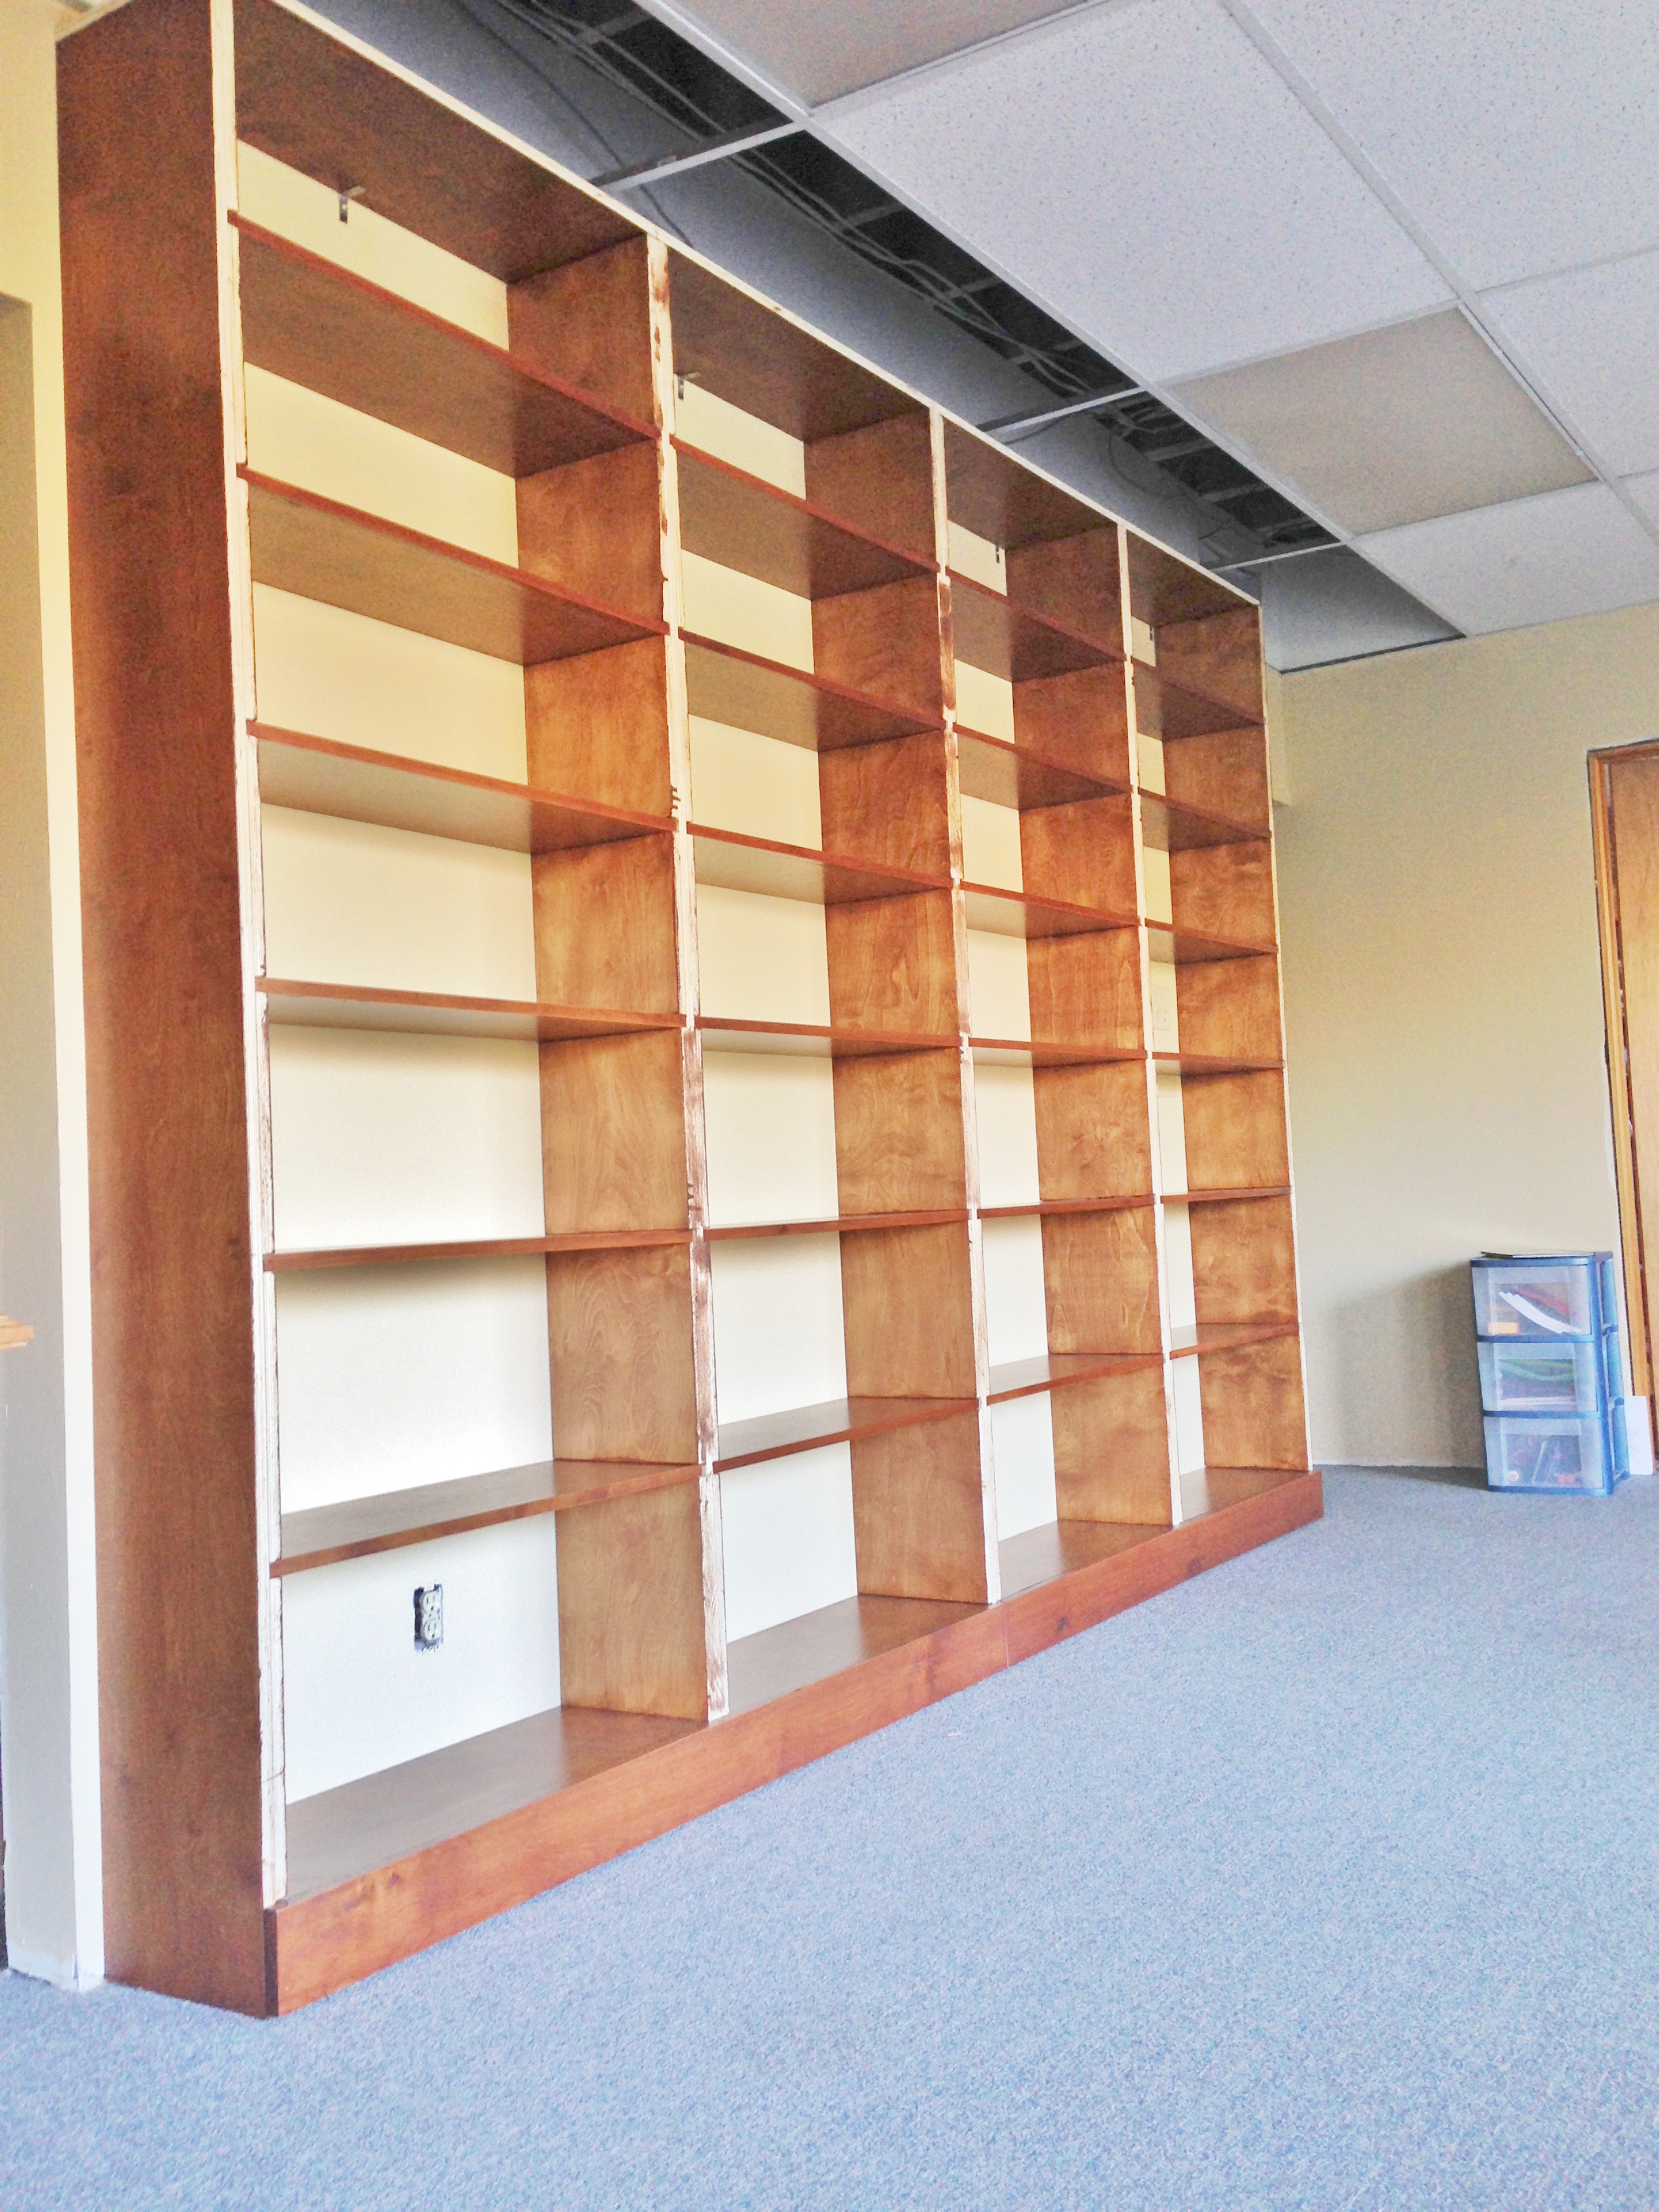
This process took a few days, but once the clear coat was dry, it was time to put shelves on the wall. Some were a more snug fit than others, but nothing a little coaxing with the good ‘ole rubber mallet didn’t tap into place. I chose not to glue them as most were pretty snug already and I didn’t feel it necessary.
Getting closer……..

Next the vertical Alder facing trim, glued and nailed to cover the front of the vertical shelf supports. Again, 3 coats of stain and 1 coat a polyurethane.
And finally, the horizontal top facing trim in Alder.
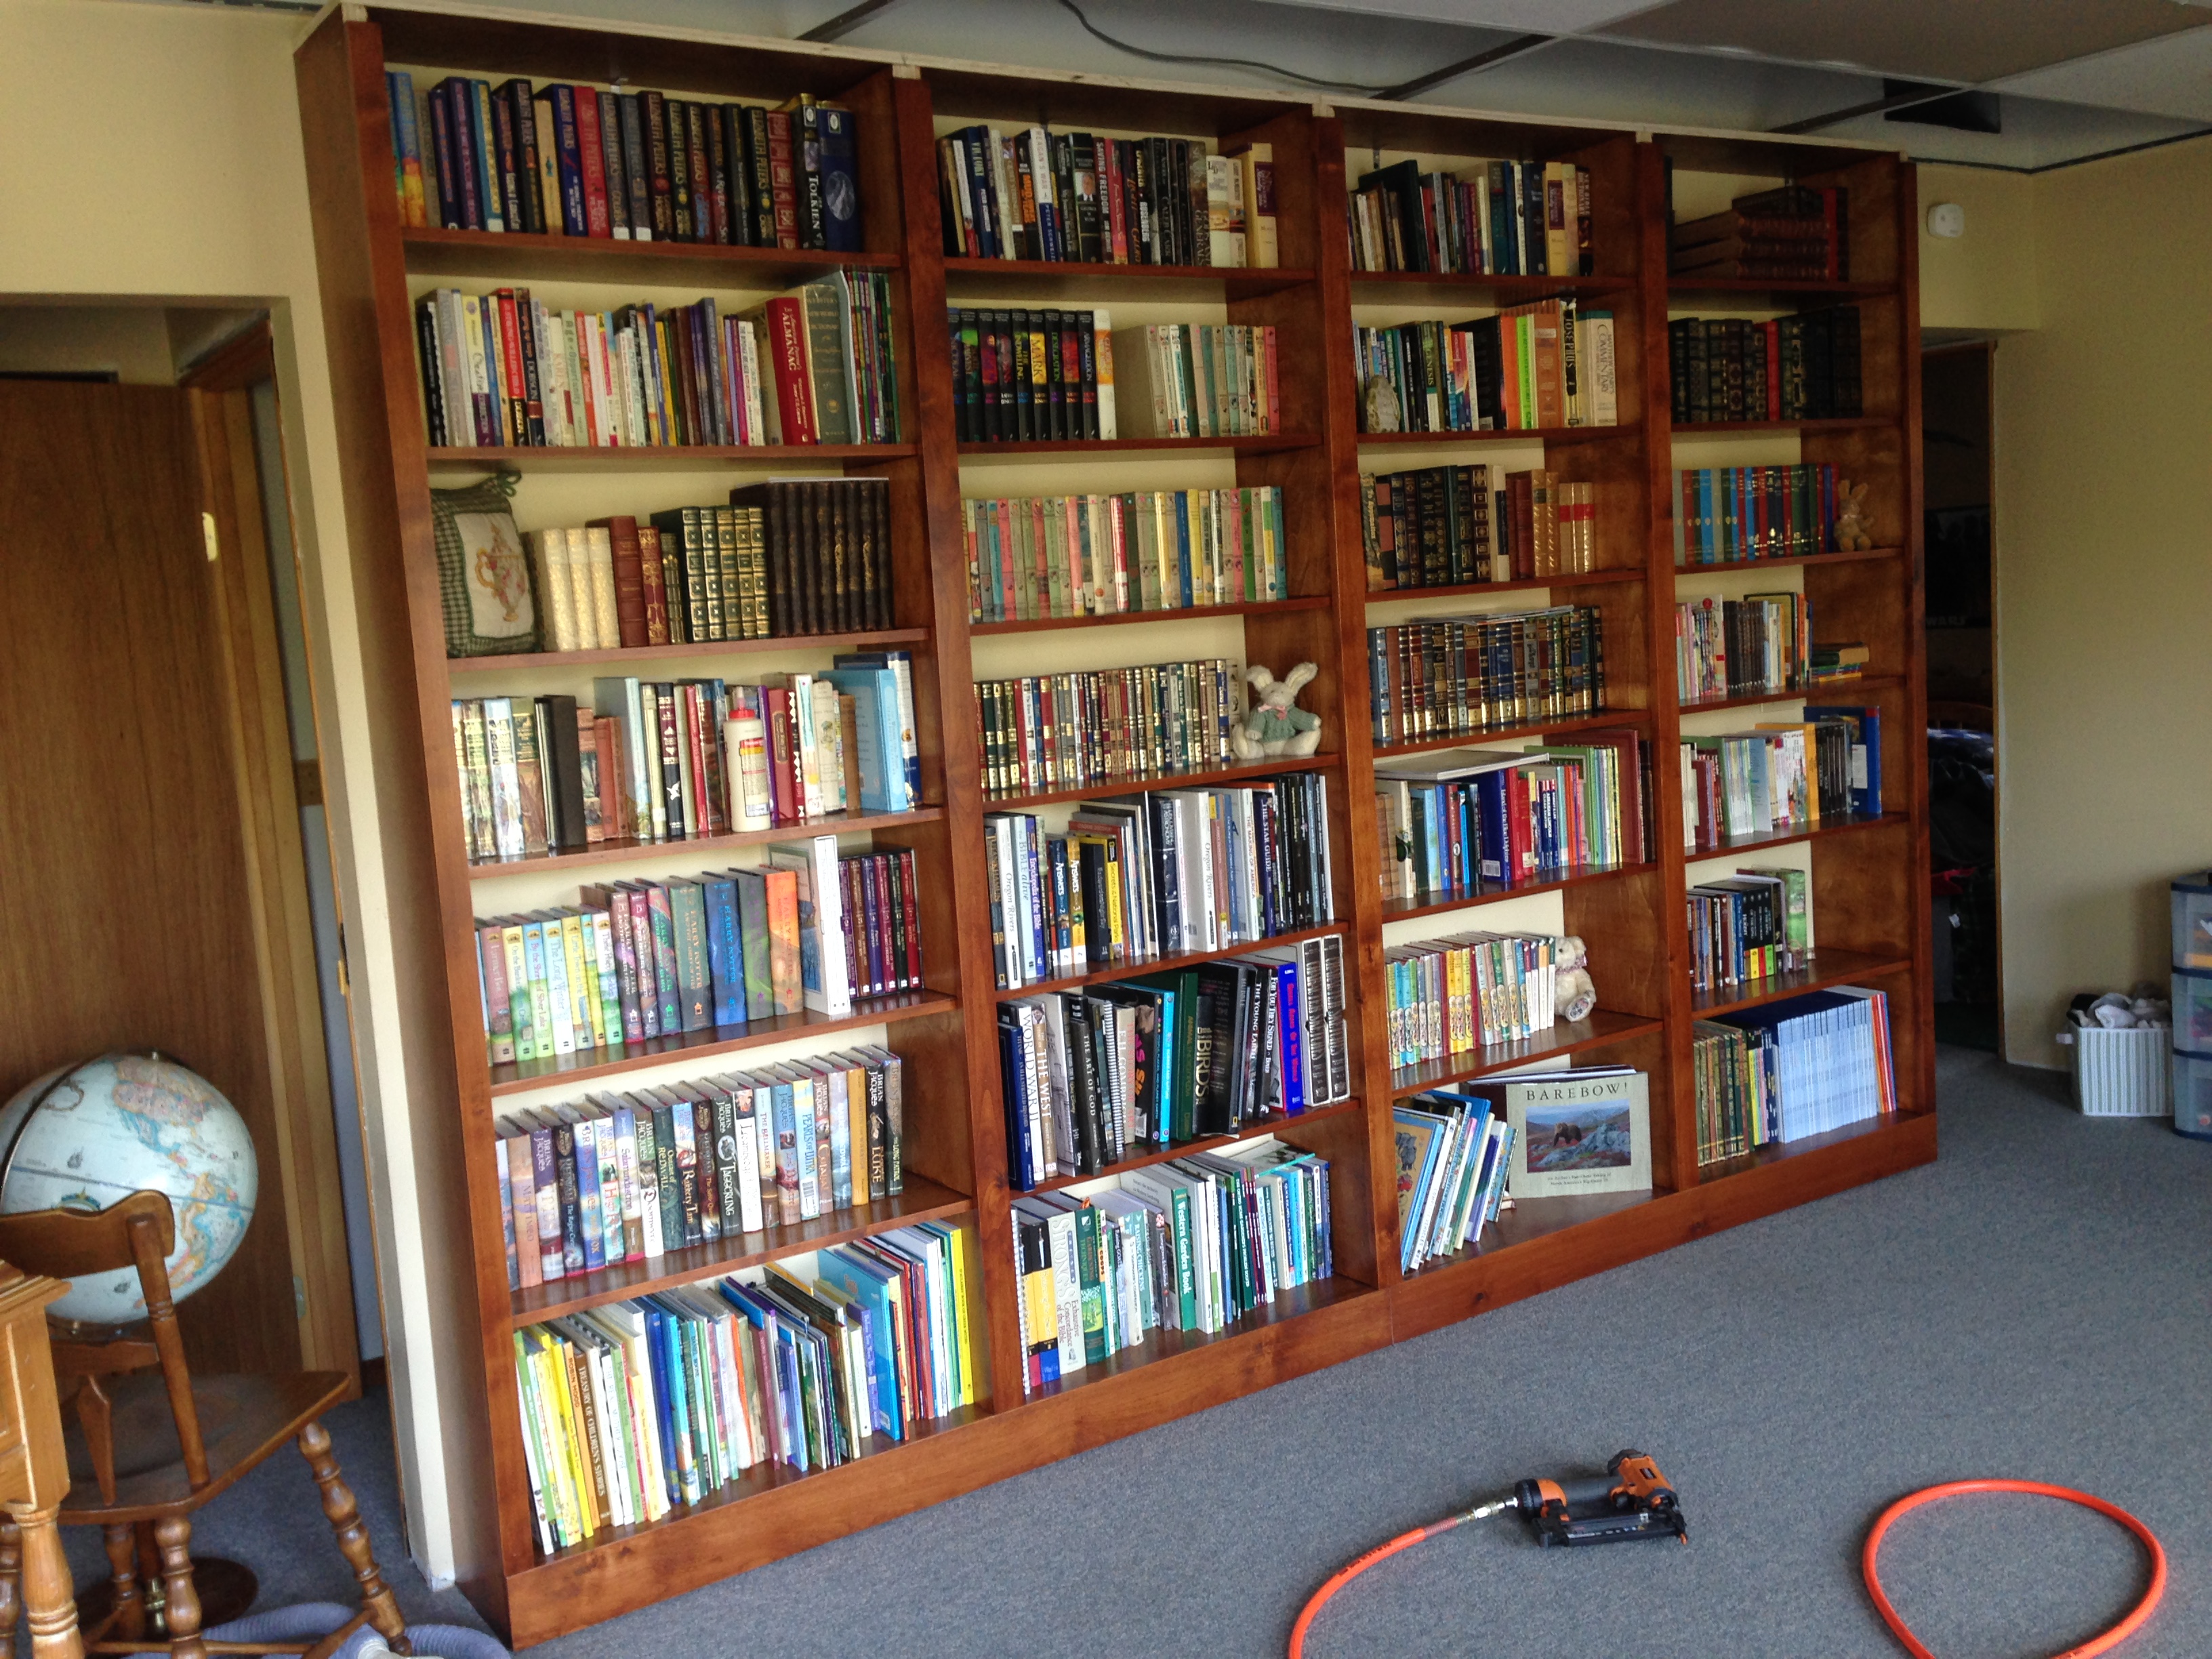
I have some Alder crown moulding to pick up this week and I will finish off the top with that and will add those pics when done, but I can consider this one 99% complete. We are very pleased with how it turned out, and it fit all of our books that were still in boxes. Hooray!
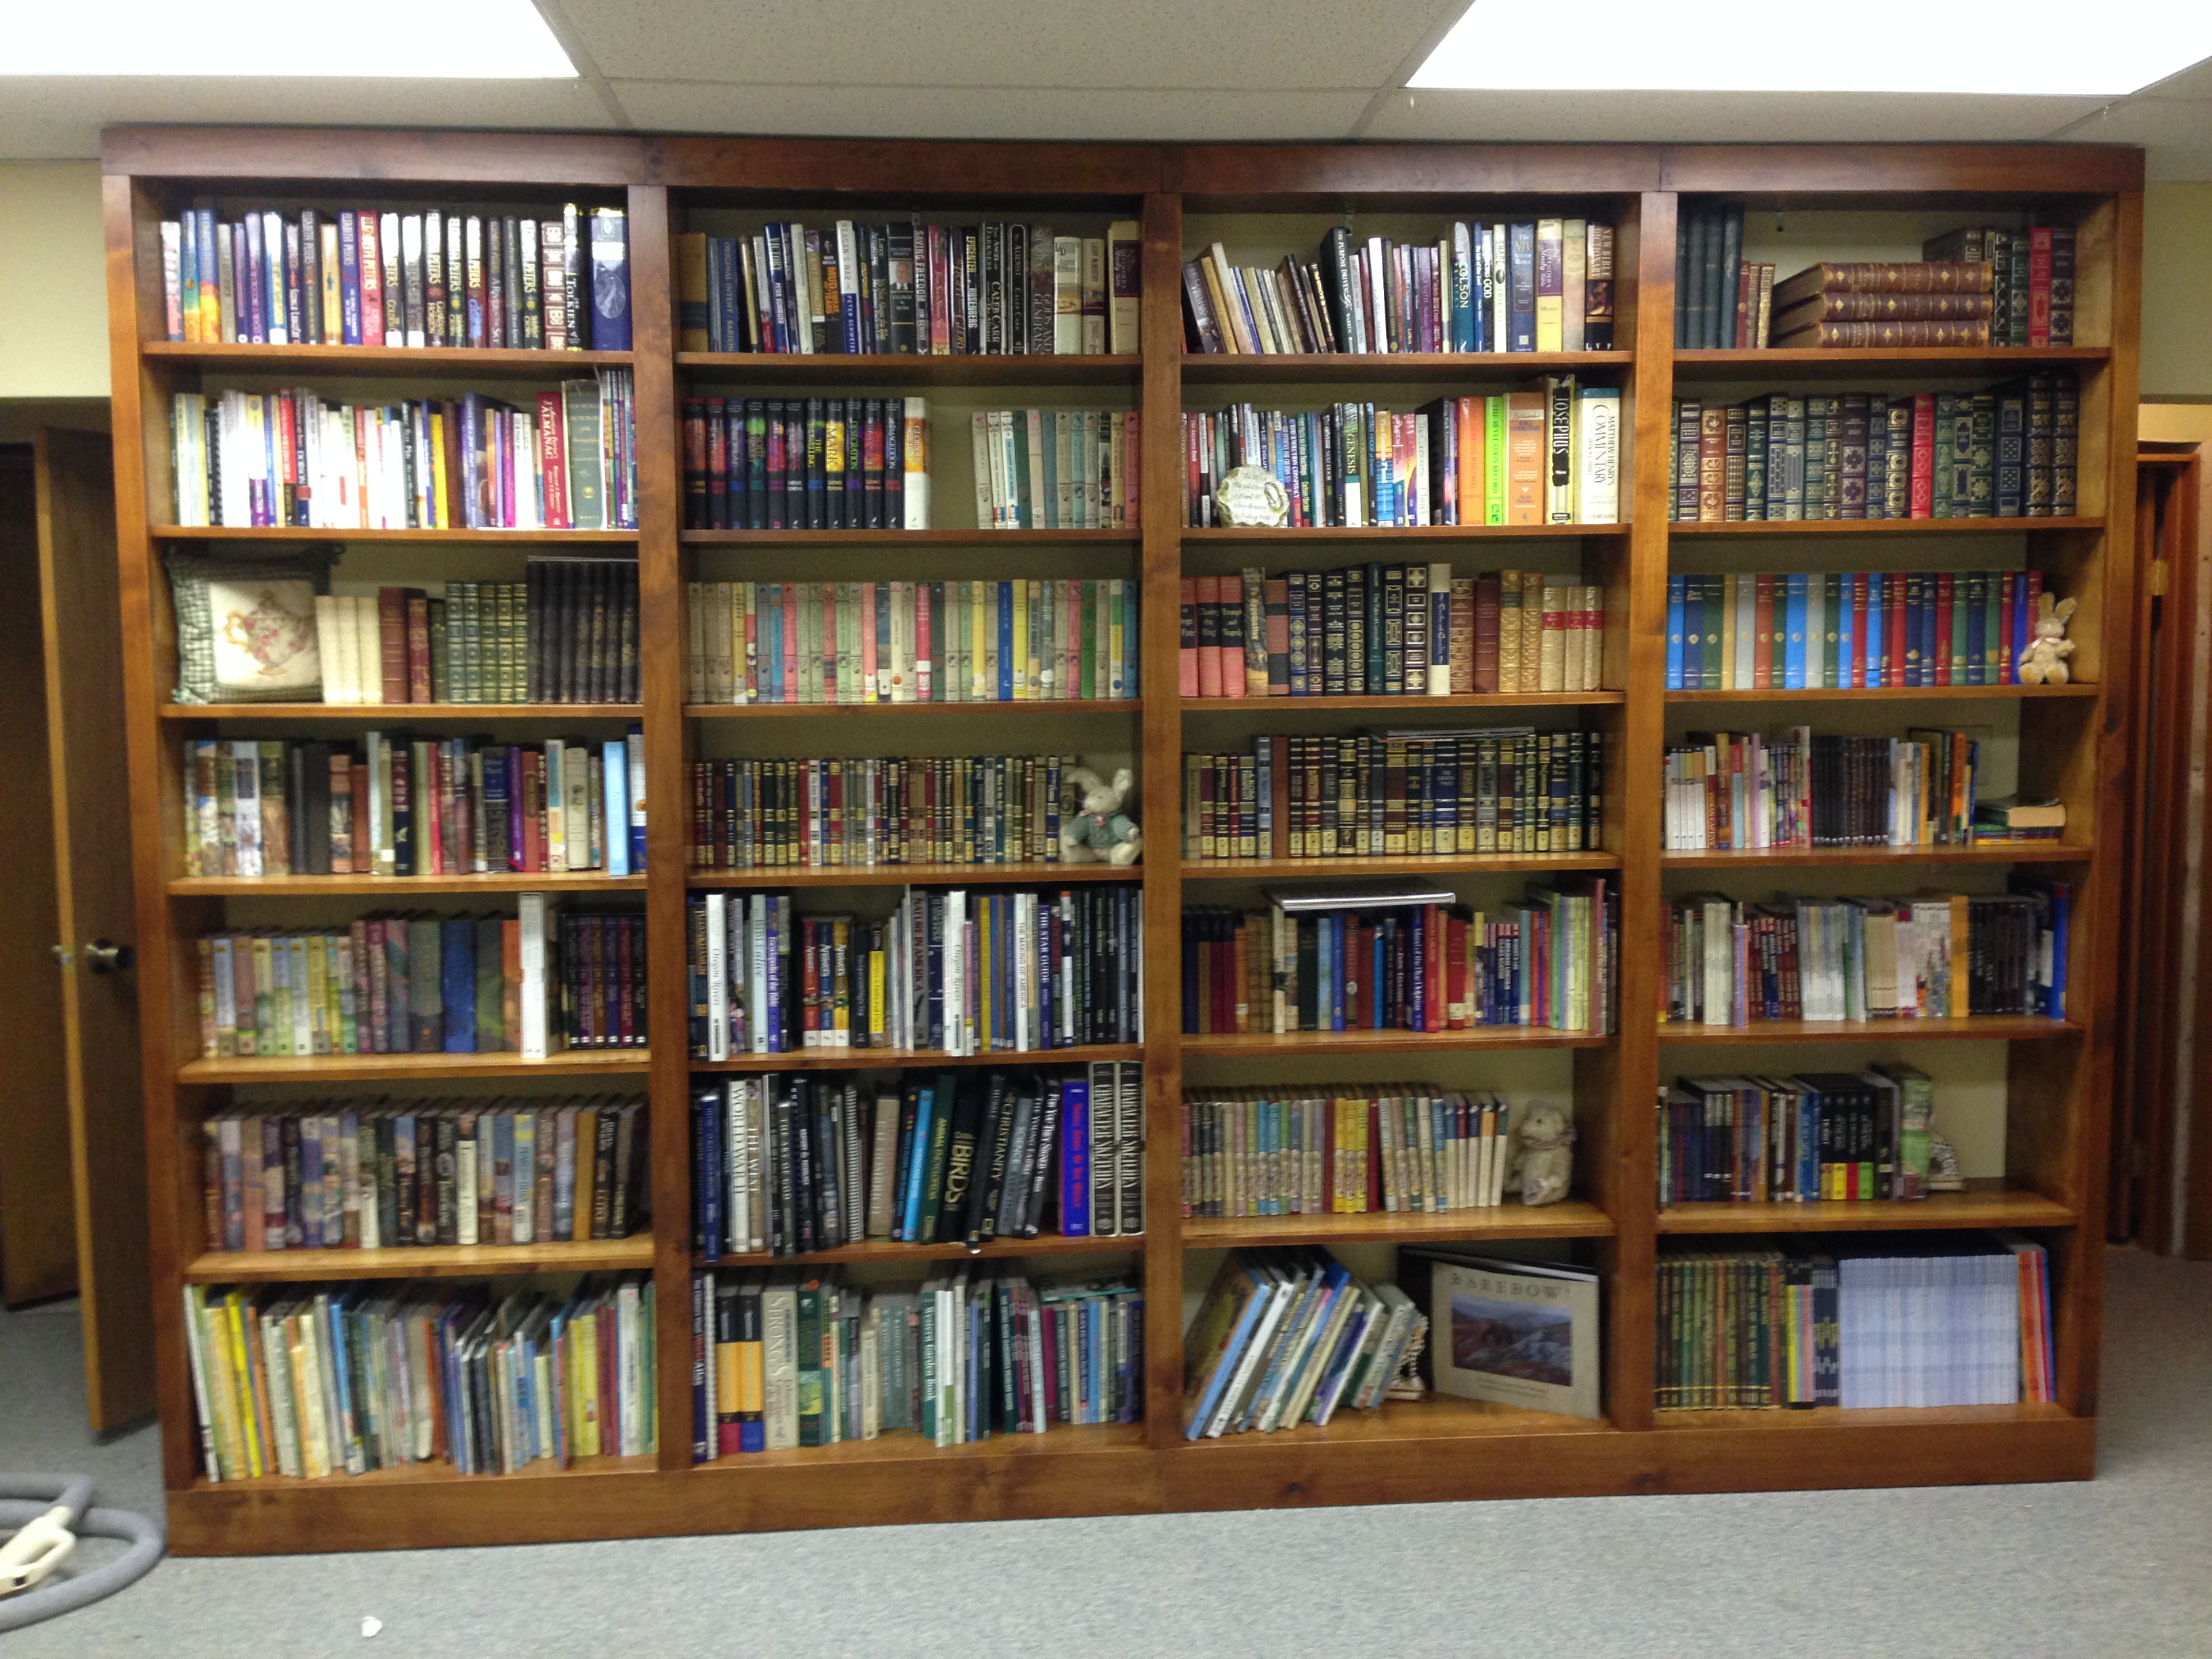
Updated pics after the crown molding and 1/4 round trims. 100% complete now.

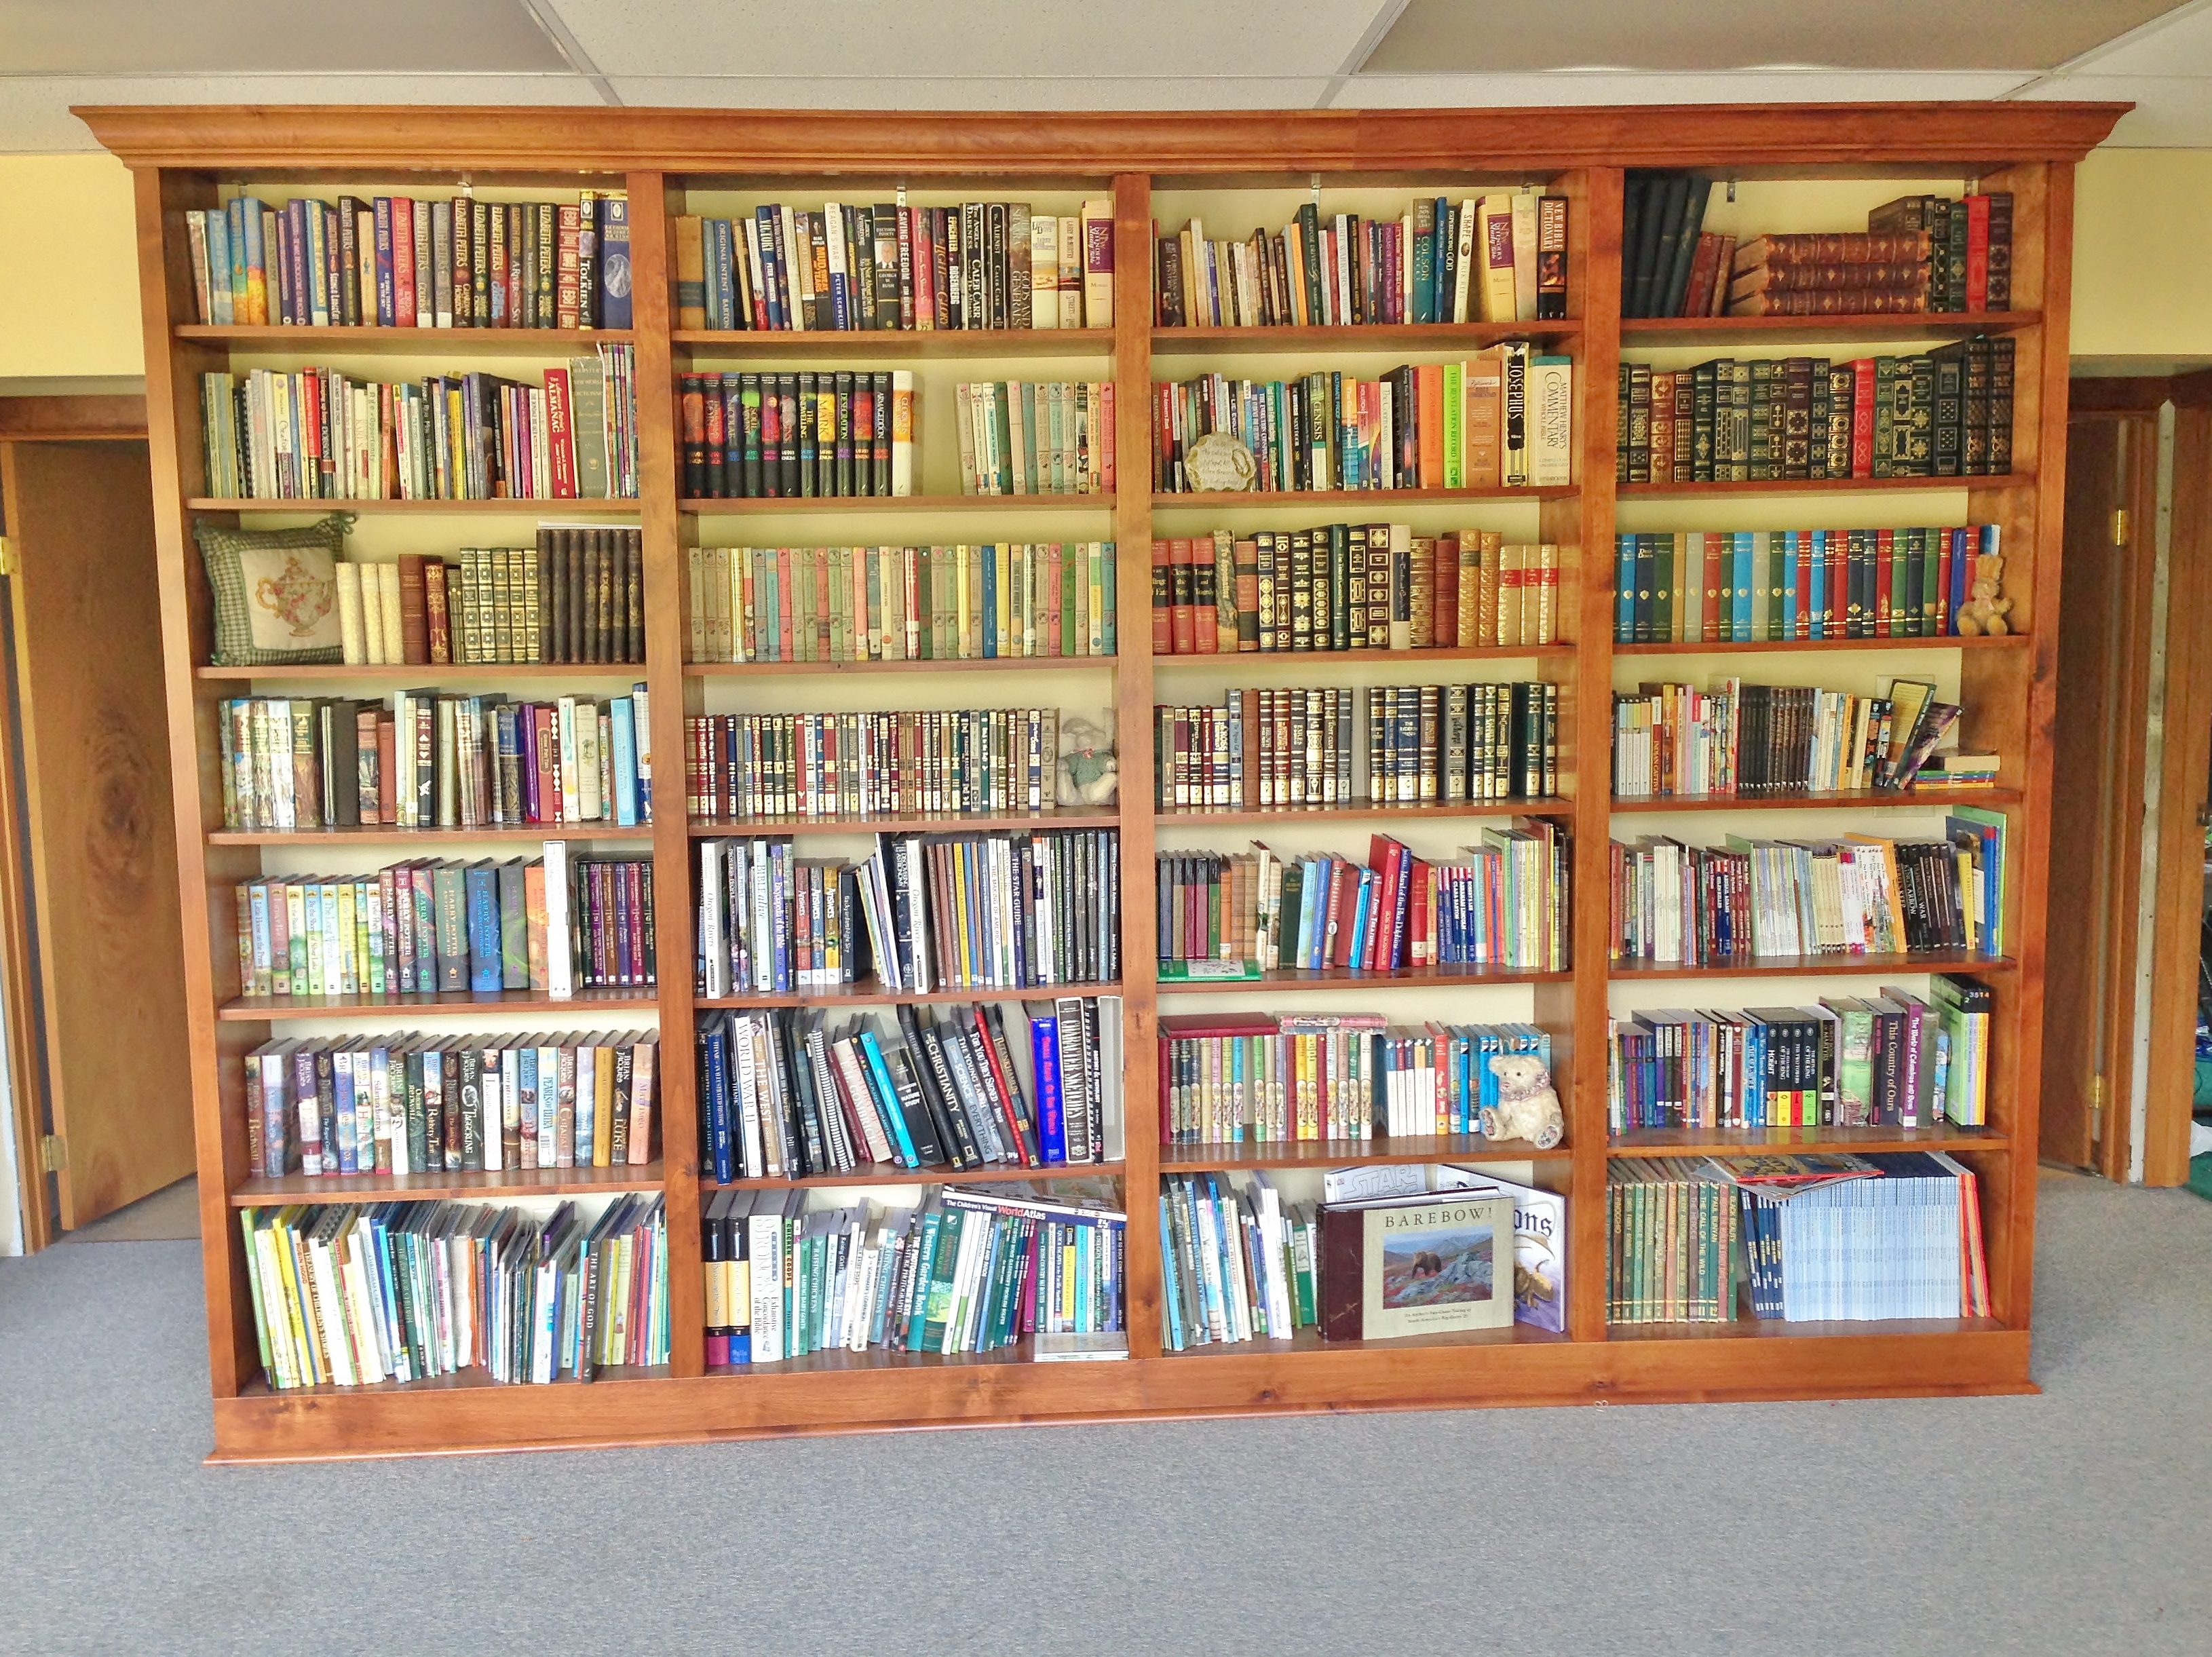
So, that’s it for now. I can’t say I would ever cut it as a finish carpenter, but these sure beat cinder blocks and 2×6’s.
L8R from the farm,
Michael
WOW!!! I’m pea green with envy!!!!!
Beautiful job and a terrific tutorial… :o)
XO,B
Thanks Bryn. It was a fun project and it sure transformed the use of the space downstairs. BTW, Woody is back to his normal self; yeah!
Wow!! nice 🙂
WOW! Nice work Michael. I have just one question…when do you sleep?
Thanks Sis In-law! I figure we will all get plenty of rest when we are dead. Plus, it’s the little victories, like finishing this project, that keep us all going anyway, right?! Have an awesome weekend, and we are always ready for another visit from the Mercer Gals!
Great work you did there, Michael! I always appreciate a good handyman 🙂
Thanks Lily, always a great sense of accomplishment when you DIY.
Soooo… talented. I Wisdom dwell with Knowledge, and am the creator of witty inventions.
Sending love to you all from the east coast.
Beautiful! Nothing is lovelier than nicely made bookshelves loaded with books.
We love books and now we have lovely shelves to hold them. Couldn’t be happier 🙂
Those shelves look amazing!!! You definitely needed it to go across the entire span. I bet you have so many books that some didn’t make it on the shelf. Great job! …I’m wondering when you sleep too…lol.
Thanx Natasha.
We have started a list of “books to get rid of”. So far we only have one book on the list and that is because somebody gave us a book that we already owned. The boys and I can be tight fisted when it comes to keeping books.
Take care,
Karen